

A man’s simple Phrygian cap in raw silk.
This simple Phrygian cap was made as a gift for my friend Aymer, to go with his new Norman clothes. A group of us worked together to help him pattern and construct an entire 12th century outfit.

Research and Design
Phrygian caps are known from the ancient world, with images appearing from 7th century BC. In the 4th century BC, it was associated with the Roman religion Mithraism (see Wikipedia). Ancient and Roman images show a cap with a pronounced forward bulge, as do some Romanesque depictions.
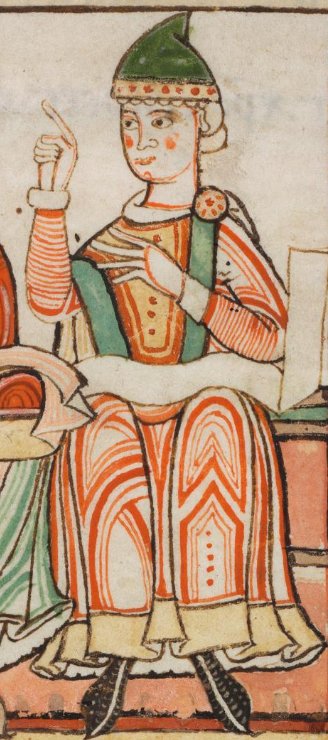
However, the images of ordinary men as depicted in 12th century art show a much more restrained style. The cap is still tall and leaning forward, but the peak is small, without the large forward knob.

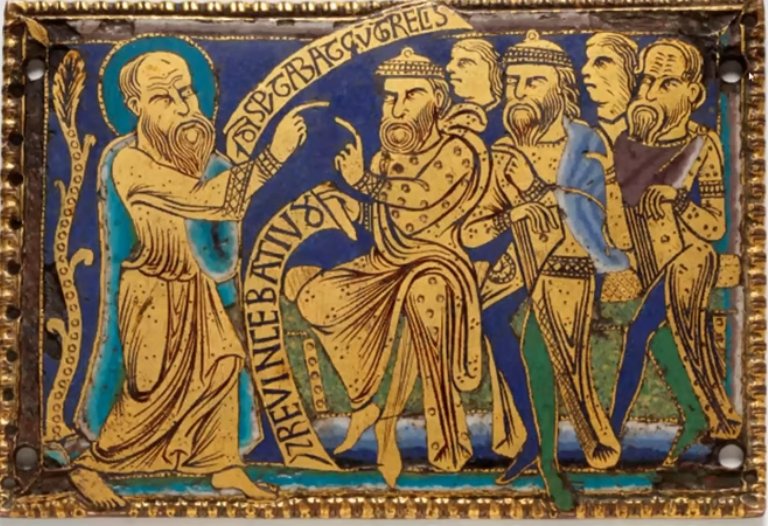
Source: V&A Museum
There are no extant Phrygian caps from this time, so the materials are a matter of conjecture. From the images, the cap could be made of felted wool, woollen fabric, silk fabric or even leather. It is clearly solid enough to support the peak, but not stiff.
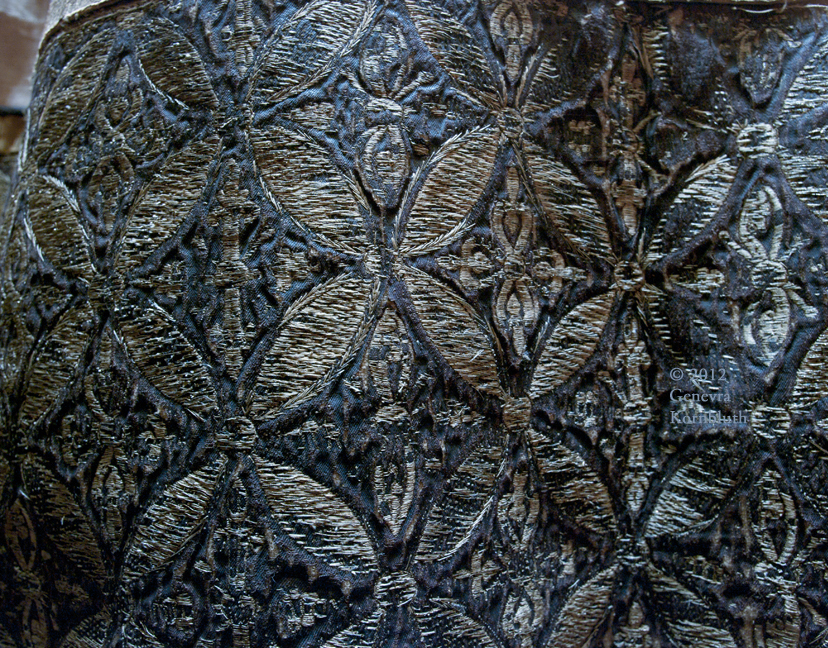
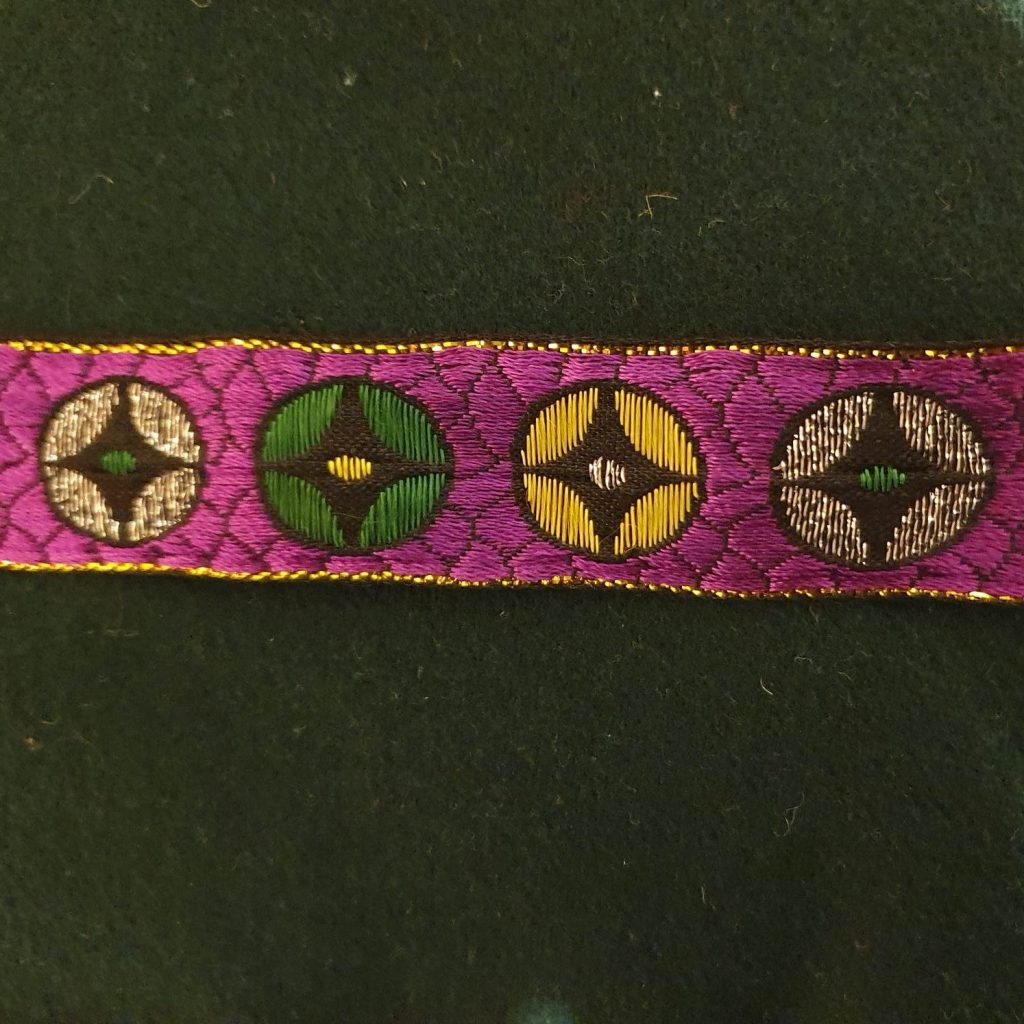
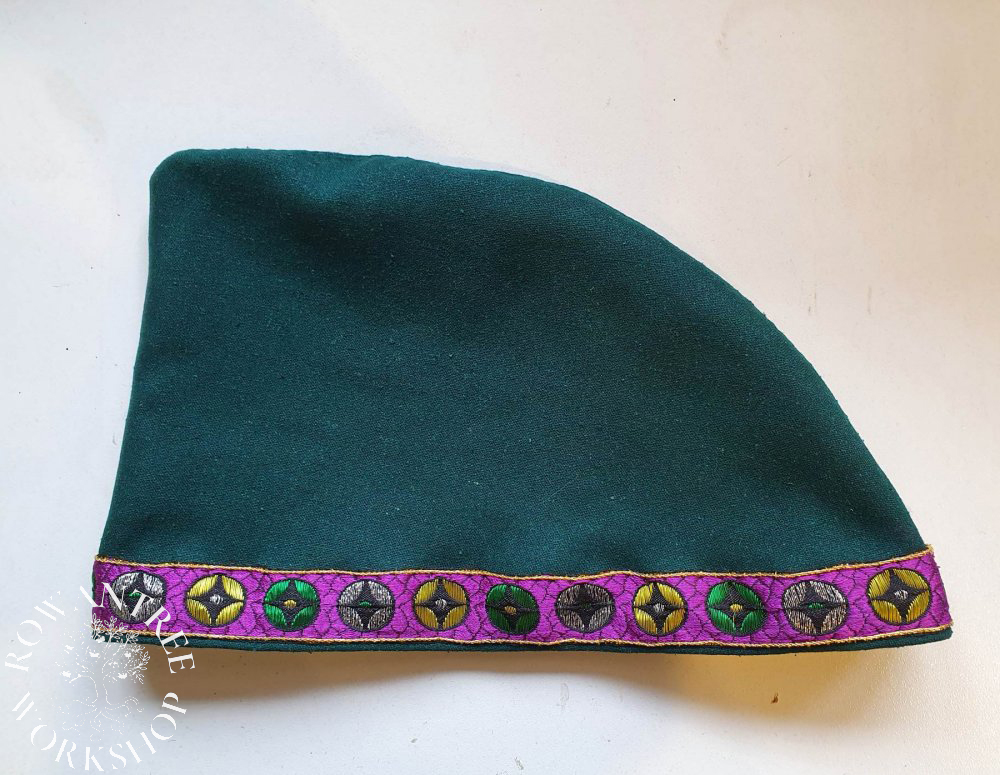
Aymer requested a hat in green and purple. The caps are depicted in many colours (including green) and most have a band of decoration around the base . I had some excellent commercial trim in an ideal design – the star-in-circle motif can be seen in several extant 12th century textiles, including this vestment of Thomas à Becket.
I also had some well-fulled wool in the right green, but Aymer pointed out that these hats are typically work by high ranking people, so we decided on raw silk.
Construction
First, the pattern. I padded up my headform to the right size, then made a mock-up in brown paper. The examples in art vary in height, but a face-height version seems common.
Next, I tested the pattern out in a solid cotton, which is closer to the final fabric in weight and drape. The shape ended up much flatter than I expected. Once I was happy with the pattern, I cut the pieces from the silk and linen.


I seamed the silk using silk thread, then pressed the the seam and pick-stitched on each side to flatten it. I turned a hem up around the brim line and basted it.
Back in the headform, I pinned on the trim – fabric stretches, so it’s easy to accidentally change the size at this point! I sewed the braid around the base and then couched a line of heavy gold twist along the edges to cover the tinsel gold of the braid.
Finally, I sewed up and slip-stitched in the linen lining. Done!
Aymer was very pleased with it and it went well with all his Norman splendor.

Photo: Amanda Daly

Photo: Karolina Firman