A simple leather belt, suitable for a lower or middle class German woman from the early-mid 16th century.
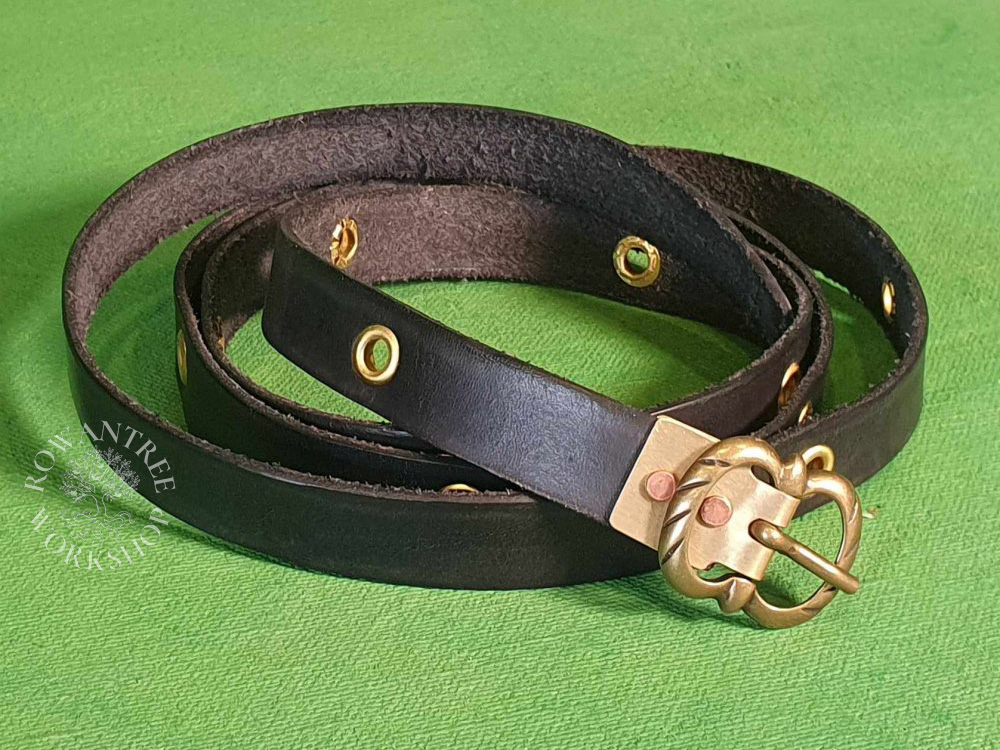
Packing for a wet event recently, I couldn’t find my leather belt – essential for keeping my skirts out of the mud. I hadn’t worn it for a while, and a thorough search did not discover it, so I borrowed a belt for the event. After more searching, I concluded it was lost.
While I have other belts suitable for my middle class garb (such as my recent brocade belt), I really do need a low-class belt, so I wanted to make a replacement as soon as practical. And since I had my leatherworking gear out for a casework project, now was the time!
Research
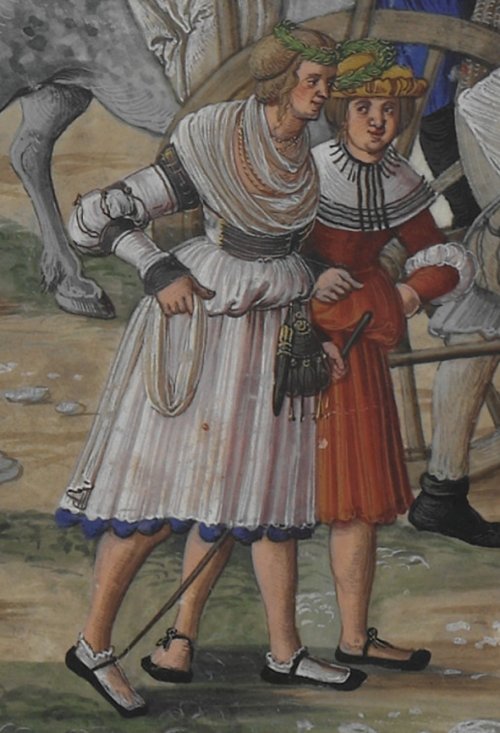
The belts seen on lower-mid class women are generally quite narrow, not very long and usually black, as can be seen in the images below. Unlike the merchant and noble class belts, I could not find any evidence of decorative mounts, but some had metal eyelets along the length. They belts might be worn alone, or hung with purse, knife and/or keys.
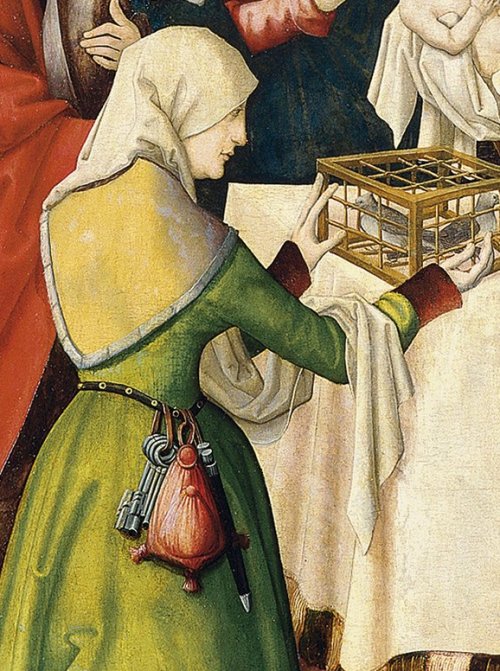
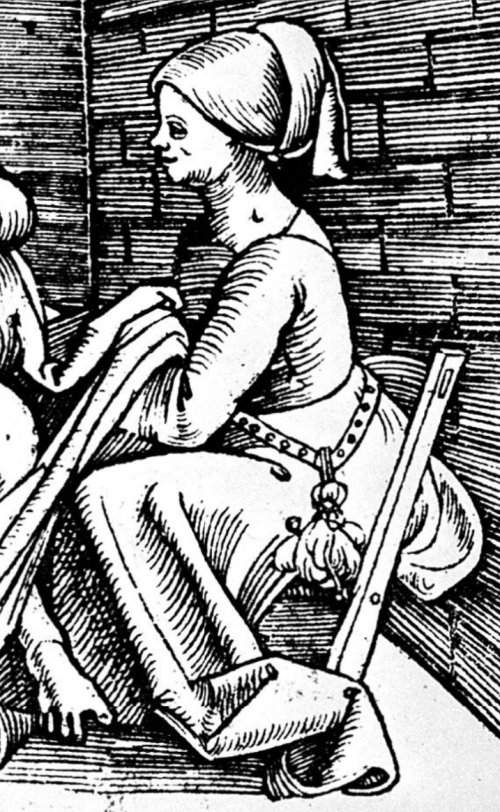
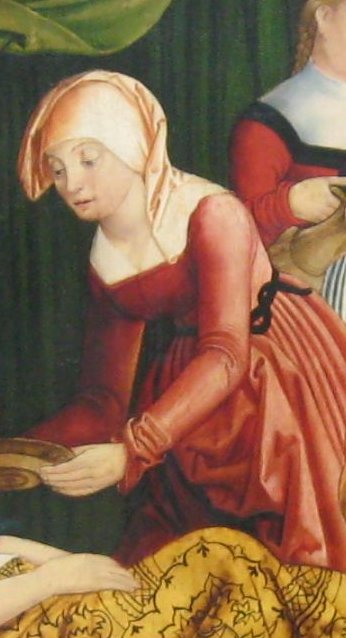
The buckle style was harder to spot, since most artworks showed the wrong angle, or are completely hidden under the hiked skirts, as in the Triumph of Maximilian below. However, the woodcut by Niklas Stör clearly shows a short belt with a spectacle (double loop) buckle.
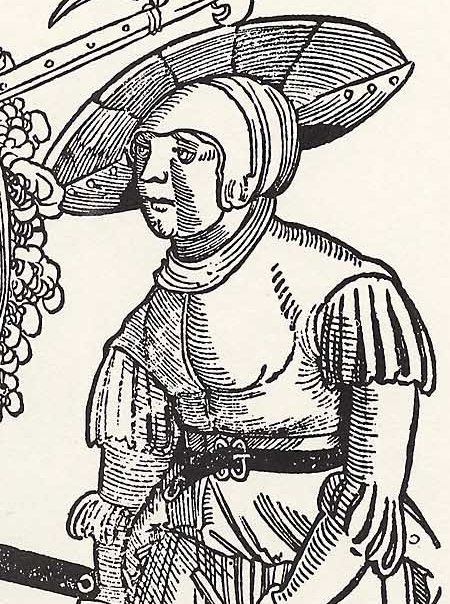
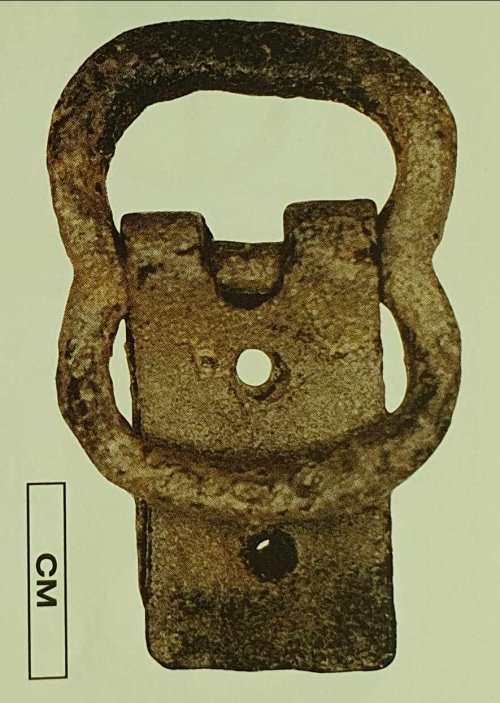
In Buckles 1250-1800, Whitehead (2003) notes that this spectacle buckle style was very common at the start of the 16th century, usually attached to the belt with a buckle plate, as seen above. This example has a straight plate, but others are recessed at the cross-bar. You can see further examples (mostly without their plates) in the Gemeentre Amsterdam finds.
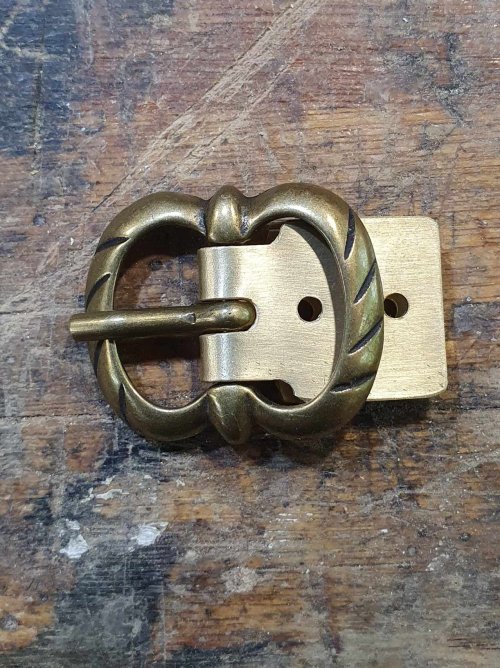
Angled grooves around the buckle were a common form of decoration in the early 16th century – and I have just such a buckle in the right size!
I’ll make a simple brass buckle plate to match the width of the buckle, and decorate the plain black belt with brass eyelets. I considered making a looped chape to match the woodcut, but decided not to – plain examples are common (and this is a quick project).
Construction
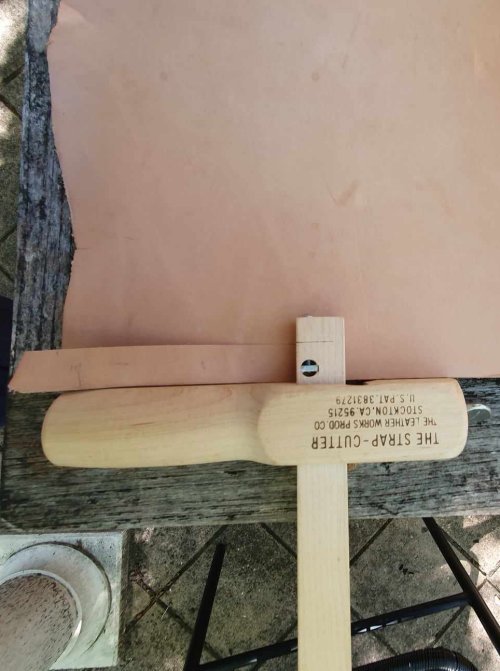
My first step was to measure the inside of the buckle – I’ll need an 18mm leather strap to match. I used a strap-cutter to cut this from 3mm thick vegetable-tanned leather (much cheaper than buying belt blanks!).
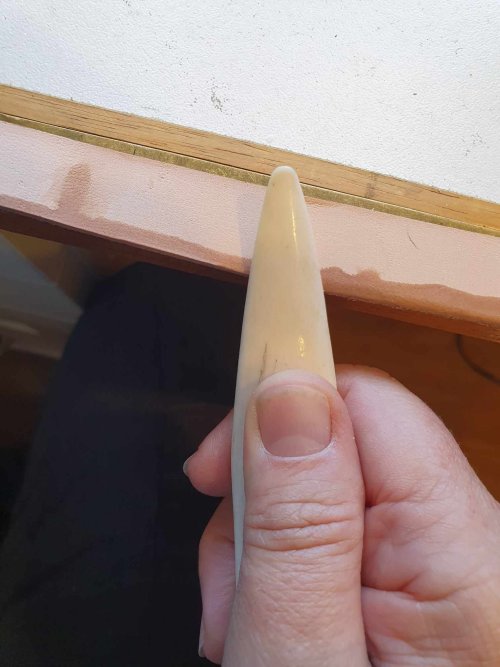
To make the belt feel nicer, I trimmed the ends to shape, wet the edges and smoothed them with my bone folder (you could also use an edge beveller), then set the belt to dry.
I dyed the belt using iron acetate (vinegaroon), which reacts with the tannin to form a rich black. To ensure this did not weaken the leather (by extracting the tannin), I started by wetting the leather thoroughly with a saturated solution of tannic acid, on both sides. Once dry, I painted both sides with the iron mix and set it to dry.
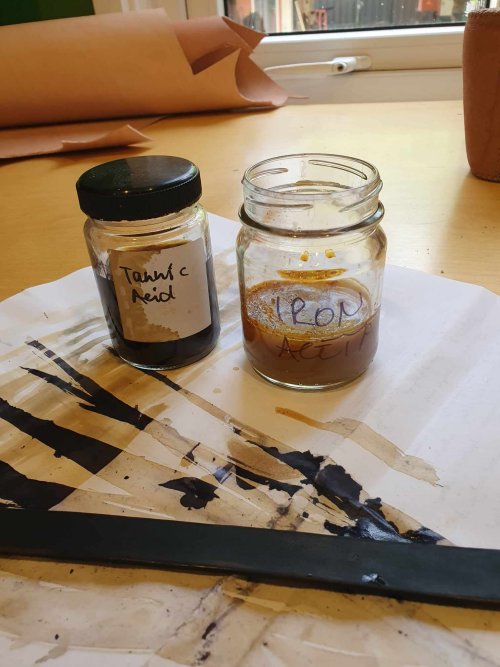
I polished the belt with a beeswax/boiled linseed oil mix, then worked the leather it in my hands, twisting and rolling to make it supple.
The Buckle
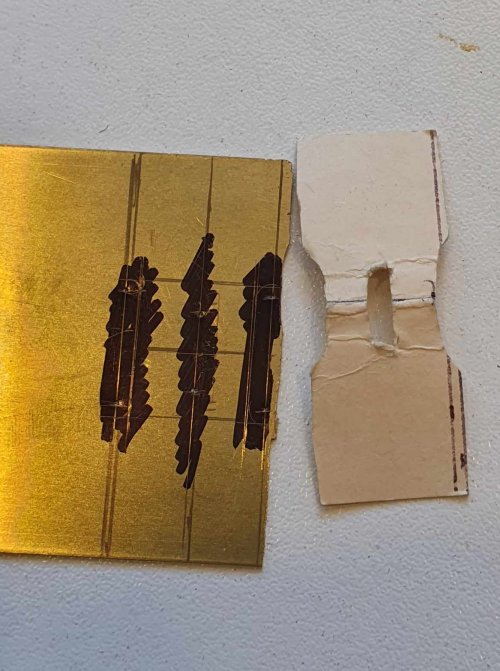
I made a pattern for the buckle plate in light card, 18mm wide to match the belt and checked it fit inside the buckle.
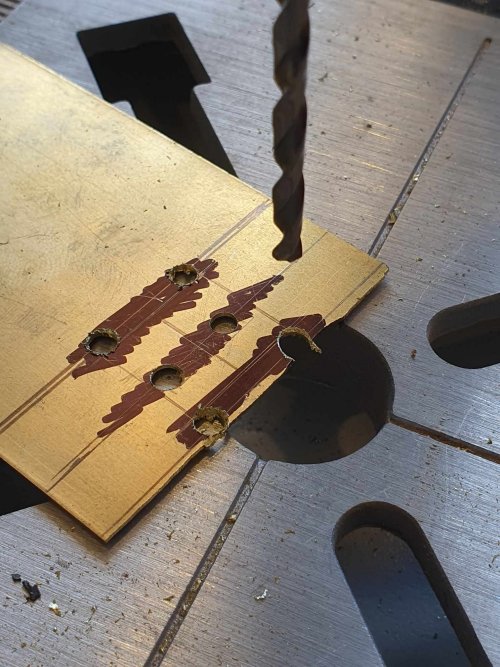
I drew this onto 0.64mm brass sheet, drilled holes for the centre slot and for the shoulders, then cut it all out with a fine jewellers saw. I cleaned it up with the linisher and fine files, then checked it fit through the buckle. Nope, but a little more off the edges and it was ready.
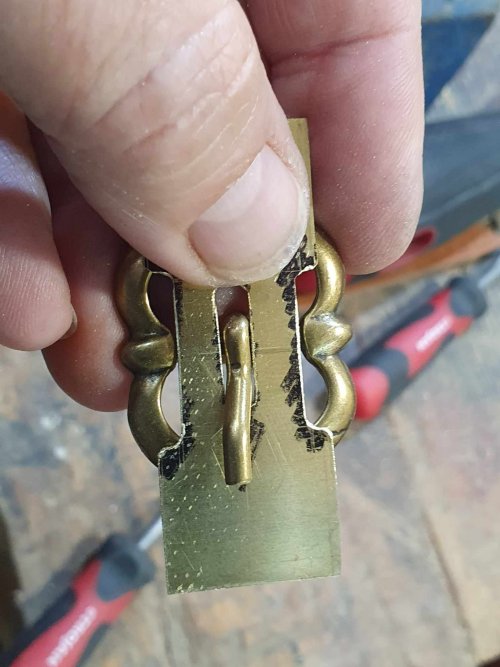
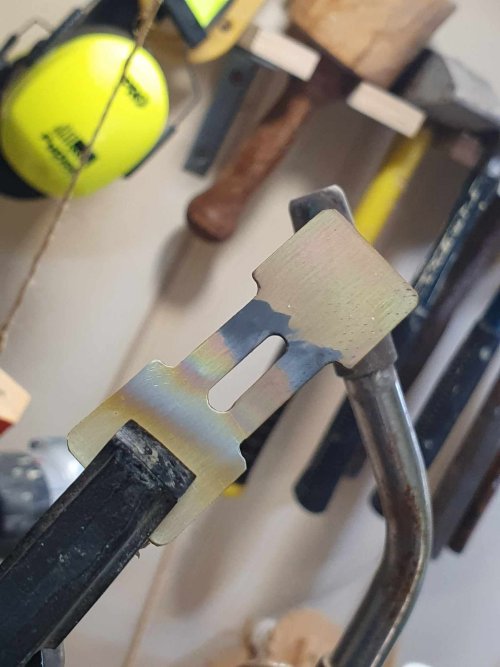
I heated the centre to cherry red with a blow torch to anneal the brass and make it easy to bend. However, this process blackens the metal, so into some vinegar overnight to clean it off, and then a basic polish.
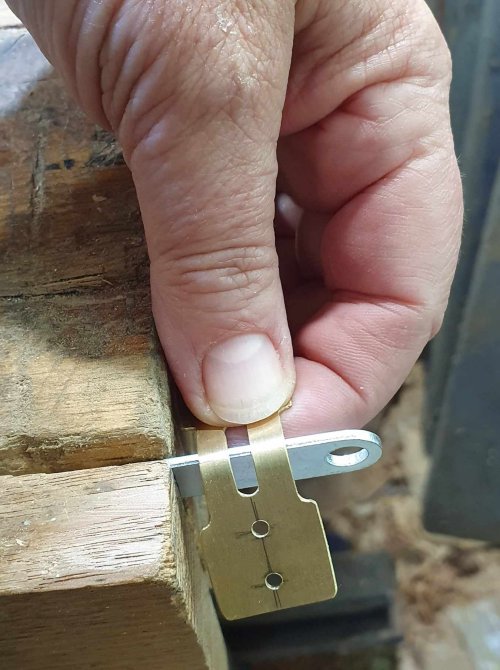
I’d planned to use my small brass escutcheon pins for rivets, but the scale of the holes in the extant example is larger, so I’m using some copper nails instead (larger brass nails are on order, but not yet arrived). I drilled holes on the front to take the nails, bent the plate in half, then marked and drilled the other side.
Time to put it all together…
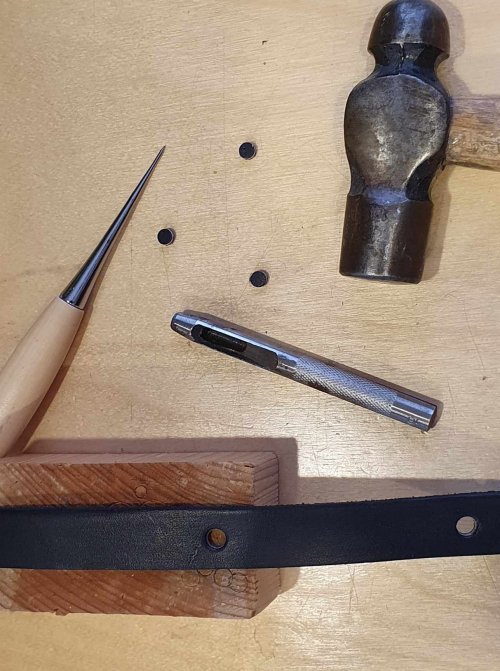
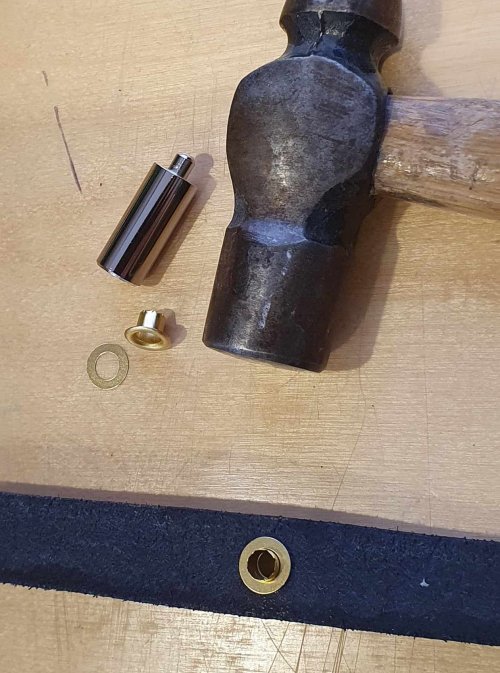
I marked the buckle plate holes on the belt, and marked the holes for the eyelets and punched them all. I slipped the buckle and plate on the end, cut and peened over the copper nails, then set eyelets along the length.
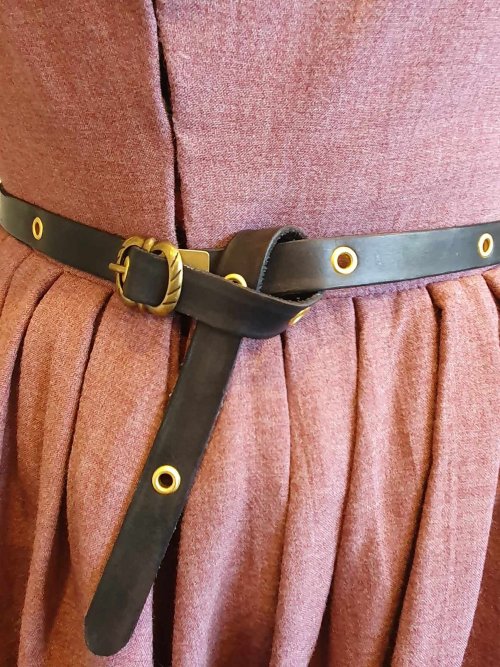
Hmmm. Although they are not visible when then belt is done up, I’m not keen on the copper rivets, so I’ll replace them when the brass ones arrive.
But in the meantime, it’s done – a simple, practical belt which will compliment my lower class clothes – and keep my skirts out of the mud!

