

An upper class man’s suit in charcoal coloured wool, from the late 16th century – and my first serious attempt at Elizabethan tailoring.
I had admired a beautifully fitted doublet made my friend Llewelyn, with a superb high collar. He told me the techniques were from a book he had recently bought – The Modern Maker Vol 1 (Nagy 2014), which brought a new perspective to the cut and construction of 16th century men’s doublets.

I bought the book and tried out a few of the techniques by re-lining a coat and was very pleased with the results. My husband Nico badly needed a new court suit, so here was a chance to learn some new skills on the way.
Research & Design
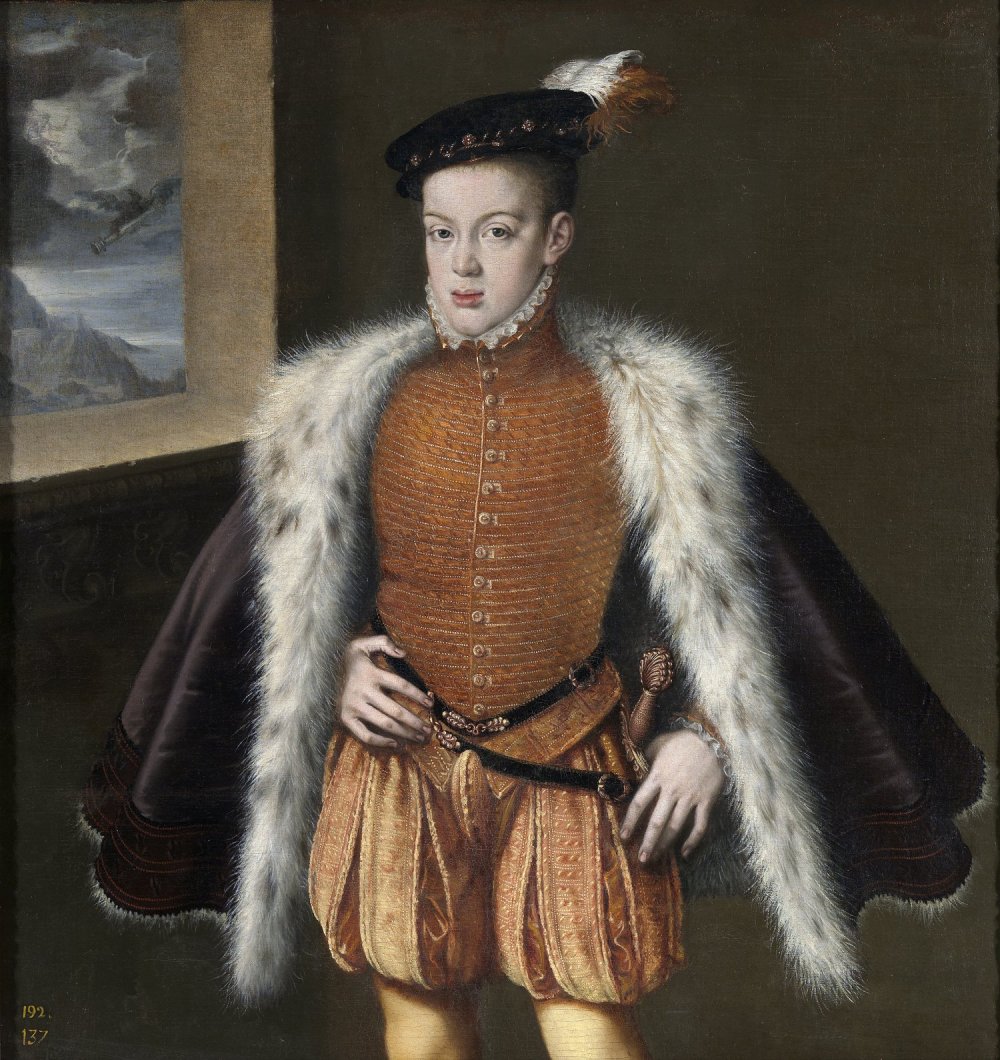
I went for a moderate doublet with a small skirt, as seen in the painting of Don Carlos. The shape of the doublet is based on Nagy’s draft, but ended up very similar to the shape of the previous doublets I had made, which pleased me.
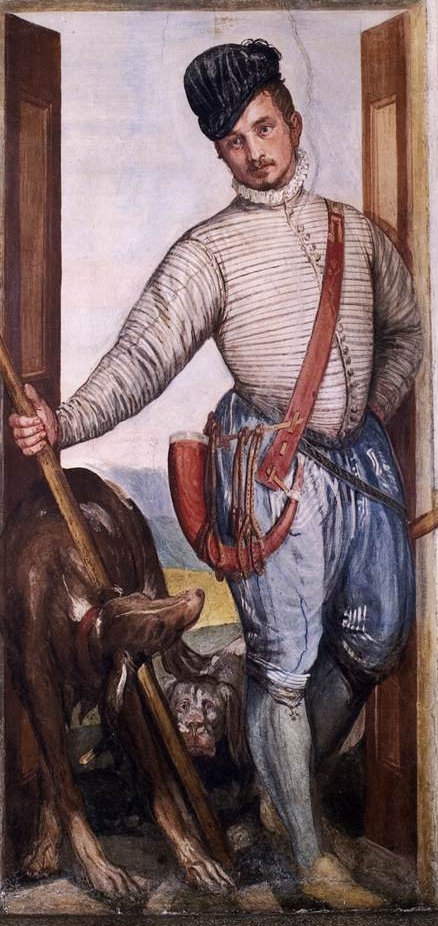
In place of trunkhose, Nico asked for Venetians. Although this style did not come into fashion in England until late 16th/early 17th centuries, it was in fashion in Italy from the 1560s – as can be seen in this fresco by Veronese.
Source: Museum für Geschichte
Source: WGA
Although paintings of the nobility often depict silk for clothing, quality woollen fabrics were a mainstay of the nobility and upper classes. The wardrobe accounts for Cosimo de Medici show that both cloth and twill in use for such garments (RO Landini, 2011).
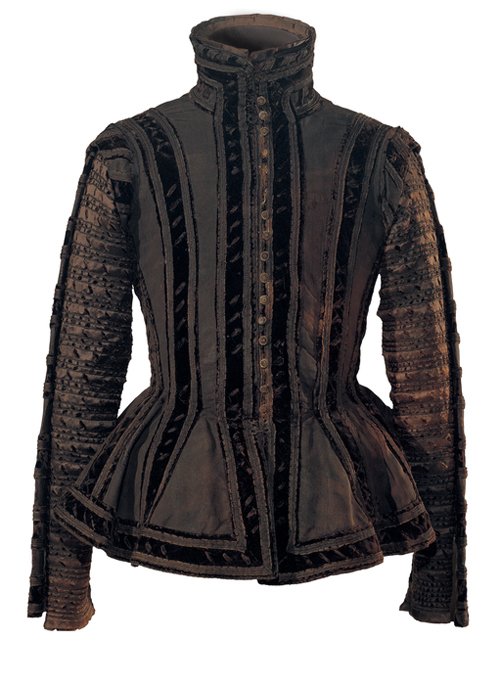
The decoration scheme is black on black – a favourite combination at the time (and so hard to photograph when painted).
Doublet
I made a set of Bara tapes for Nico using Nagy’s instructions, and started on the doublet draft. I found some contradictions in the text and asked Llewellyn if he had noticed any issues. He sent me a link to the set of corrections – much better!
My completed doublet pattern had a modest front dip and no padding. I compared it to my pattern for the black striped doublet – very similar in proportion, but this collar was much higher and I could see the shaped sections would really help flare it.


I tested the pattern with a quick mockup and tried it on Nico – the sleeves needed to be slightly shorter, but everything else fitted well, so I cut out the canvas, wool and linen lining.
I followed Nagy’s construction process in detail, working my way steadily through all the steps and looking closely at the pictures, which often provided extra detail and missing steps. I thoroughly enjoyed the precision and practicality – I had plenty of time, so it was fun to be learning.
I cut the pieces in canvas (I used light haircloth), wool and linings. First step was pad-stitching the melton wool to the top of the bodice pieces, to support and shape them. I basted all the wool to the canvas , machine sewed the back and side seams and pick-stitched them flat.
I hand-stitched fine velvet ribbon each side of the back seam, then sewed the front facings of bias-cut silk taffeta, and the edge bindings in silk satin. I worked the buttonholes in black silk – all very subtle.
I sewed the skirt sections, turned and catch-stitched the hem, then slip-stitched the linen lining, before sewing to the main sections. I made up the lacing strip, folding the canvas into 4 layers and sewing the lacing holes in waxed linen thread before whipping it to the waist seam, and sewing that to the canvas.
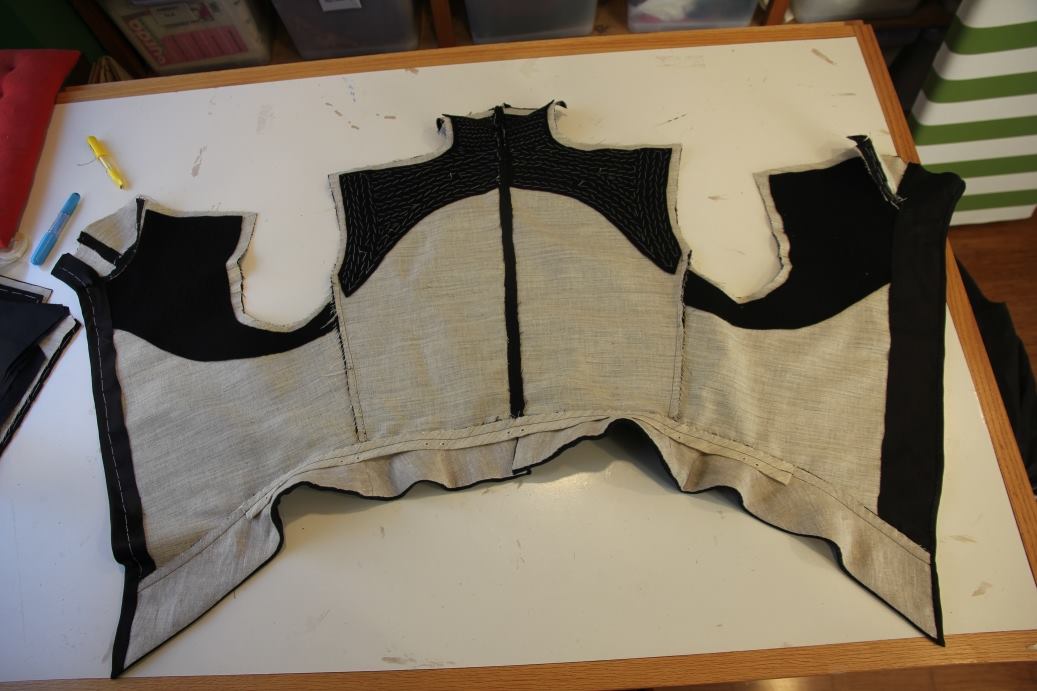

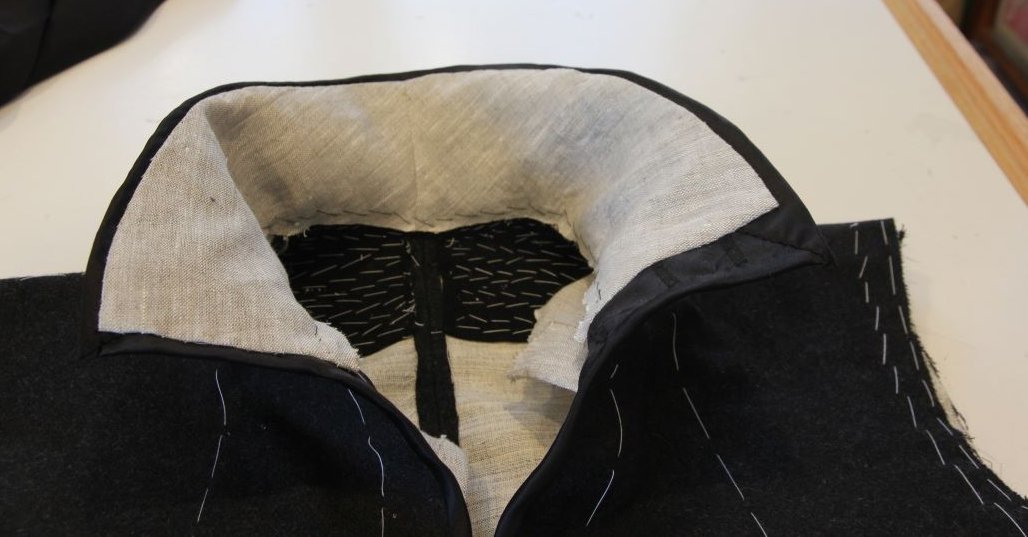
The linen lining is put in in sections while the doublet is still open – back first (with length ease), then the sides. The shoulder seams are longer at the back than the front, allowing the seam to curve along the natural shoulder line – very effective.
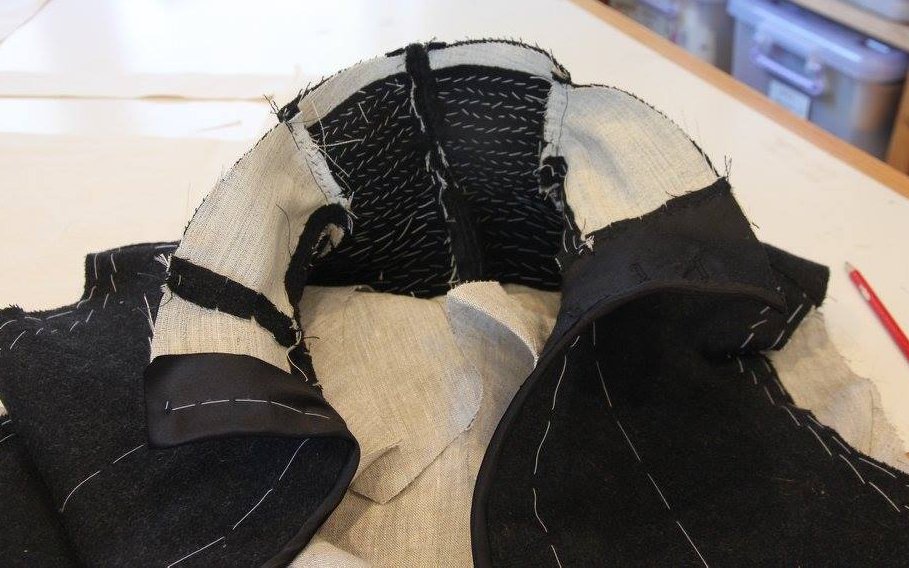
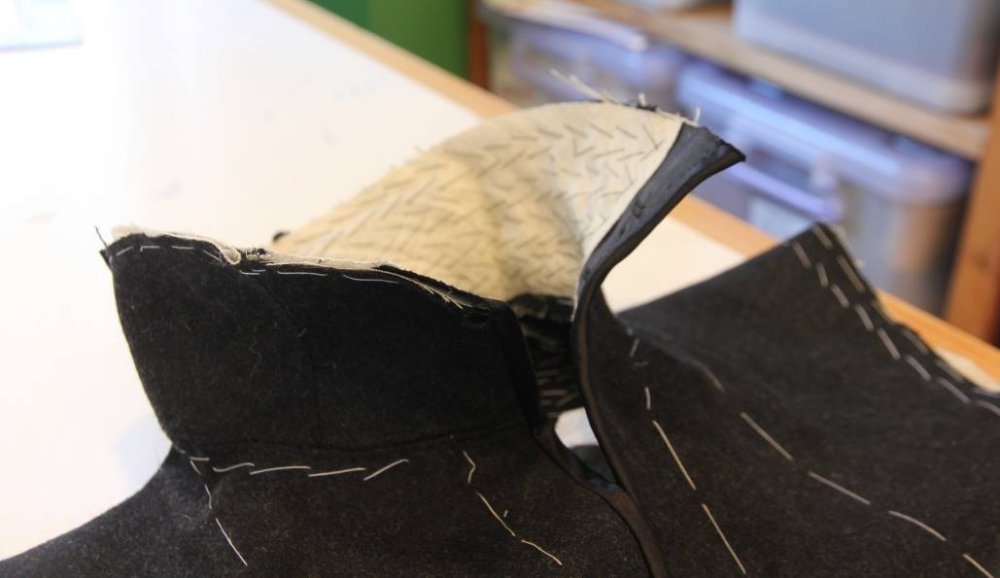
The collar has so many layers! Over the melton padstitched to the canvas and outer wool, I padstitched another layer of canvas in matching silk, through all layers, to stiffen and shape the collar. The collar is lined in bias linen, and the body lining sewn to the collar.
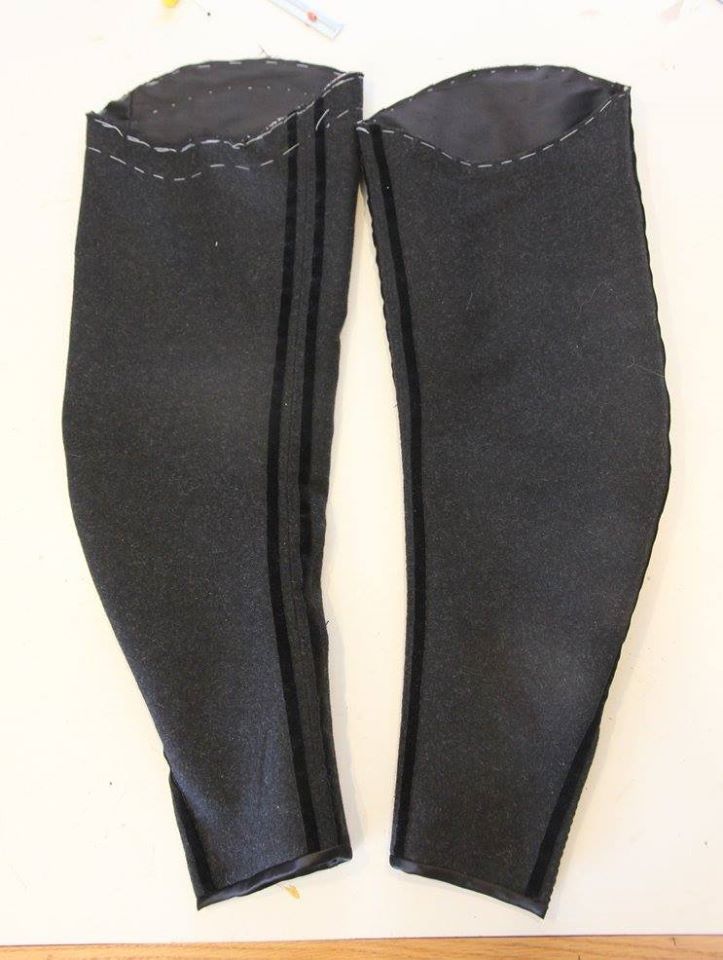
I sewed and pick-stitched the sleeve in-seam, then added the velvet ribbon detail to the seam and wings. I sewed the out-seam, pickstitched it and added the ribbon – trickier in the round. I bound the cuffs in silk satin, made up the linings in silk taffeta and basted them i. I folded the wings, basted them to the peak of the sleeve, ready to insert.

I basted the completed sleeves into the armscye and then hand-sewed using backstitch. So many layers at the peak! Then I trimmed back the seam allowances, whipped over the allowances and then covered the seam with a bias strip of silk taffeta. This was a new approach to managing the sleeve – not forcing the seam to the body or sleeve means it sits nicely, and the silk strip prevents wear.
Pewter buttons sewn at the very edge of the doublet and sleeve vents – and it’s finished!


Venetians
Gnagy’s first book did not include breeches patterns, so I updated the Venetians pattern I had developed for Nico’s green wool suit with a shaped waistband (and corresponding fall at the front section).
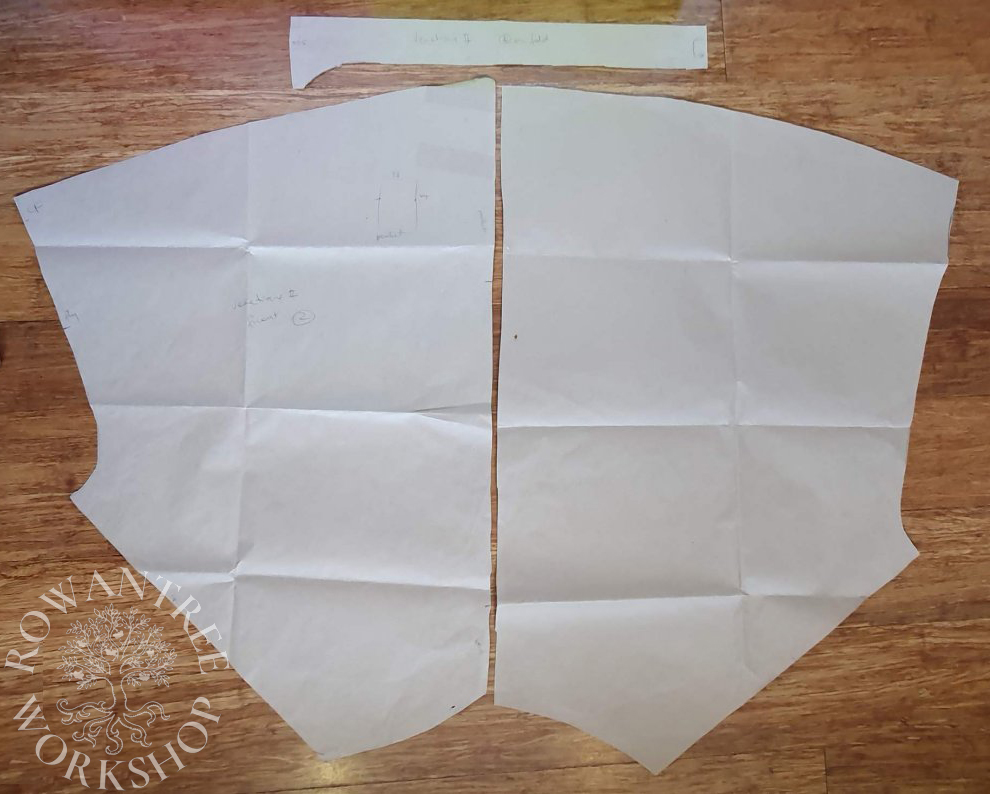
I cut the pieces out in the wool and in some grey linen I had in stash. I cut the huge pocket bags (38 x 43cm) from black linen, since they might show in the finished garment. This very long pocket bag is seen in historic examples, and ensures things do not fall out when sitting down.
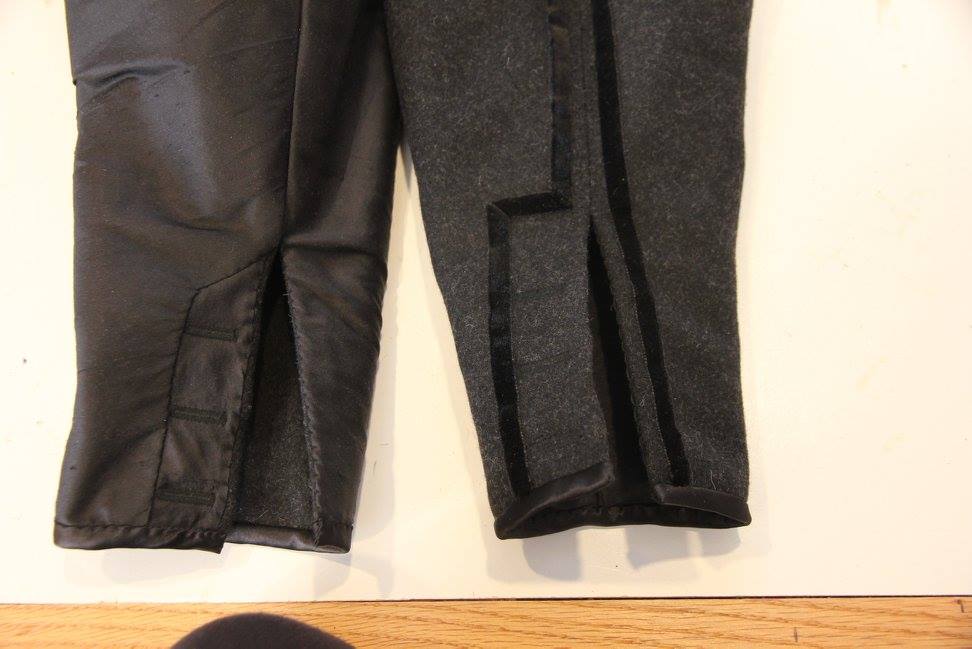
I machine sewed the outer seams, leaving the opening for the pocket, then hand-sewed the velvet ribbon to decorate the seam and pocket. I sewed the inner leg seams and crotch seam and pressed the seams well. I lined the waistband, leaving the lower edge open.
The pocket is made by sewing the side seam to the mark, then flattening this so the seam is in the middle, then sewing the base. I hand-sewed this into the pocket slit, then pick stitched the open edge to ensure it stayed flat.
I made up the lining, then basted this to the top of the wool, enclosing the top of the pocket bag. Then I pinned this to the waistband, matching the front, back and side points. I pleated the Venetians onto the waistband, away from the pock, towards the centre back, making an inverted pleat at the seam. Then I pleated away from the pocket towards the front,, leaving a flat area at centre front.

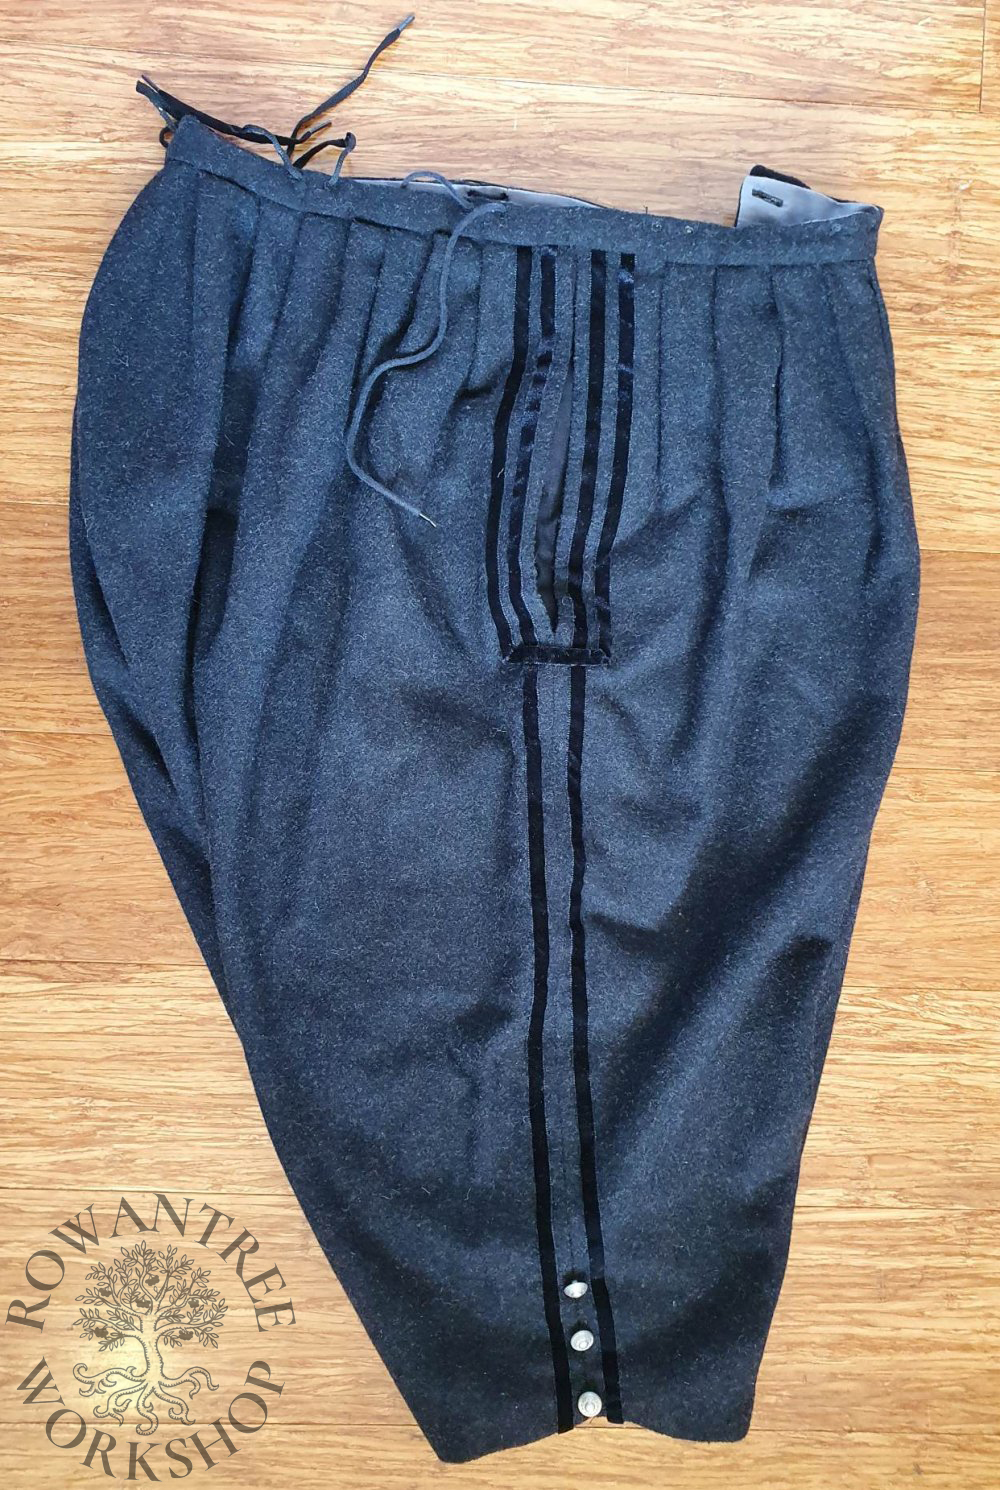
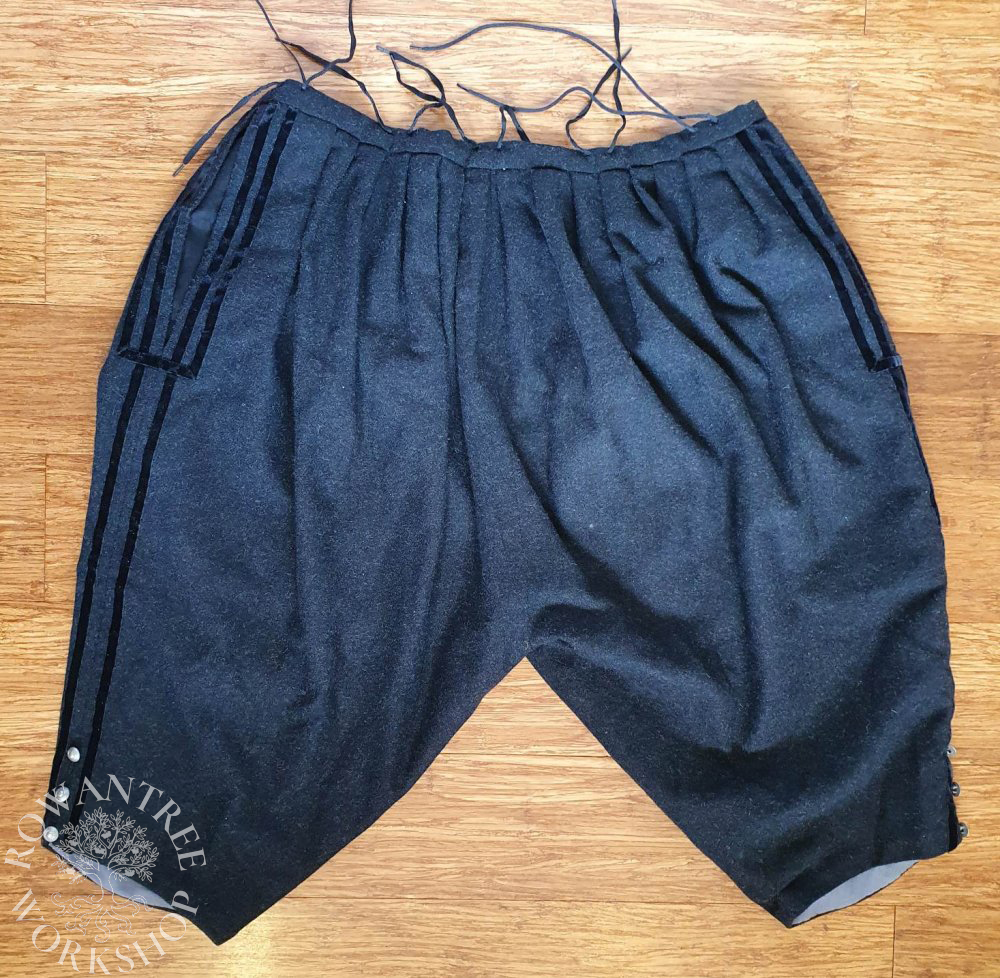
I machine sewed the Venetians to the waistband, then hand-sewed the lining over the seam. I hand-sewed 9 pairs of eyelets into the waistband, to match those in the lacing strip on the doublet and worked 3 buttonholes down the front. Finally, I slip-stitched the leg cuffs and sewed on the buttons.
I made interim points from shoe laces to tie the Venetians to the doublet (needless to say, these have still not been replaced by better ones).
Nico loved the suit – the look, the fit and the comfort. It has become a mainstay of his Elizabethan wardrobe.

Photo: Robyn Spencer

Photo: Robyn Boyer