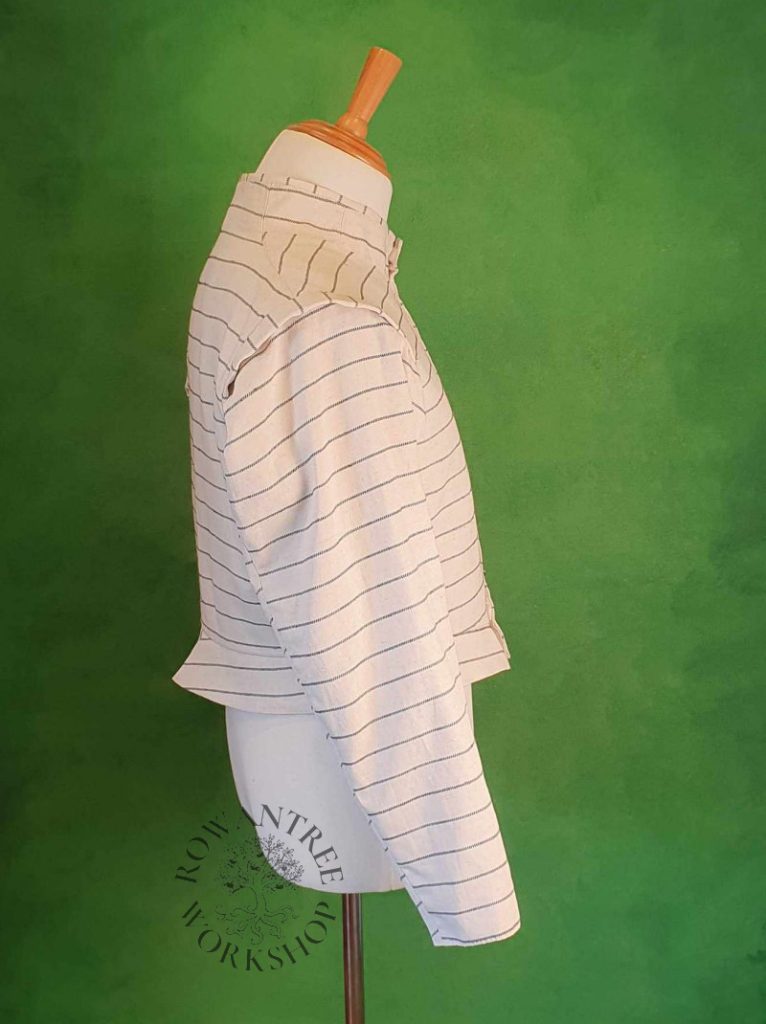
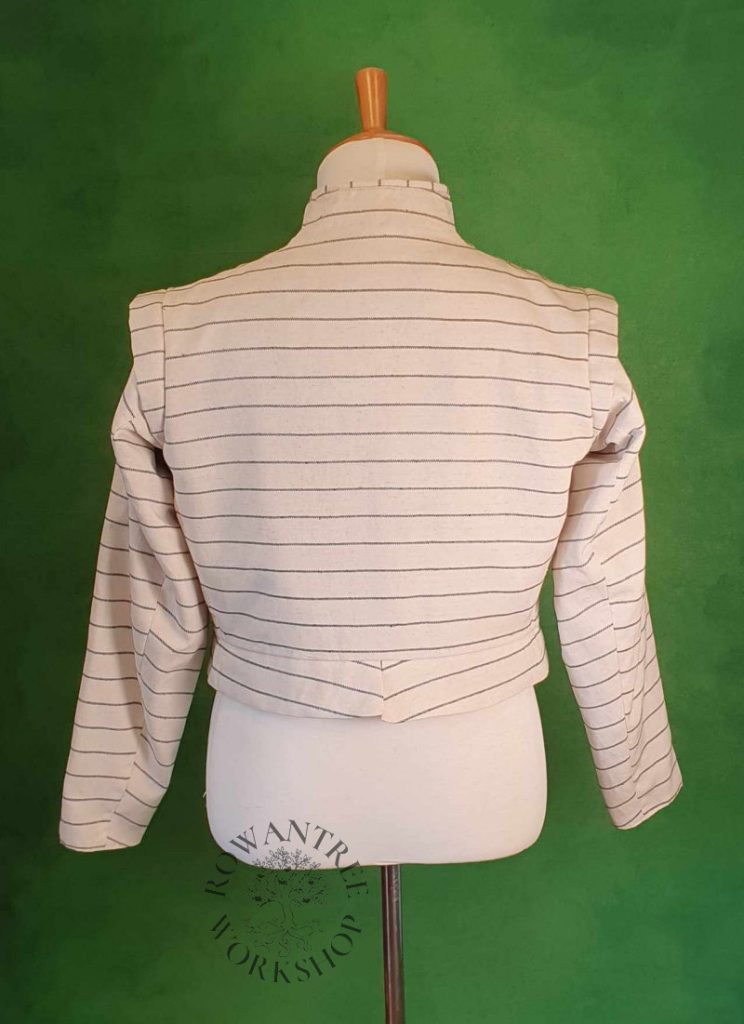
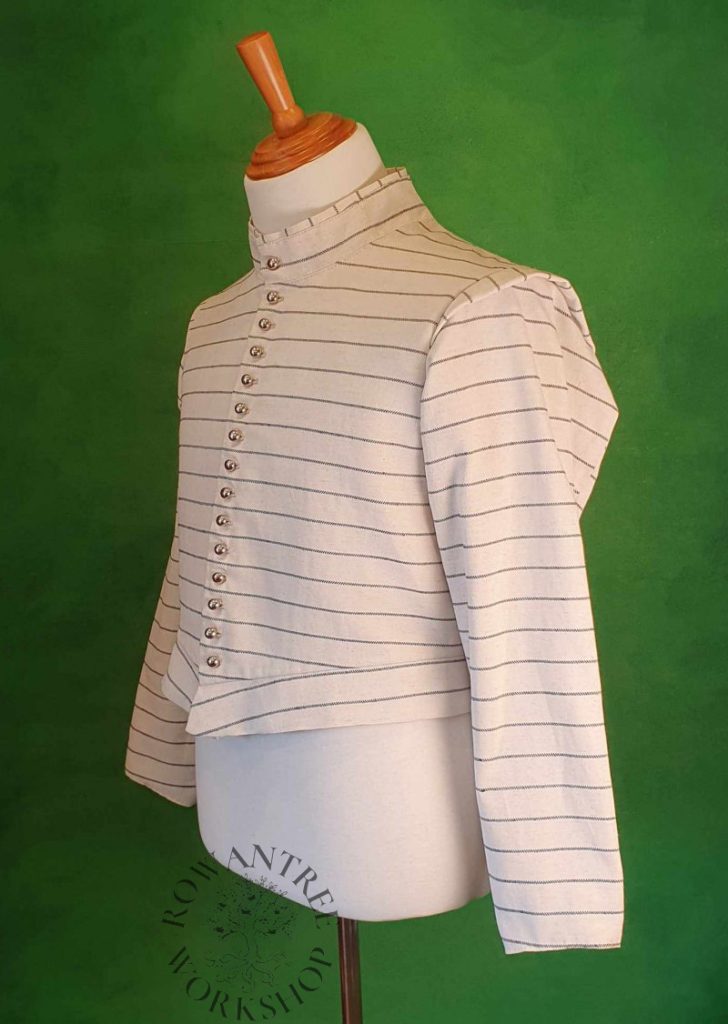
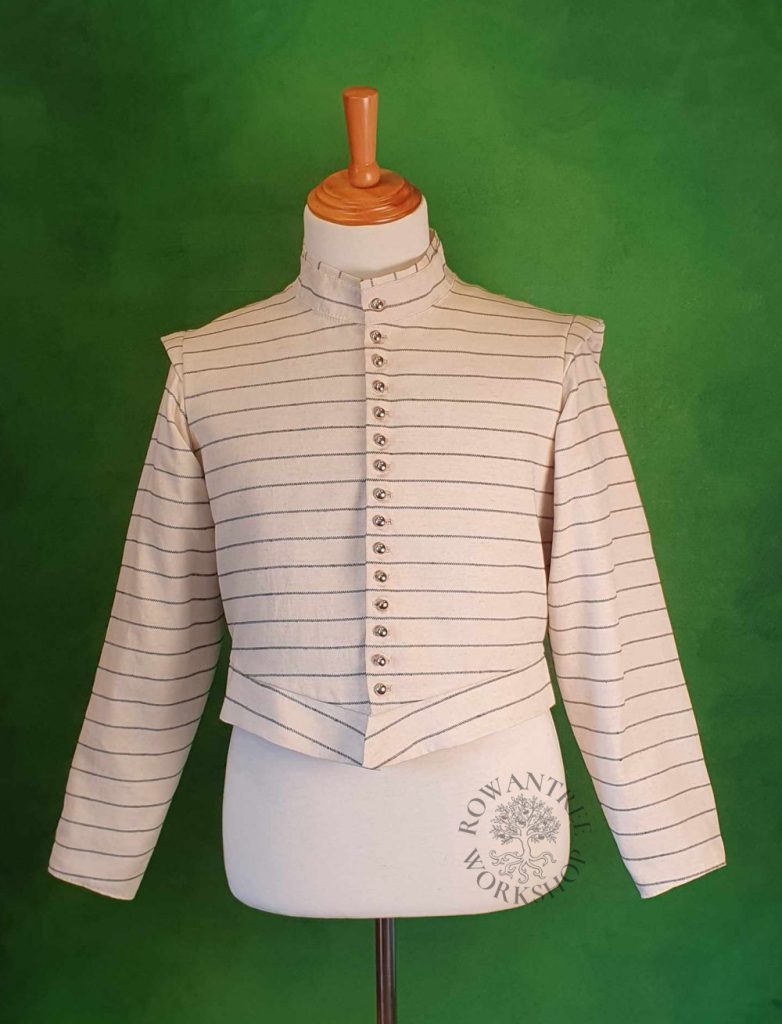
A summer doublet in striped linen, suitable for a lower-middle class 16th century man, or a noble man engaged in sport. This is based on Italian examples, but such doublets were popular across much of Europe at this time.
My husband was really pleased with the olive wool doublet I made him for archery: he could draw and release the bow with no restrictions. In fact, he doesn’t notice it at all! But the weather has turned warm and he needs something lighter to wear on the field.
I remembered some striped mid-weight linen I had – raw linen with navy twill stripes, which would work really well for the job. And I needed a handsewing project…
I went through my stash to check I had all I needed: canvas, lightweight raw linen for lining, buttons… Hmm. Not enough cast pewter buttons in the right style, but some modern ones that were the right shape, if a bit too shiny for my liking.
I momentarily considerered carving a soapstone mould and casting some (it’s been a while since I did some casting), then hauled myself back from that side-quest! I already had a project being dragged out by side quests (the casework project) – so this needed to be a straightforward build.
Research and Design
The giubbione is inspired by the huntsman in the 16th century fresco from the Villa Barbaro, shown below. Such garments were worn by servants and ordinary people, and also by the wealth for hunting or other sport. Similar doublets were across other European countries, although in many regions they were worn as the middle layer under a gown, cassock or Rock.
Although not as common as wool or silk (for the wealthy), linen and other vegetable fibres were used for such garments, even amongst the wealthy. The high end, fashionably slashed guibionne of Antonio Petrucci (d.1585) is made of undyed linen, as is that of a young boy (1520-50), conserved in the church of San Domenico in Naples (Landini, 2011).
The main inspiration for this garment is the white guibionne worn by Paolo Veronese in the fresco below, with its stripes and silver coloured buttons. Horizontally striped doublets were also popular for nobility in the mid 16th century, as can be seen from the extant doublet of Don Garzia de’ Medici, and the painting of Don Carlos below.
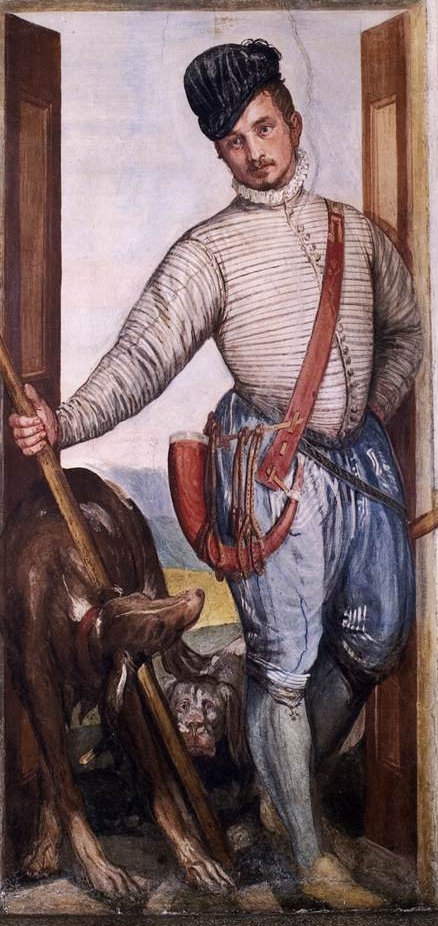
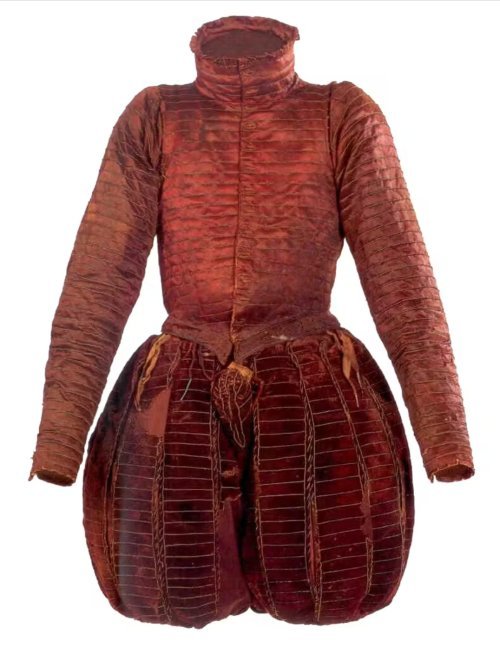
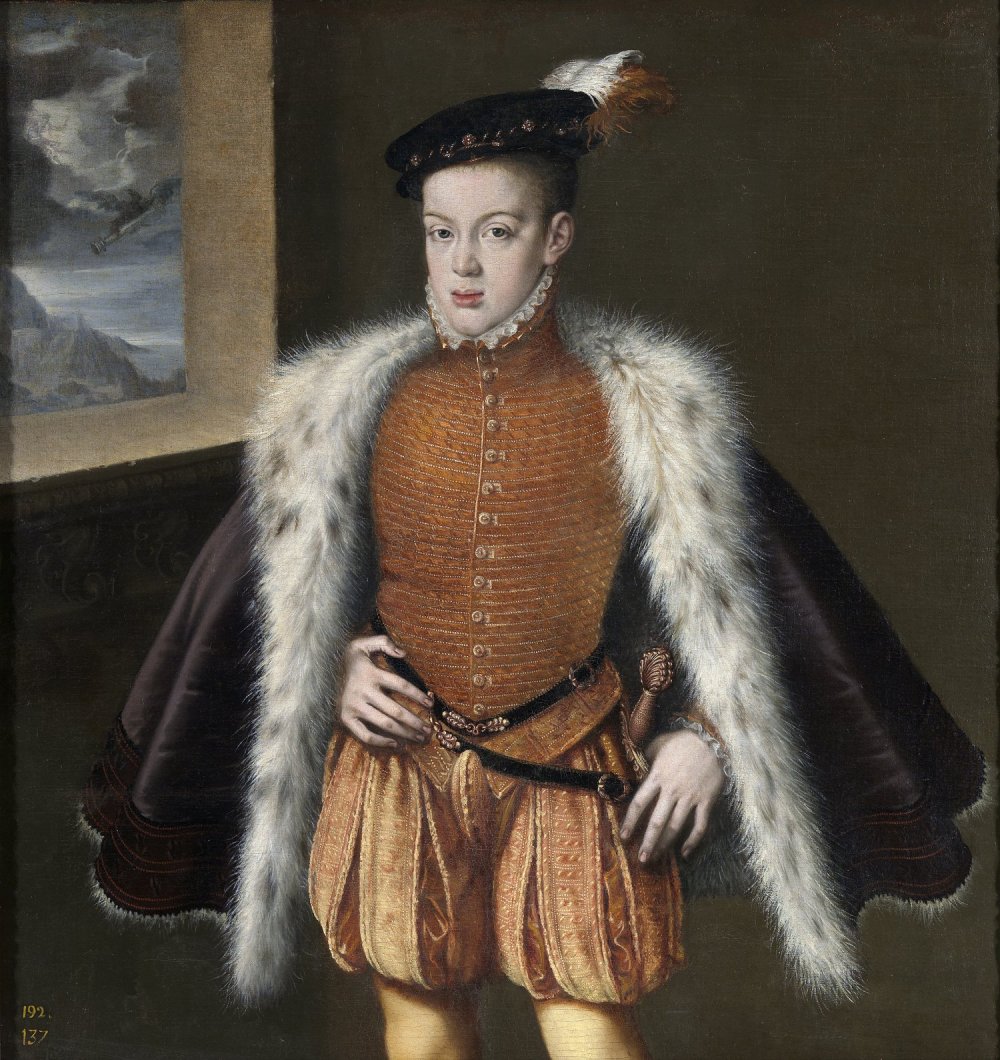
Like the olive wool version, this doublet will have a roomy sleeve with small wings and fitted cuff, no peascod and a moderate number of buttons. The stripes in the linen provide decoration, but will need to match well to look good.
Construction
I didn’t need to make a new pattern, since I can use the one I developed for the olive wool doublet and make minor adjustments as needed:
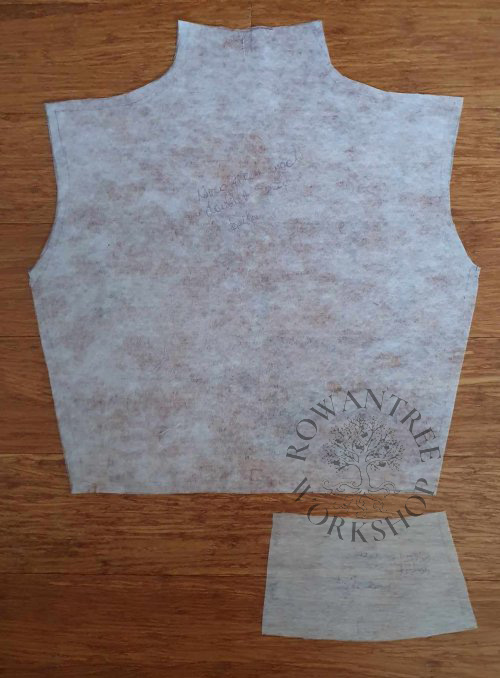
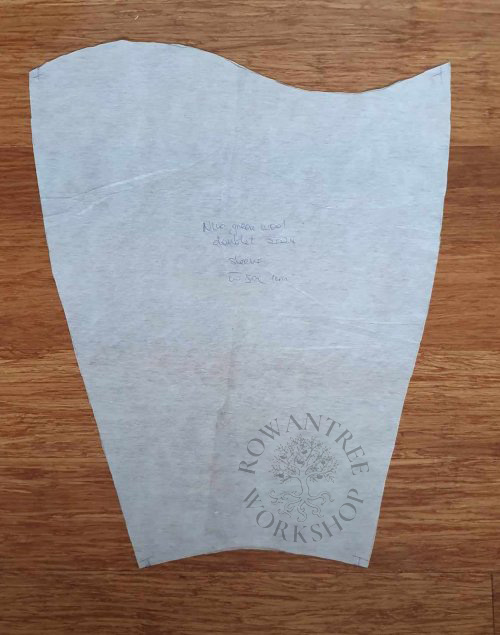
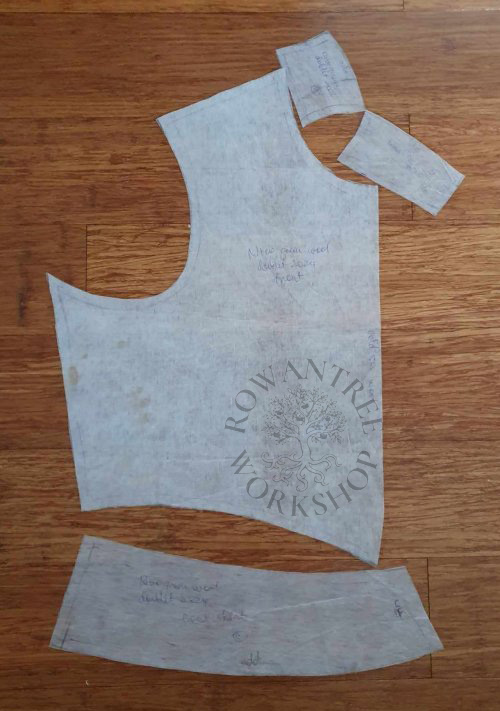
I dug out and the linen and washed it – and then had to work through a number of issues:
- The weight was lighter than I remember (lots of sizing?). But I can interline the body and the light sleeves will not be an issue.
- Only 1 meter. But I got the olive doublet out of the same, so it should be OK.
- Stripes. So I have to match these, which means careful placement (unlike the wool). I’ll need to shorten the collar and skirts. And I can’t match them on the sleeve seam – this would need a 2 part sleeve, which needs more fabric than I have.
- Stripes look slightly different front and back – woven as a tiny twill. Rats. No way I can cut this in a one-sided layout. I’ll just have to accept the difference, which is only visible if you are close.
- (discovered after I had cut everything out!) Stripes are not exactly the same distance apart across the fabric, due to weft size variation!!! Argh. Will have to steam stretch/shrink where this is critical.
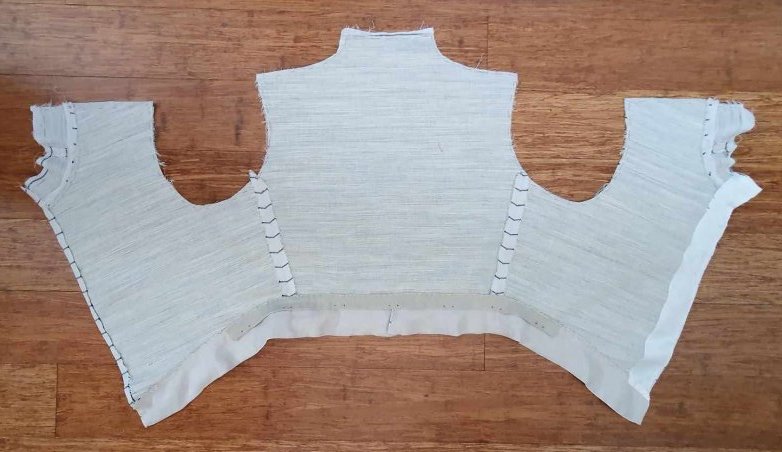
I cut the body pieces in canvas and sewed tape down the front edges for reinforcement, since I won’t be binding the front edge. I also cut the skirt and collar pieces in canvas, but left the sleeves soft.
I mounted the striped linen onto the canvas, trying to find the best compromise of matching stripes and keeping the shape. Some of the edges on the fronts don’t match the canvas – they should be within the seam allowance, but I’ll need to be careful.
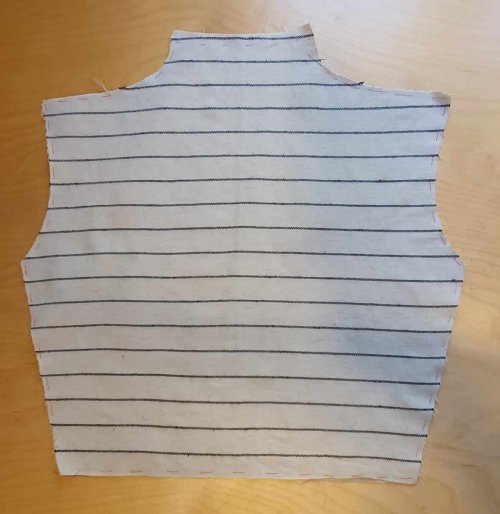
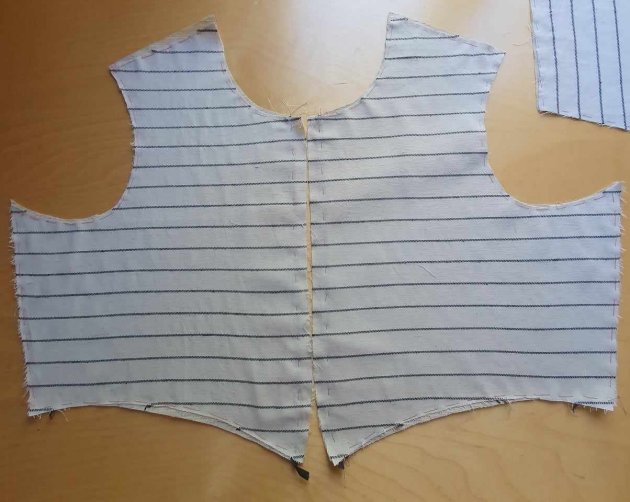
Then I packed it all up…
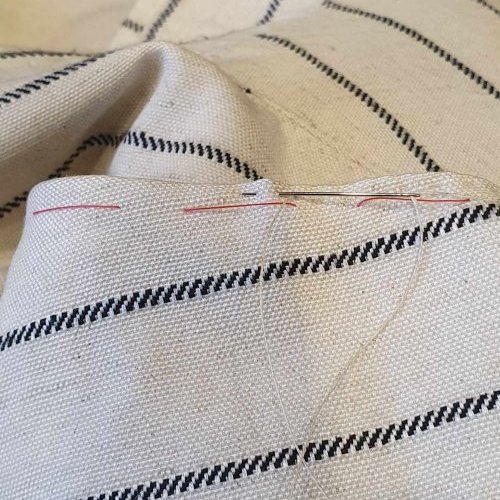
In the car, I sewed the collar sections together, carefully matching the stripes. I sewed the collar to the fronts, then turned the front hems and basted them to the tape.
Back home, I sewed the side seams, carefully matching the stripes, then pick-stitched.
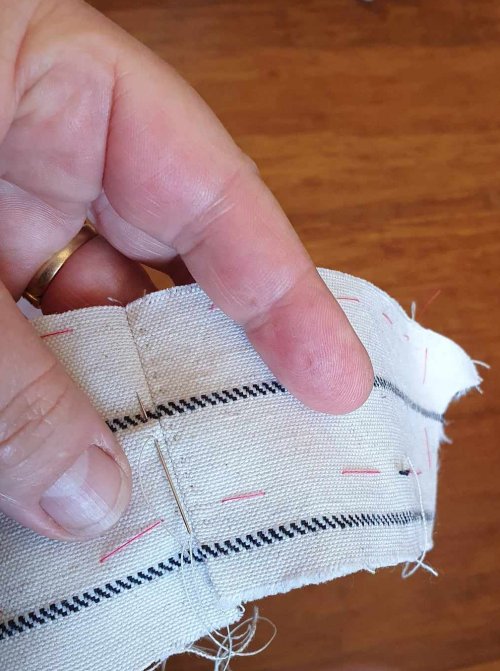
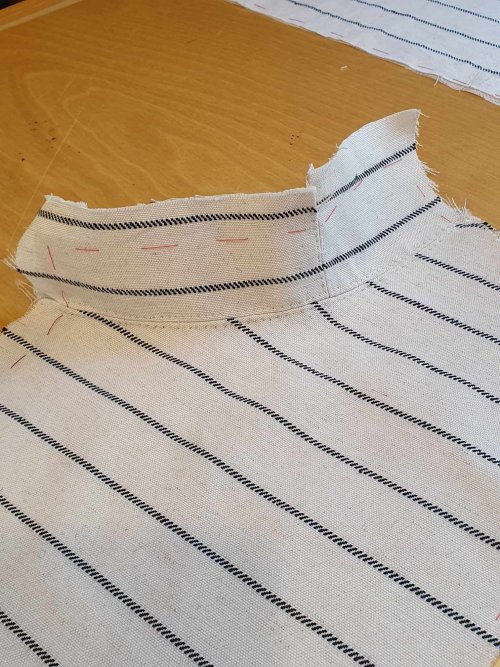
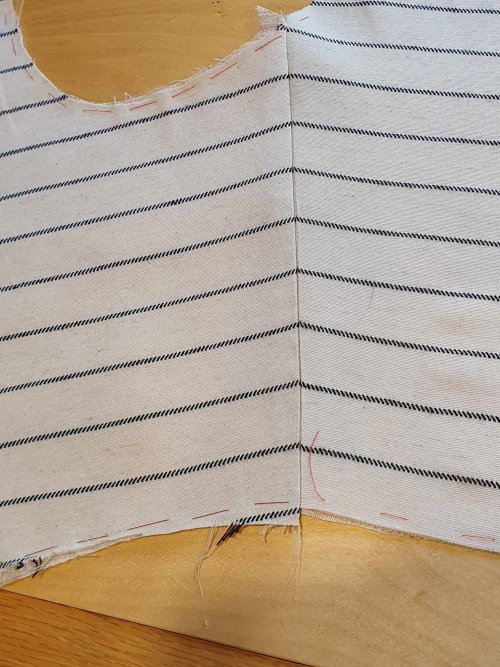
Next, the two skirts. The fresco example does not have skirts, but other low class examples do and Nico preferred them. I’d decided to run the stripes horizontally, in line with contemporary paintings (even if those were of higher class). I sewed the mounted pieces together, then turned the side and base hems and catch-stitched to the canvas. I lined them in natural linen, then sewed them to the body.
After they were on, I wondered if they might have been better run vertically – certainly easier than matching the lines, but too late now!
I made up a lacing strip in heavy linen and worked 7 pairs of eyelets in heavy waxed linen thread, then sewed this to the waist seam. I whipped the waist seam and lacing strip up to the canvas, being careful not to catch the outer linen.
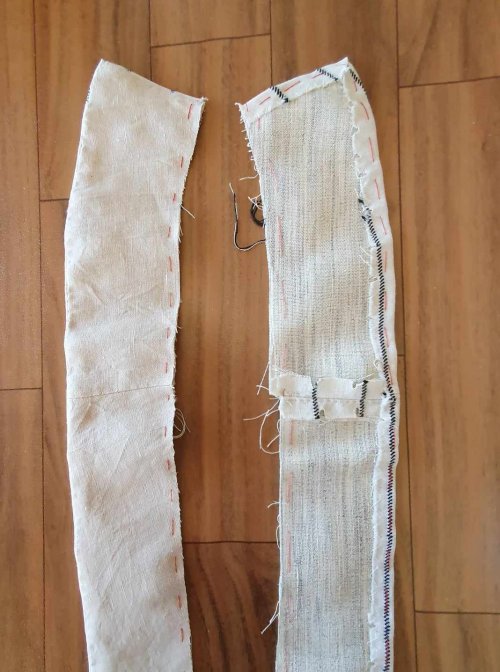
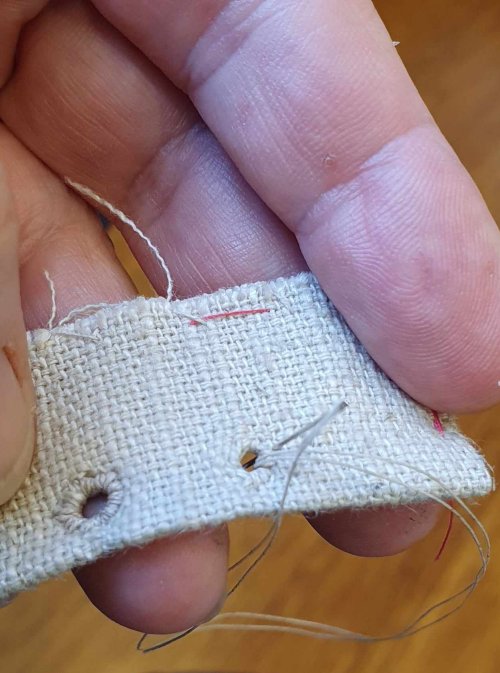
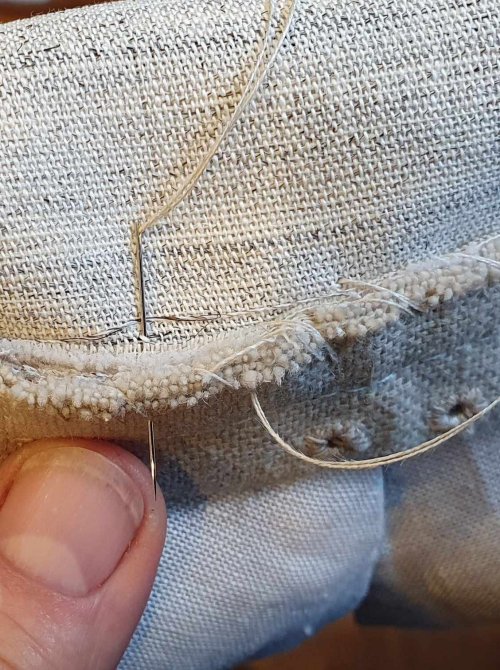
I faced the right front edge (left when worn) with a strip of bias silk taffeta, to support the buttonholes.
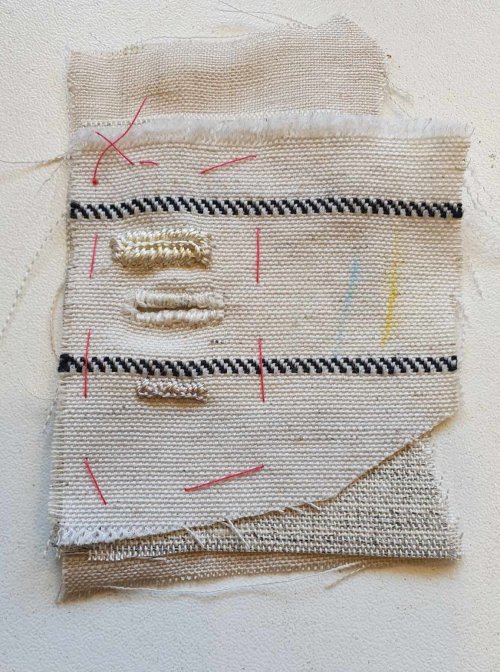
My favourite buttonhole silk is YLI 1000 denier, but I didn’t have any offwhite – and there was no way an order was going to arrive in time over the holidays. So I did some tests to confirm the size and compare different threads I had available in stash (two weights each of linen and silk) and check the hole size. I liked the Au Ver a Soie perlee the best (a gift from a friend), even though the colour is a light grey.
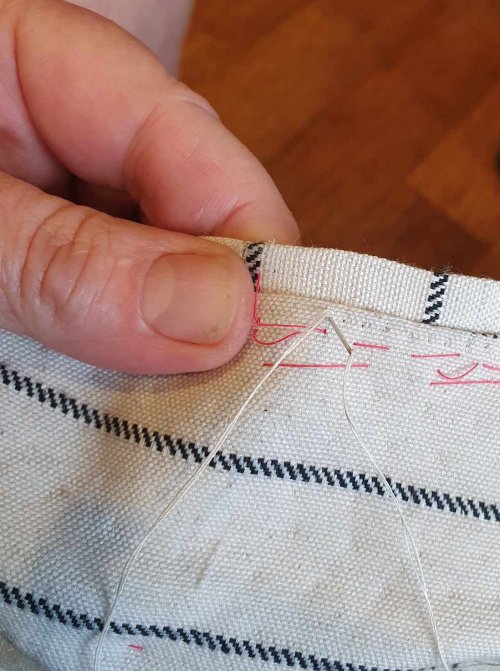
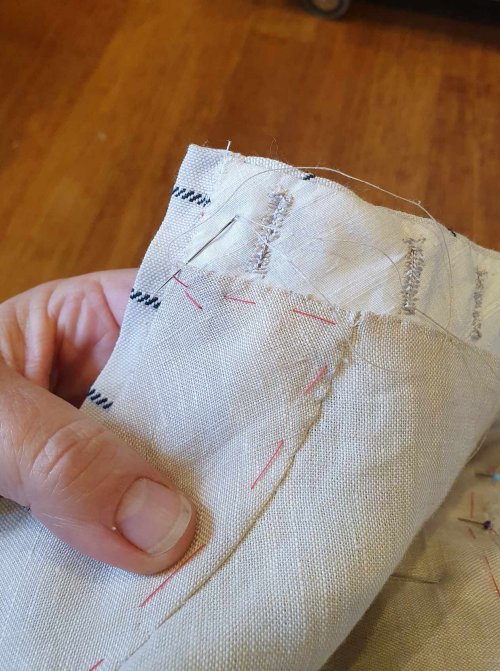
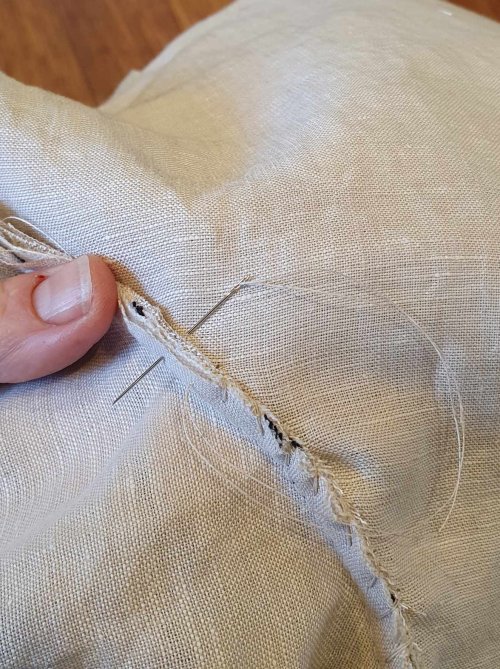
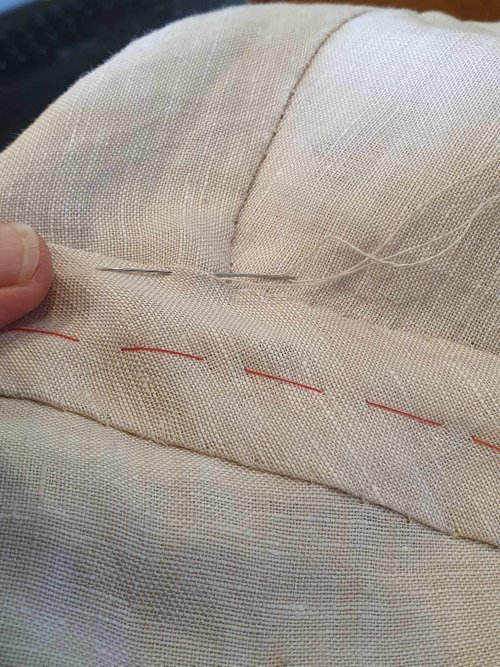
I basted around the buttonhole strip, marked the holes and then sewed around each using fine silk thread. I cut them, then whipped around with the silk thread to restrain the loose threads (this linen frays!) then worked the buttonholes in the heavier silk, in buttonhole stitch with overcast ends.
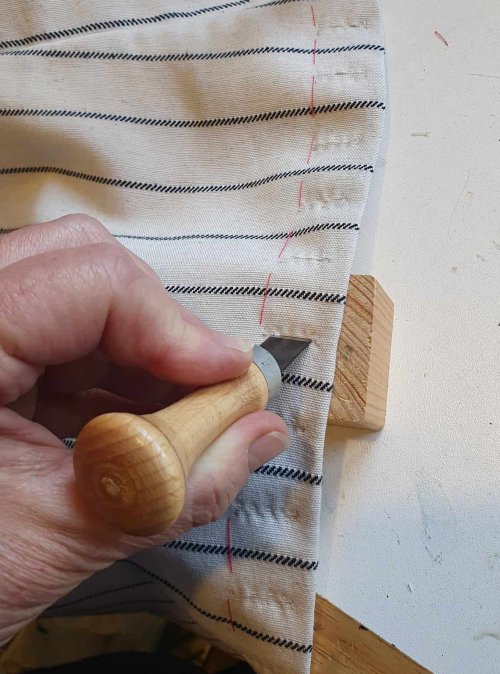
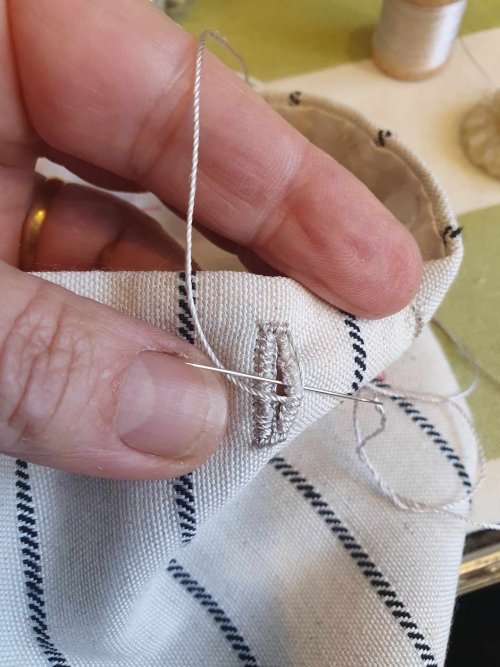
With the buttoholes finished, I lined the back (with extra vertical ease) and then the sides, basting loosly at the top, since I would unpick them in the next step.
I sewed the shoulder/collar seams and pick-stitched them – really pleased that I managed to line up the stripes along the collar. The pickstitching here will help secure the minimal seam allowance on the striped linen, due to the cutting issues. It would not work without the canavs support!
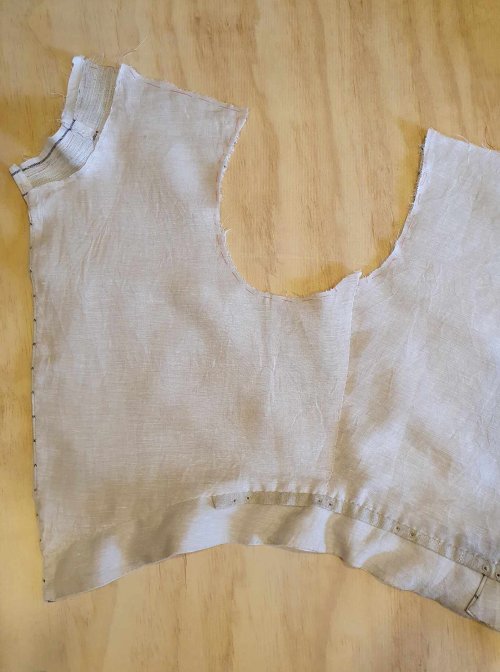
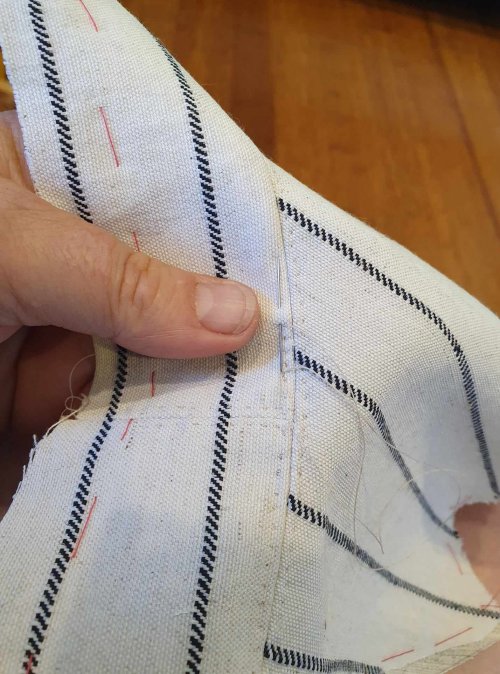
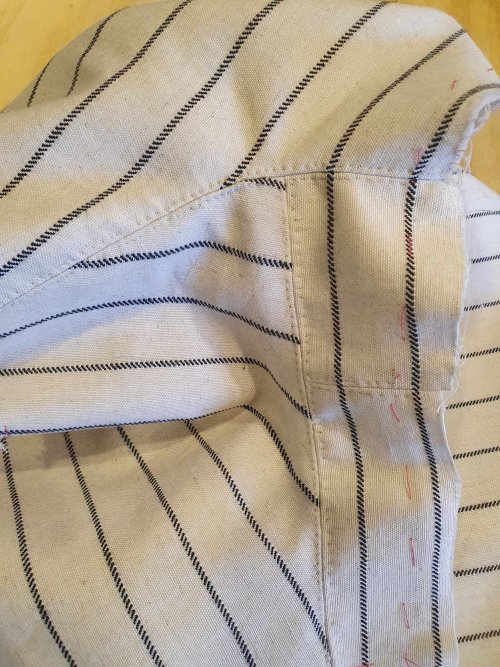
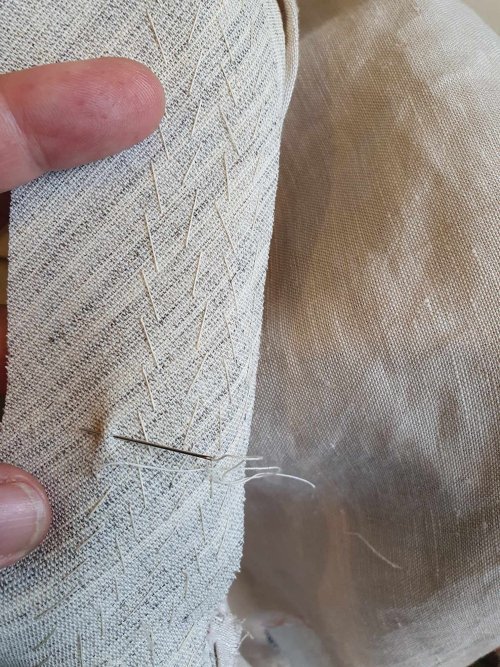
To stiffen the collar, I pad-stitched an extra layer of bias canvas, stitching through all layers with off-white silk.
At this point, I decided the collar was not going to be high enough. Looking back at Landini (2011), I could see that the linen guibbone attributed to Anttonello Petrucci (1585) had an additional strip of clipped linen along the top of the collar (a double strip in fact). This linen frays too much to clip, but the stripes set vertically would give a similar effect, so I pieced a strip together from my scraps and sewed this along the collar.
With the collar sorted, I lined it with a strip of bias linen. By doing this last, it makes it easy to replace when it wears (which I know from experience it will).
On the the sleeves.
I lined the wings with medium weight linen, folded and basted them, ready to add. I sewed the sleeve seams – the different angles mean there is no way to match the stripes (2 part sleeves would have been better for this fabric, but not possible with the limited yardage).
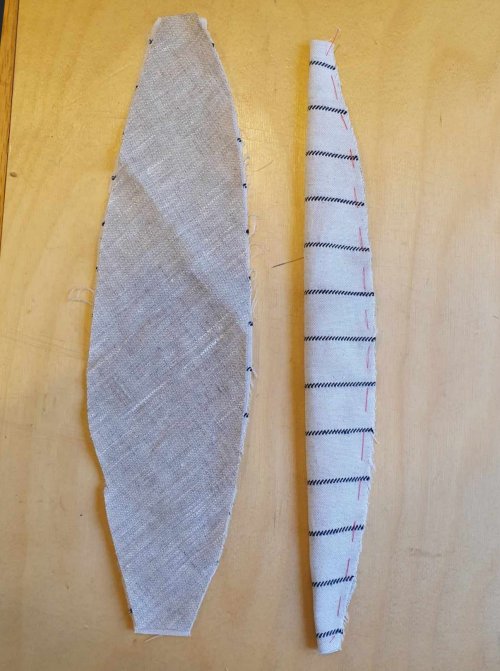
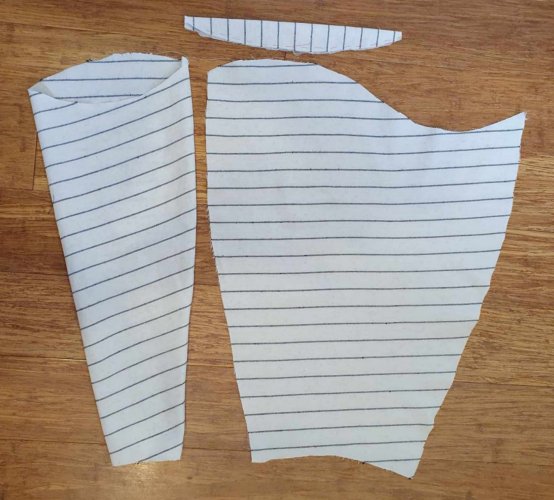
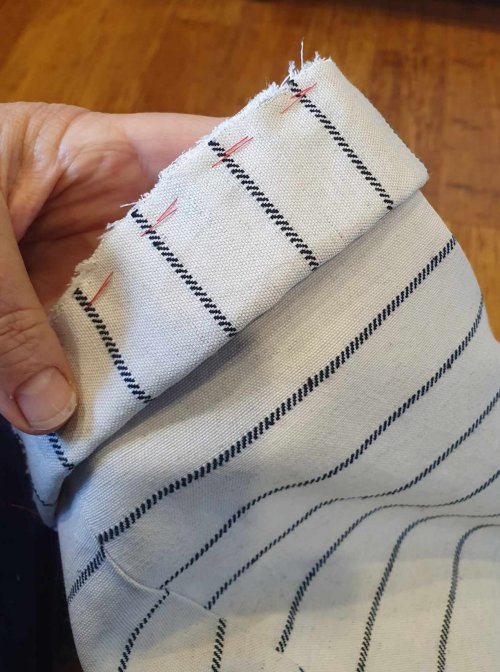
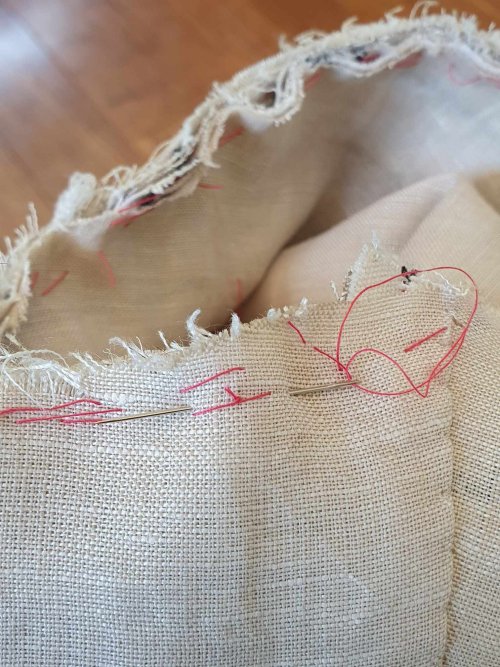
I based the wings to the sleeve heads, then basted them into the armscye. After sewing, I trimmed a little and then whipped the seam allowances to the body – being very careful not to catch the outer layer of linen. Then I sewed a bias strip over the seam to provide a smooth lining.
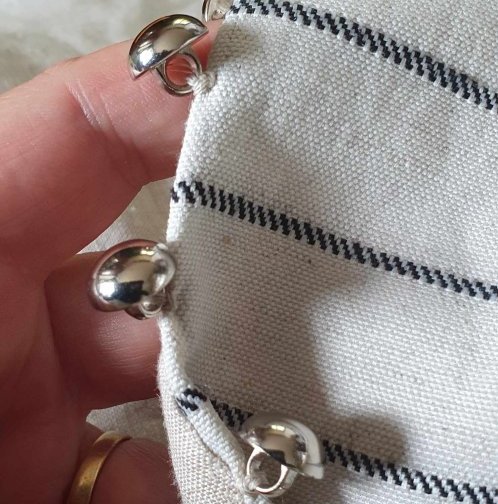
Now for the buttons. Briefly regretting my decision not to go off and cast some custom buttons, I sewed the buttons I had onto the front edge, being sure to catch the tape sewn to the canvas edge for strength. (I can always replace them the next time I’m in a pewter mood.)
I basted the cuffs and tried the doublet on my husband – perfect. Since it was a single layer, I pickstitched the cuff edge, rather than stay-stitching to the interlining. I sewed down the cuff lining and it’s done!
And it’s done!
I do wish I had realised the issues with the stripe variability before I cut – it would have made things a lot easier. But I won the stripe battle, and am pleased with the end result – it looks good and should be cool to wear.
Now over to Nico to test in the field…
