

A surprise gift for a friend – a leather case for his 15th century spectacles.
My friend Maelgwyn had ordered a set of prescription spectacles in 15th century style, with a wooden frame. I thought it would be a nice surprise to make him a matching 15th century leather case for them, decorated with his heraldry.
Research and Design
Cases made of stiff leather (casework) were common in the middle ages and renaissance for holding, protecting and carrying all kinds of items, from pens to crowns. This technique is often referred to as cuir bouilli – “boiled leather“, but the leather is not actually boiled – this would make it shrink and turn brittle. Instead, the leather is wet-formed, which makes it stiff.
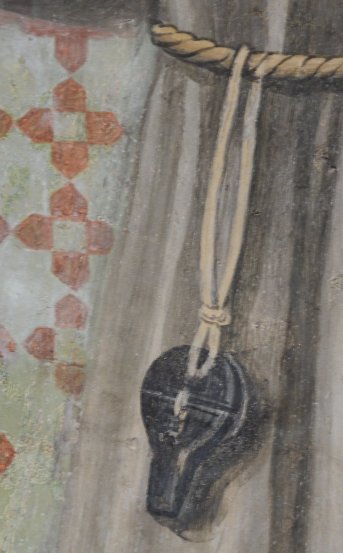
There are many examples of spectacles cases in contemporary art, but few extant examples. However, there are many other examples of medieval leather cases for various items. Most cases were dyed black, although there are also examples with paint and gilding. Leather cases were usually decorated with tooled or incised decoration, and are closed (and hung) with cords made of silk or leather in various colours.

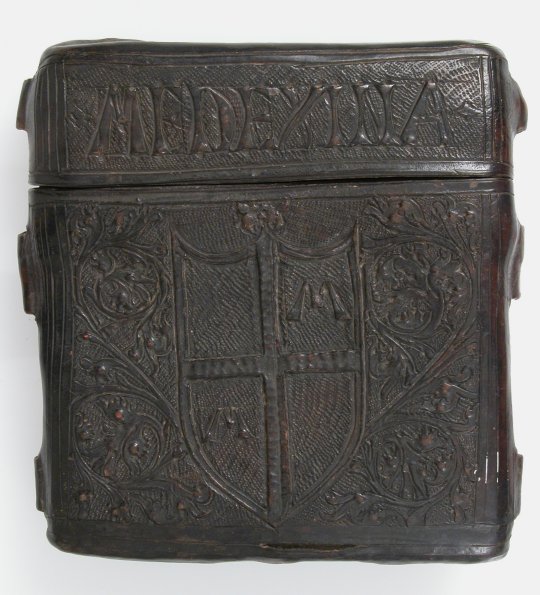
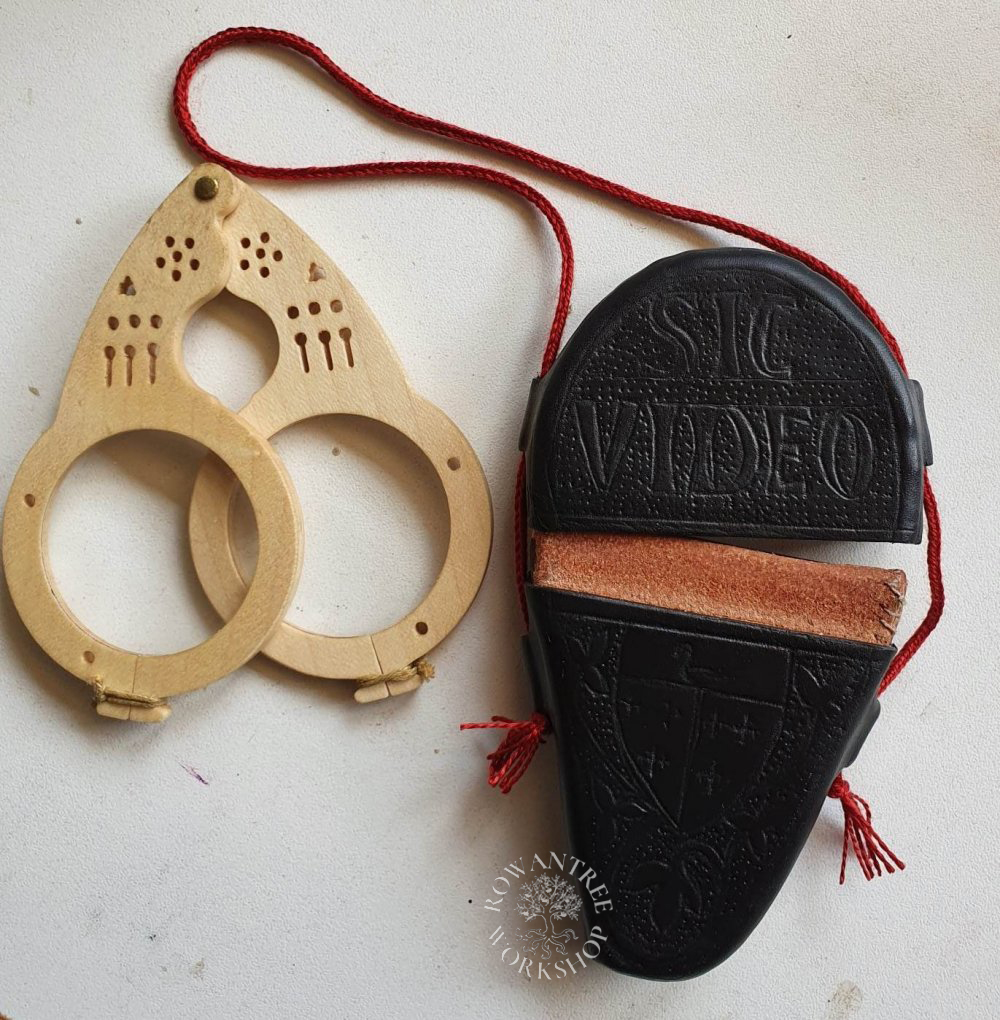
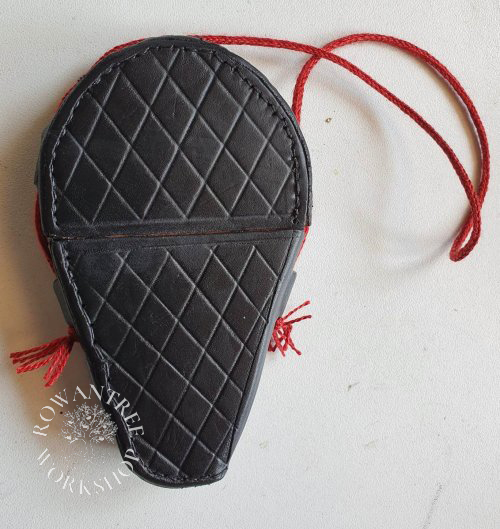
The two part case opens at the largest point on the perimeter, so you can get the spectacles out. The cords may be on either the flat or narrow faces – as you can see above. I designed the decoration based on a 15thc Book Case, with the text Sic Video (Latin for ‘thus I see’) above his device, with foliage and a punched background.
In Purses in Pieces, Goubitz (2007) describes the two layer construction: the inner layer is sewn flesh side out, using a simple whip-stitch. Then the outer layer is sewn grain side out, using box stitch or saddle stitch. This technique was common to the 15th century (in the 16th century, these joins were skived and glued rather than stitched).
Construction
The first step was to make a wooden mould, slightly larger than the folded glasses. I made a pattern around the mould, trying to minimise the seams. I used 2mm leather, mellowed overnight, and whip-stitched it flesh side out along one edge, moulding it onto the form and trimming as I went. Once dry, I cut the lining apart, allowing for the final overlap.


Then I repeated the steps, but this time, grain side out and using box stitch, offsetting the seams to reduce bulk. I used a fine chisel to cut slits for the cord slots (outer layer only), and inserted skewers to keep them open. While the leather was still damp, I tooled the front and back


Once dry, I cut the outer layer – careful not to cut the lining! I wet the lining extension and let it dry, to stiffen it. I dyed the outer case black and then glued it to the lining using Hirschkleber starch glue, as suggested in Covering the Blade (Volken & Goubitz 2020) for use with scabbards. It has a much longer open time than rabbit skin glue, and stiffened the leather nicely.
Finally, I made a hanging cord in red silk using a 5 bowe fingerloop braid.

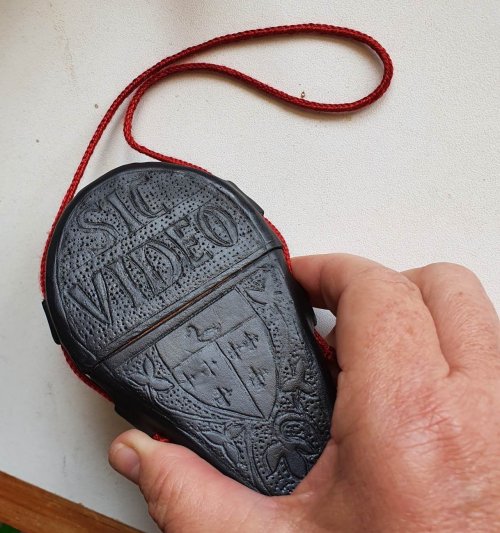
Maelgwyn loved the case 🙂
Afterthoughts
I’m still playing around with casework, refining my techniques. Next time, I will set the cord holes and let the outer layer dry completely. Then I’ll re-wet the sections to be tooled and work them one at a time – this should reduce accidental marking on the reverse face.