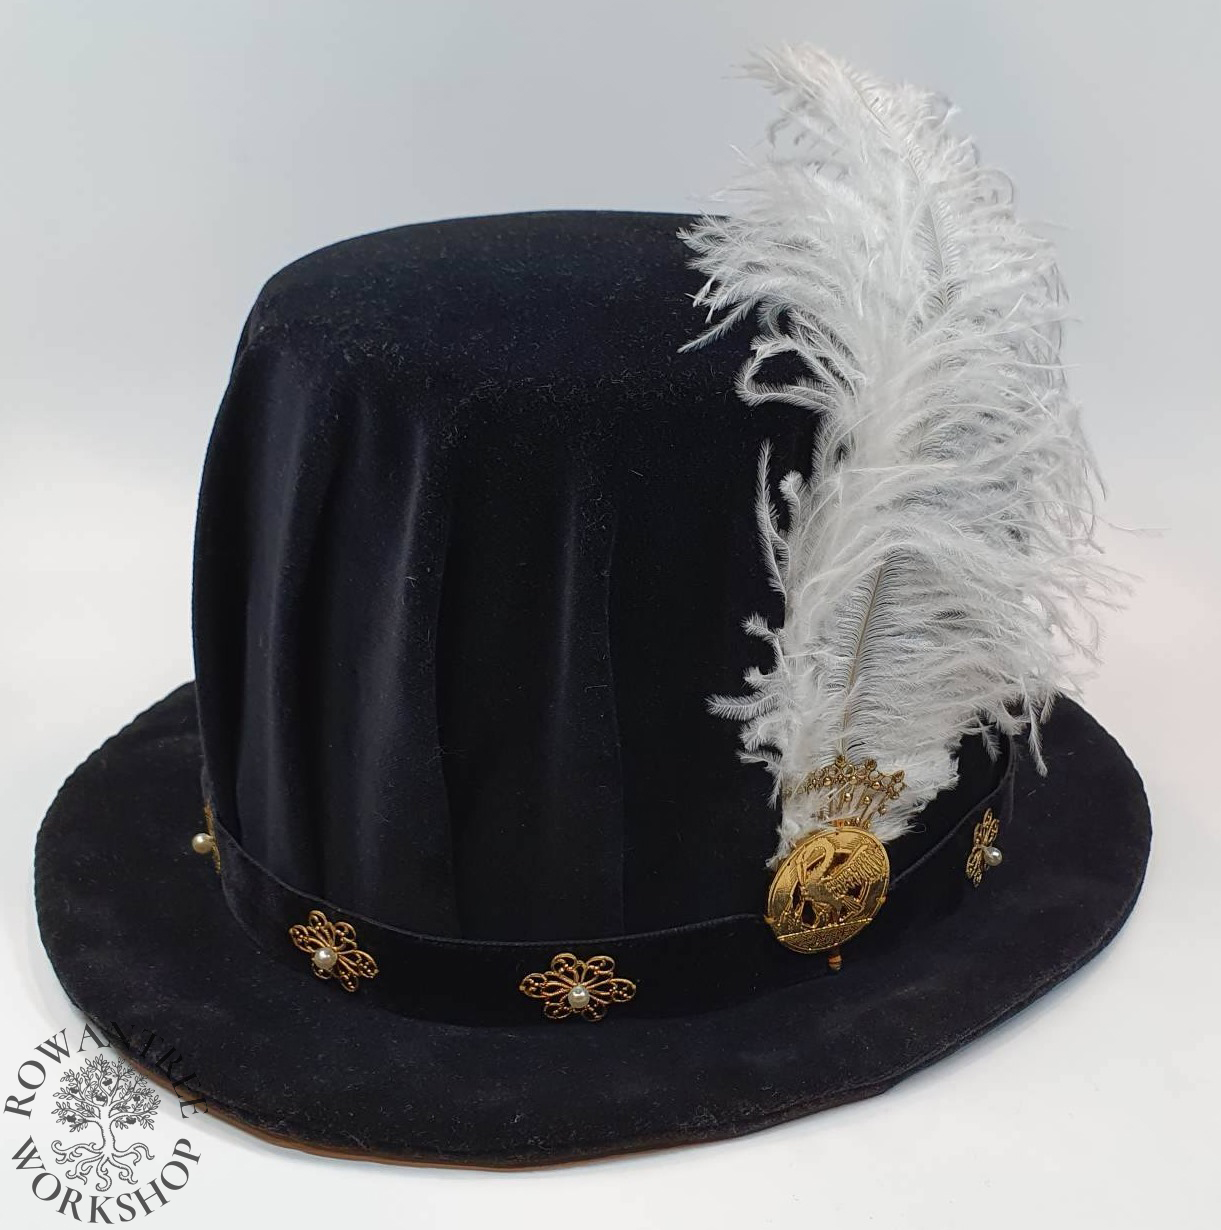
I was very pleased with this 16-pleat Elizabethan hat when I first made it in, but 10 years of wear and travel had taken their toll.
I originally made this hat (and many others) using buckram, wire and wool mull – the method I had taught myself out of theatrical hat-making books, such as From the Neck Up (Dreher, 1981). These hats look excellent when first made, but do not stand up to heavy use – or poor packing. And once the wire is bent and the buckram dented, it is impossible to fix completely.
I needed to replace the old buckram foundation with something more robust – and historically accurate.
Research and Design
In the 16th century, many of these pleated hats were made on a felt foundation, moulded to shape in a hat block and perhaps stiffened. Textiler Hausrat (Zander-Seidel 1990) notes the trade in hat blanks, bought in bulk to be trimmed and sold.
Foundations might also made of pasteboard – Patterns of Fashion 3 (Arnold 1985) has several images of hat foundations of different types.
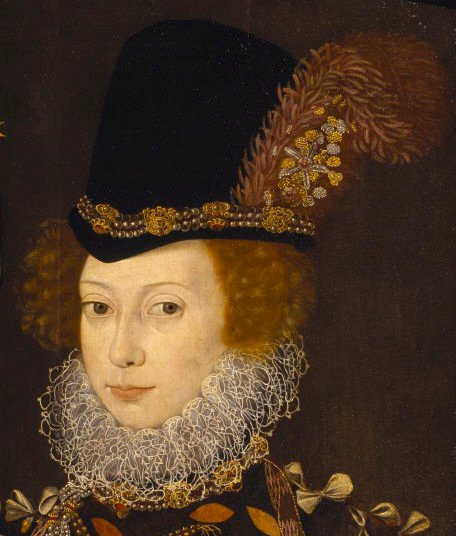
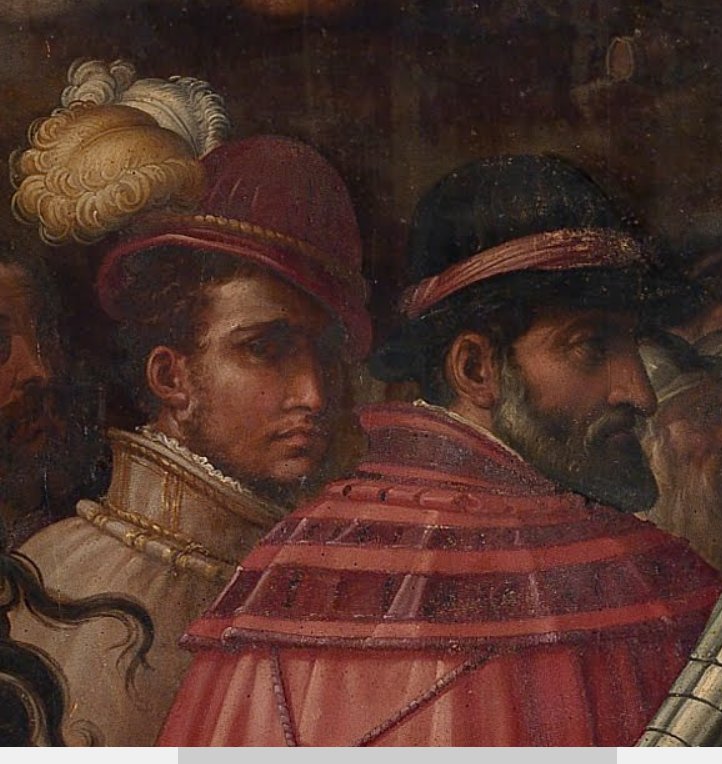
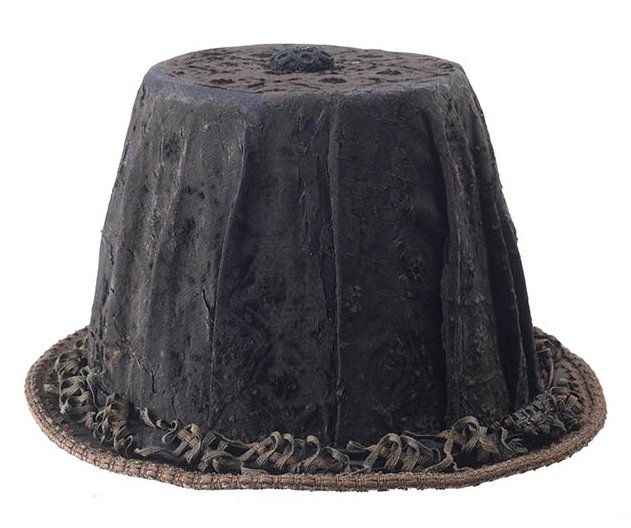
Source: Museum of London
The few extant pleated Elizabethan hats are covered in velvet or silk, and these fabrics are also clearly shown in contemporary artwork, along with richly decorated hatbands. Arnold’s examples include hats lined with silk, and silk linings can also be seen in Moda a Firenze (Landini 2011).
Construction
One option was to block a new foundation from a felt hood, but I had still not made the right hat block. A second option was to construct a foundation from sheet felt (a technique I use often) or even of pasteboard. But I found for a quick and easy solution in my local craft shop – a cheap felt top hat, meant for parties. About the right size, good proportions… $5 well spent!
First step was to remodel the foundation. I removed the plastic edge ribbon and checked the size, It needed a little stretching, so I steamed it and stretched out the headsize opening. I flattened the brim with the steam iron – the heat and pressure softened the stiffening. Once dry, I made a paper pattern of the crown and tip, to use for the lining.

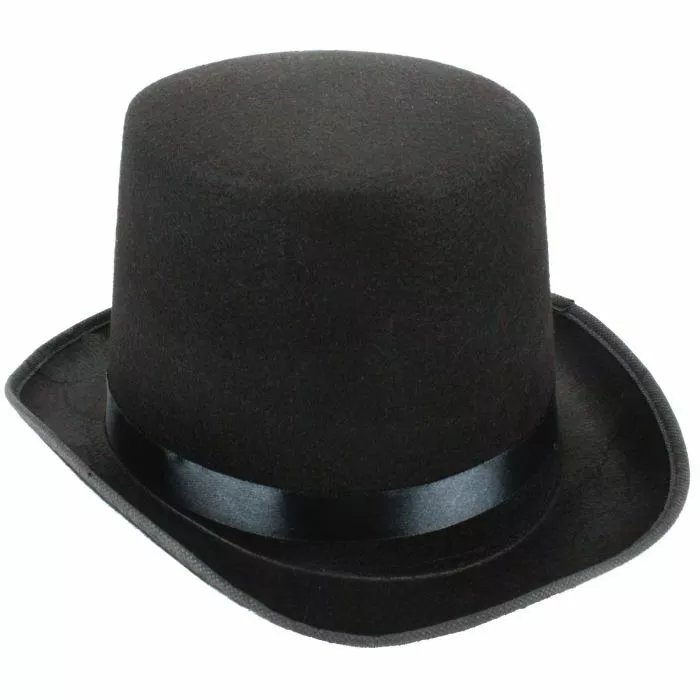
Next step was to strip the old hat – I planned to re-use the black velveteen cover and hatband if possible. The hatband and pleated top were in good shape, but the brim pieces had been glued to the buckram and would need replacing.
I used the felt hat as a pattern for the brim, and cut two ovals of matching velveteen, allowing 1cm all around, but not cutting the centres out.
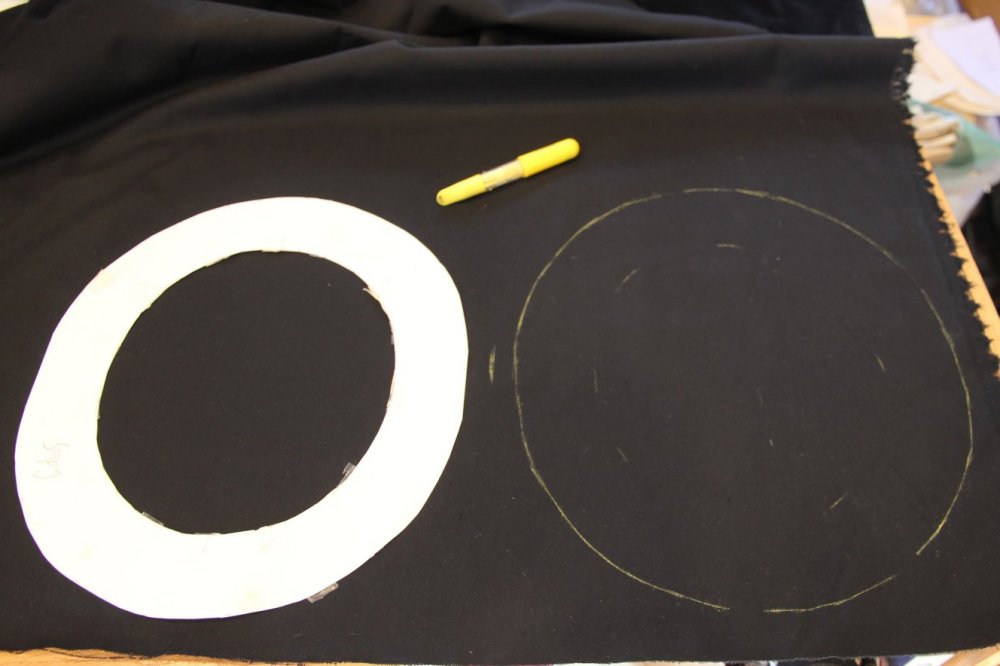
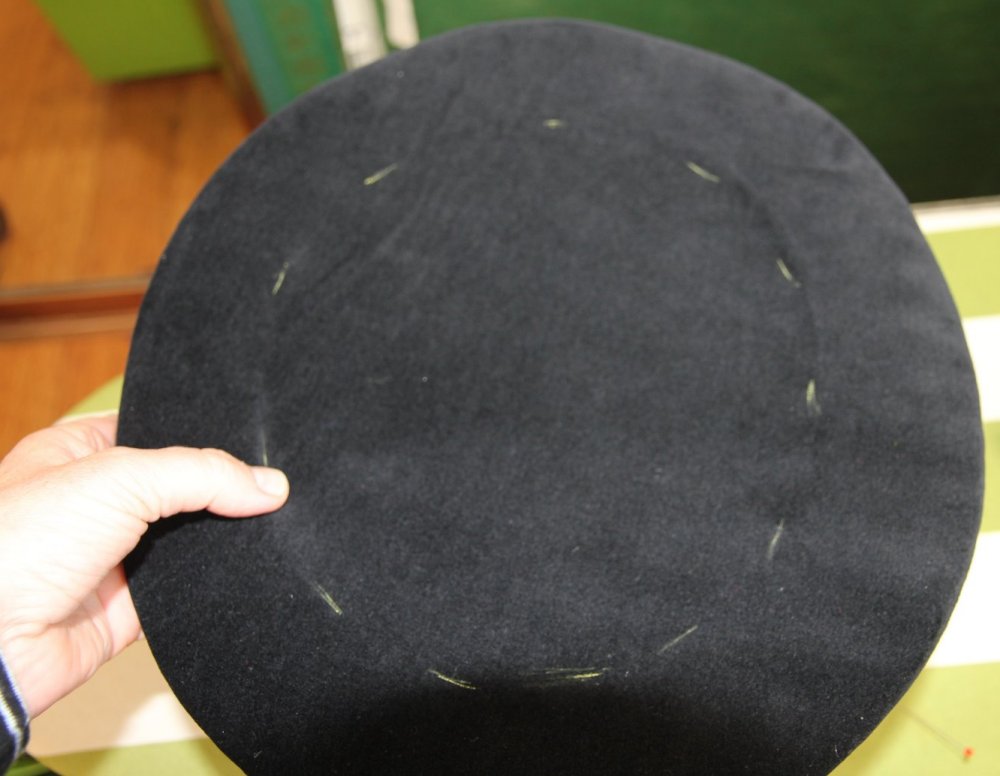
I pinned one oval to the underside of the hat, clipped the edge, folded over the felt and tacked it. Then I marked the opening, added 1cm and cut this out. I clipped the edge and sewed it to the inside of the crown. I used the cutout from this piece as a pattern for the upper brim, clipped the edges and eased it over the crown to cover the top of the brim. I turned in the outer edge and whip-stitched it to the lower edge – brim complete.
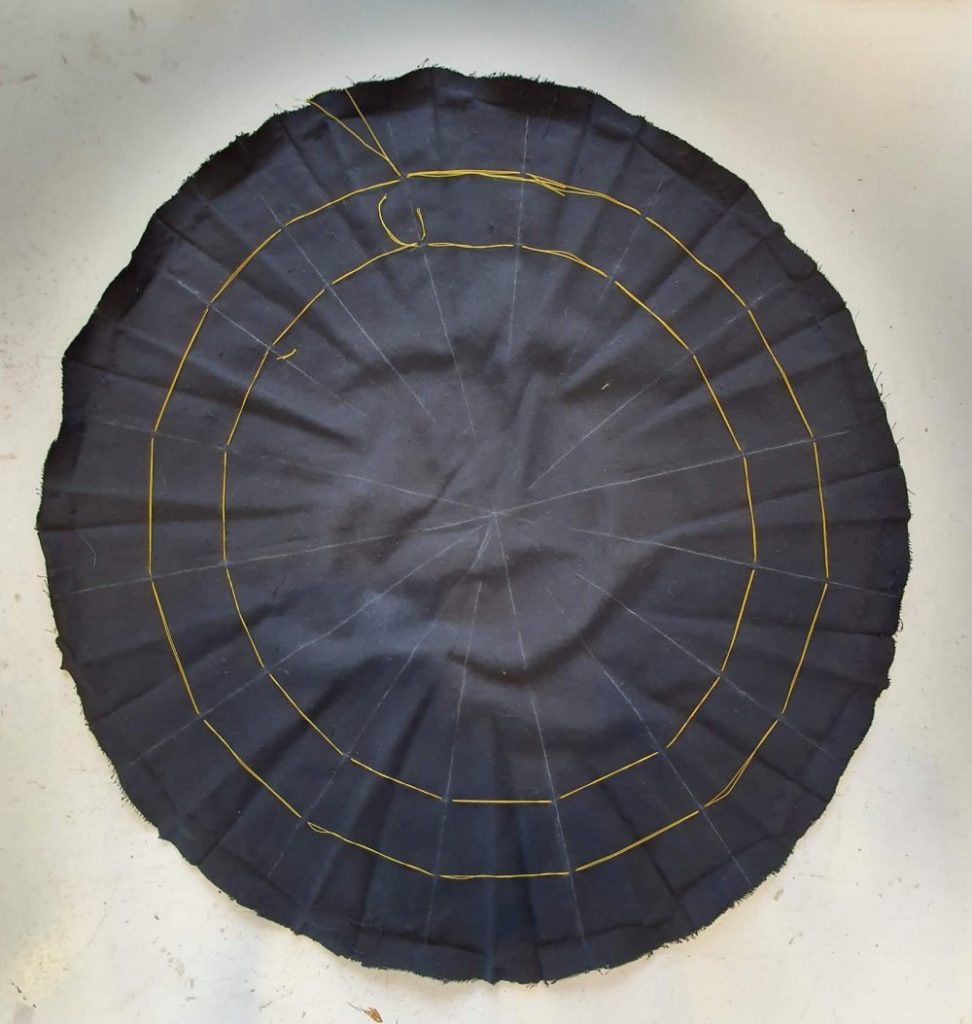
Now for the pleated top. I removed the old pleating threads, brushed and ironed the velveteen. I marked the 16 divisions of the the circle on the back, then sewed two rows of gather threads around the marks – one near the edge and one half way up, taking the ends to the outside.
I laid this over the crown, pining in place, then pulled up the gathers and tied them off, leaving the gather threads in place to hold the pleats. I arranged the pleats to cover the gather marks, trimmed off the excess fabric and sewed the pleats around the base of the crown.


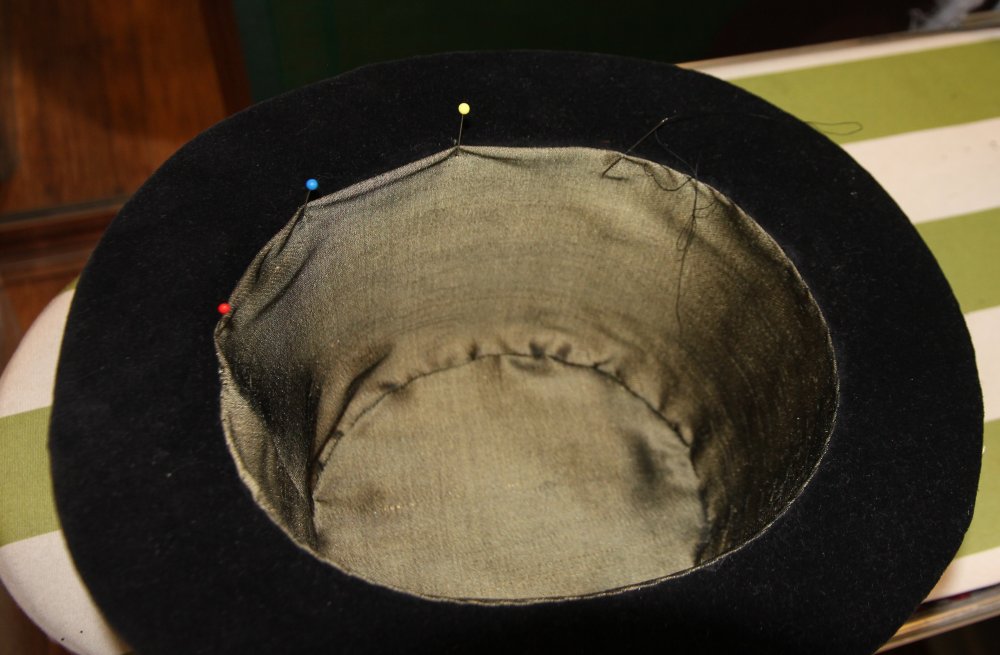
I cut a lining in olive green silk, sewed it up and slipped it in.
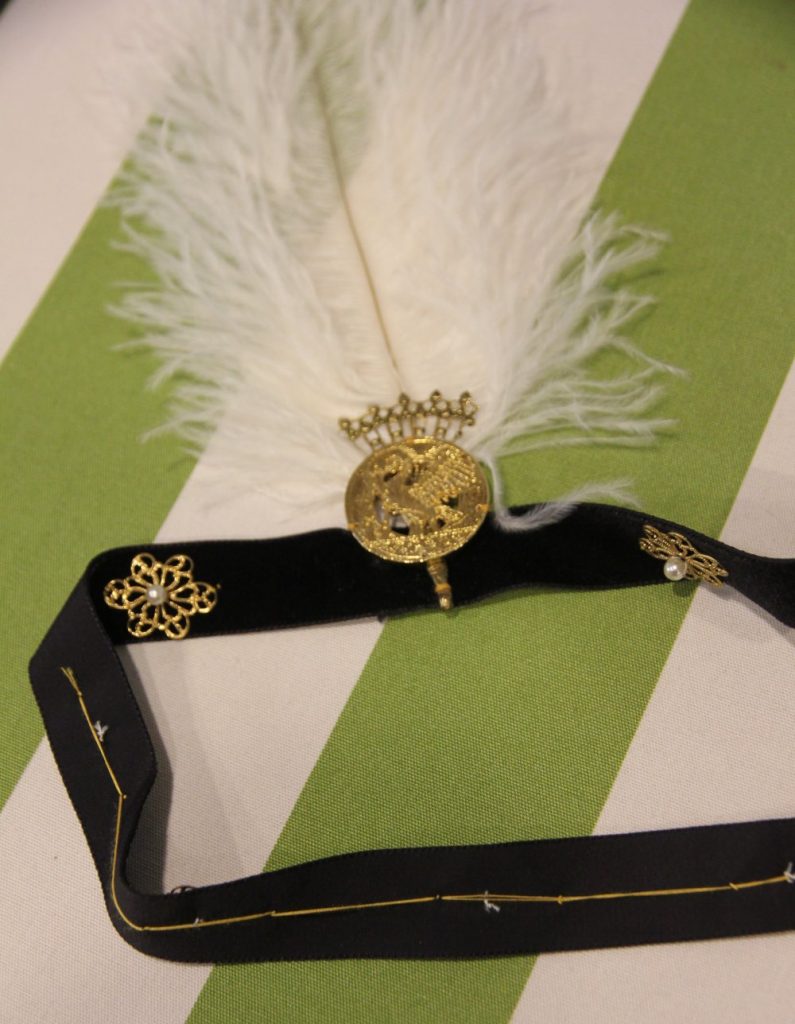
Finally, I refreshed the hatband with a new feather and Pelican badge, and slipped this on to complete the hat. It should last many more years!

Variation on a theme
Here is another hat I made the same way – the only difference is the decoration.
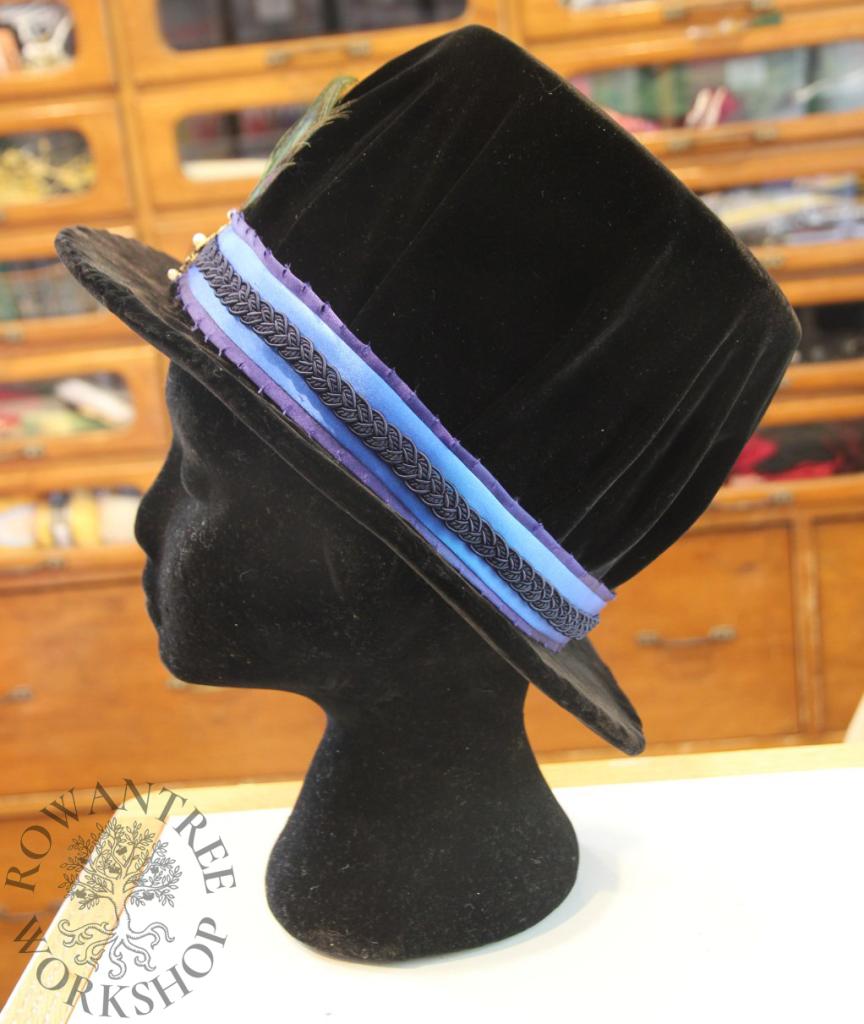
Andrew requested blue decoration and fancy, so I lined the hat in blue silk. I made the hatband with two layers of blue silk, one pinked along the edges, and a row of plaited braid, based on an extant 16th century example depicted in Patterns in Fashion (Arnold 1985).
The panache is made from a gold mount with added pearls and a peacock feather.
