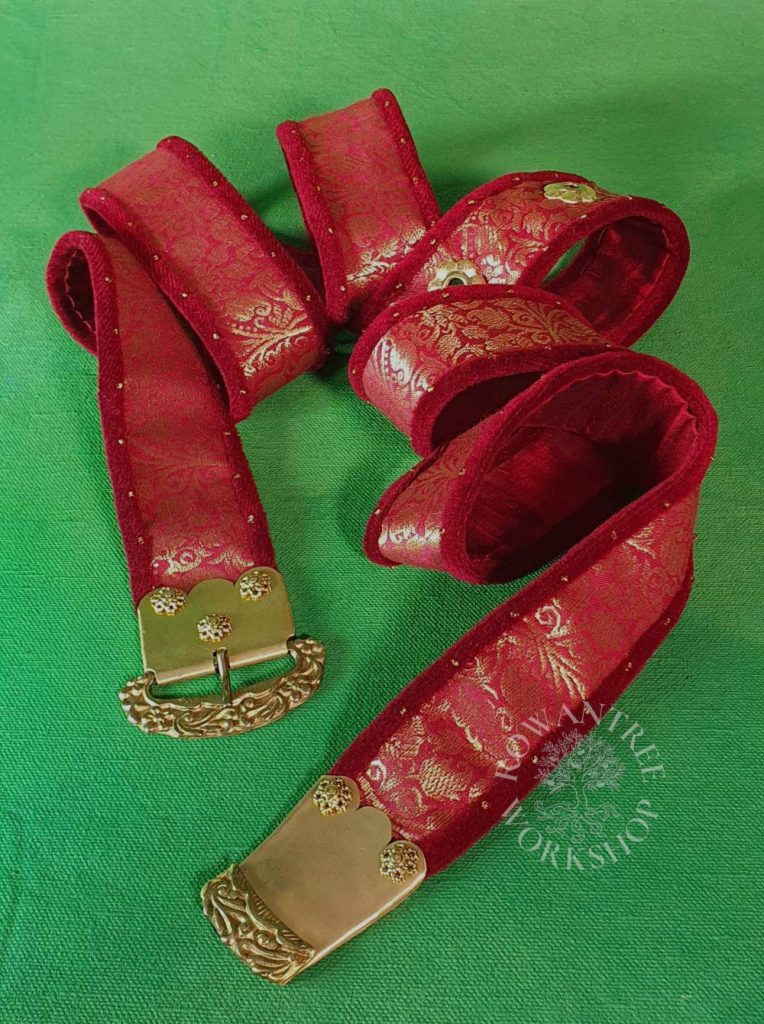
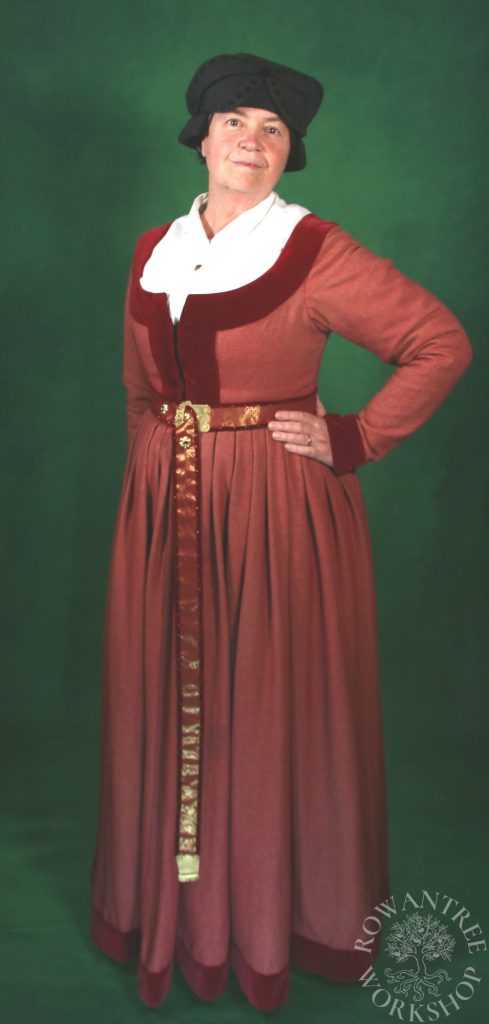
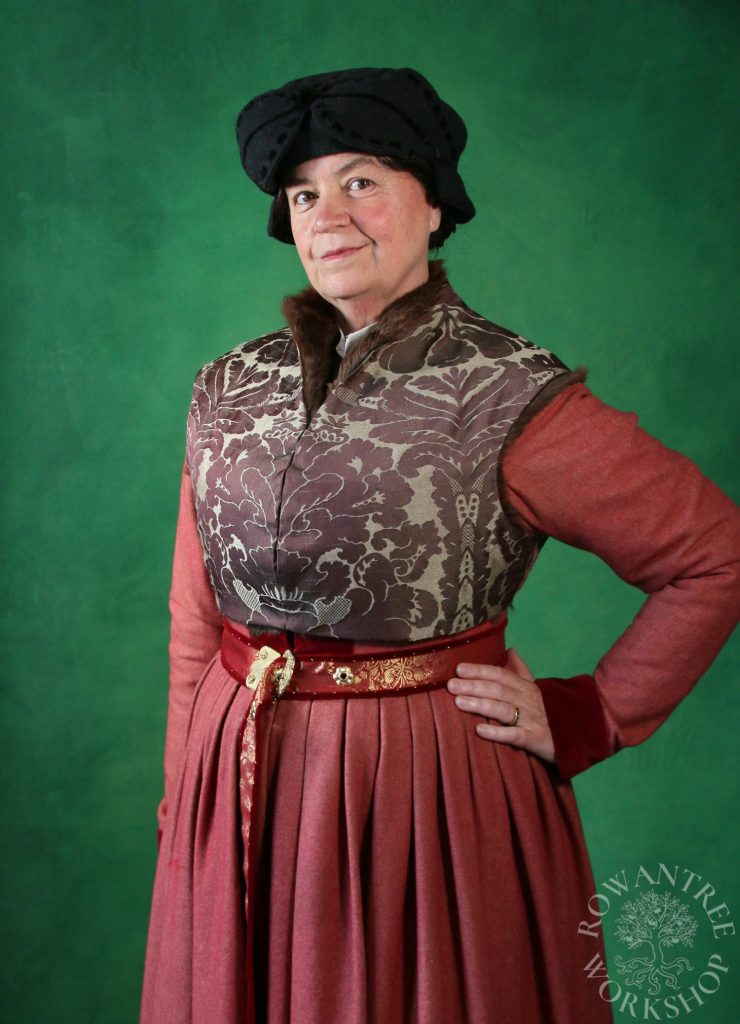
A rich broad belt, as worn by well-off middle class German women in the early 16th century.
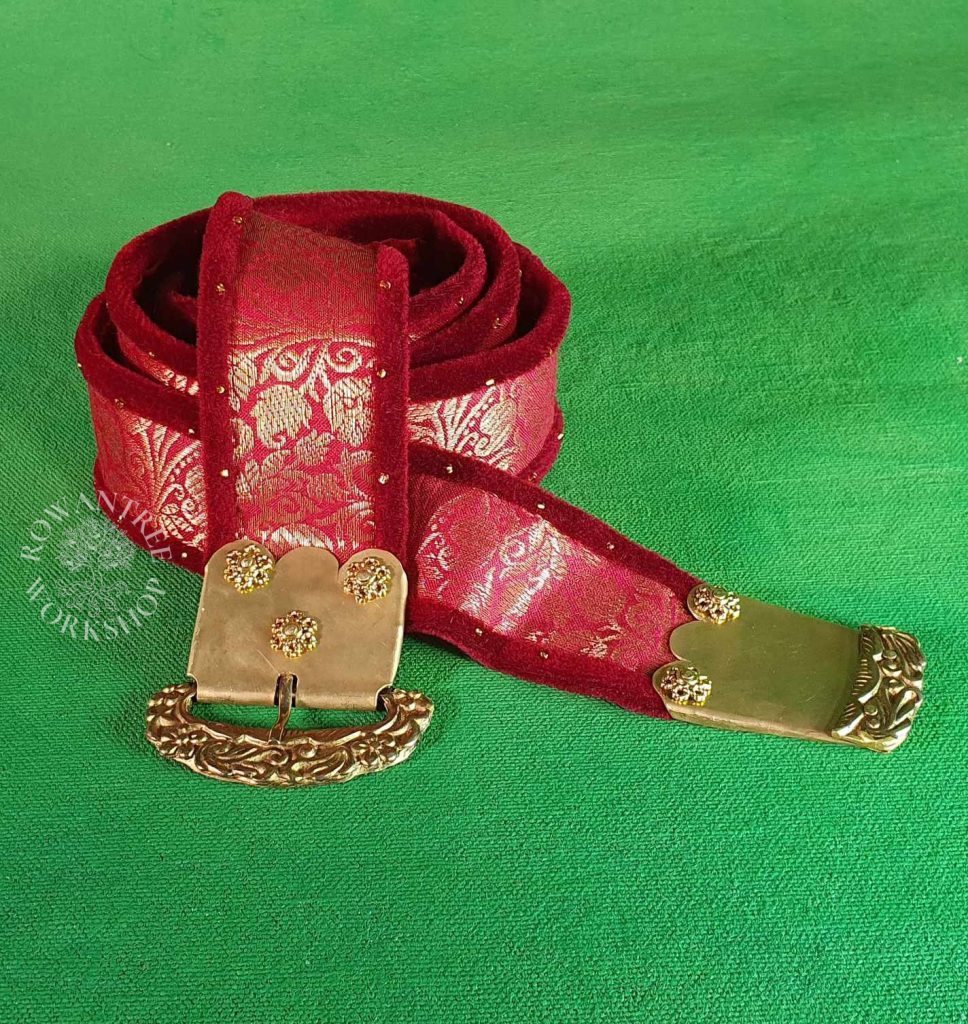
I wanted a rich belt to complete ‘the look’ for the fur-lined Damastgoller I made recently, so I decided to try and make one to match the portrait. It was fun to make, but much more fiddly than I’d expected….
Research
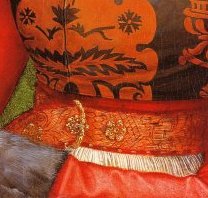
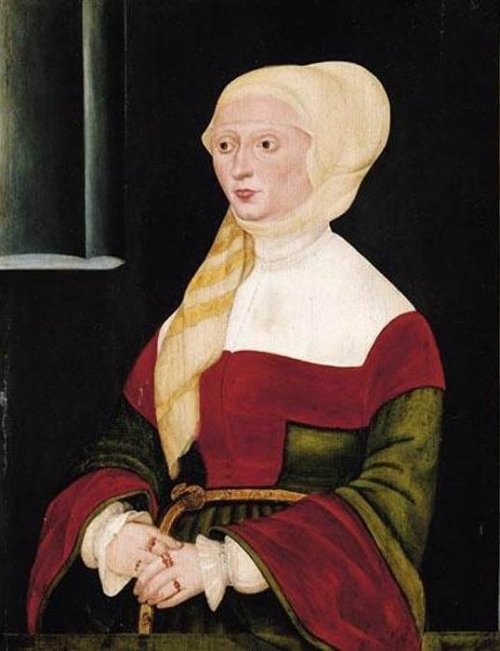
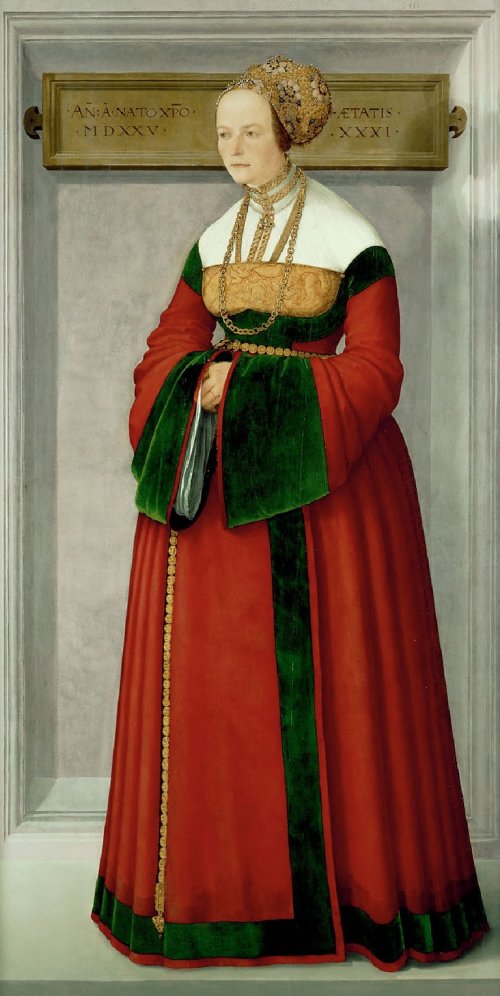
My inspiration for the project was the Portrait of Anna Dürer – who wears a rich fabric belt to complete her outfit. Similar belts are seen on other portraits of well-off German women, including some useful full-length paintings, giving an indication of how long the belt might be.
Source: Lopud1483
Source: KMW
Anna Dürer is wearing a belt of gold and red brocade (probably band woven) with red velvet edges and gold beads – features also seen in related portraits. The belt about 5cm wide, with a D-shaped single loop gold buckle with a wreath design, and 3 gold flower mounts acting as grommets.
Although more common in the 14th and 15th centuries, this style of single looped buckle persisted into the 16th century, often with a buckle plate over the strap-bar (Whitehead 2003). I can’t tell from the portrait how the belt is attached to the buckle, but buckle plates were still common in early 16th century Germany – a much more likely construction than wrapping the fabric over the strap-bar.
Many extant examples of D-shaped buckles have elaborate moulded decoration covering all the frame except the strap-bar, often with a scalloped or ropework pattern. Ordinary versions were cast in copper alloy (brass), with elite examples in silver gilt. The German examples below show both simpler and more elaborate examples of D-shaped buckles with buckle plates, some with matching chapes (belt ends).
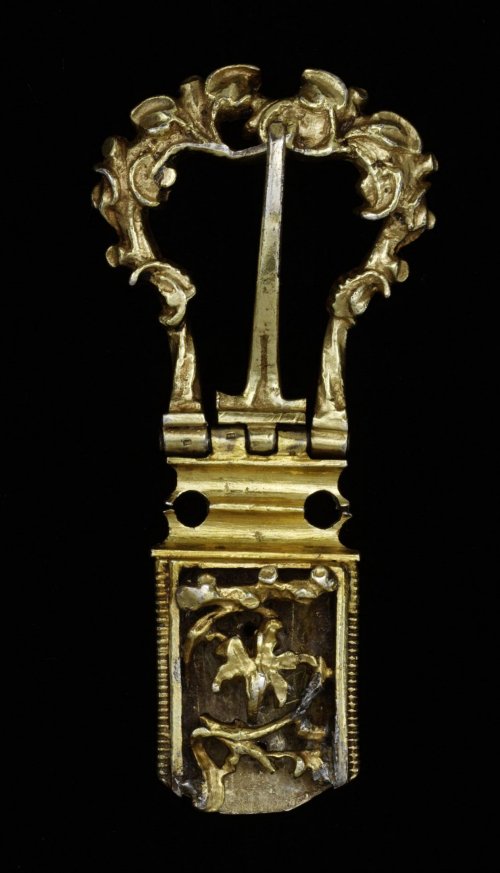
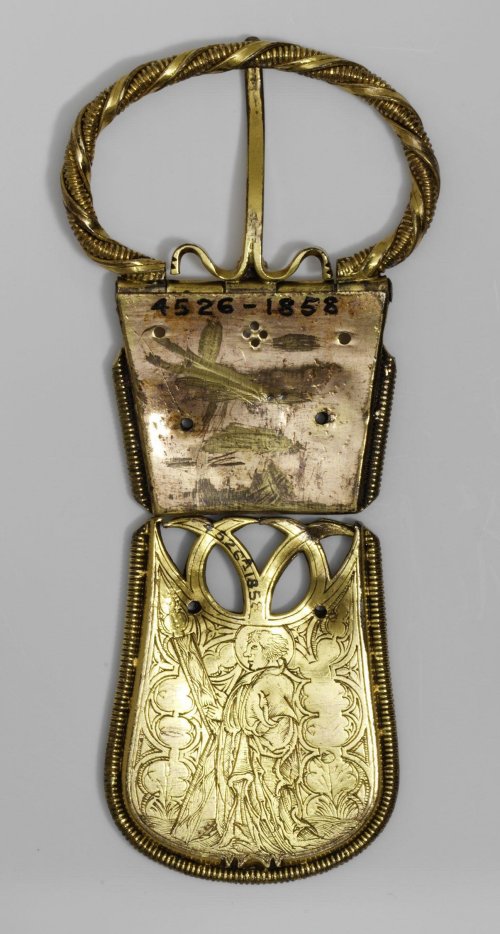
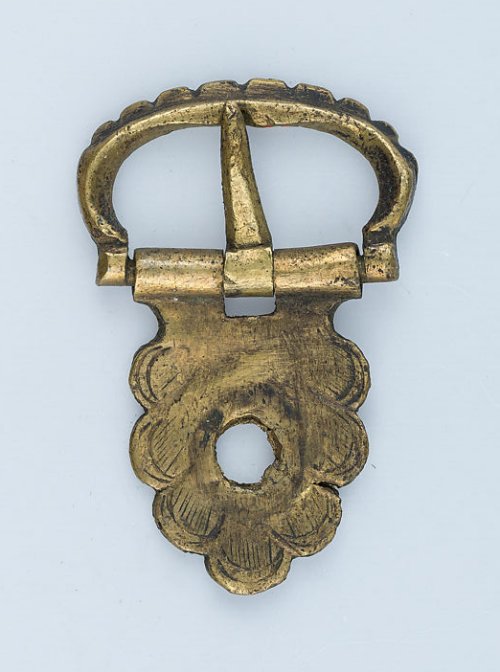
The simple form on the right would have been rivetted to a leather belt, but my belt will be ornate fabric. The higher class examples are made in a box form, with the belt totally enclosed.
My metalwork skills are not up to this, so I’ll be achieving the effect by folding the edges of the front plate but leaving a flat back plate.
Construction
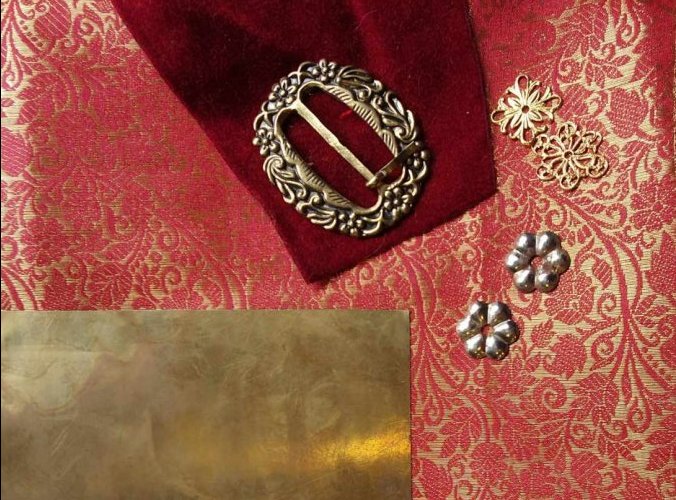
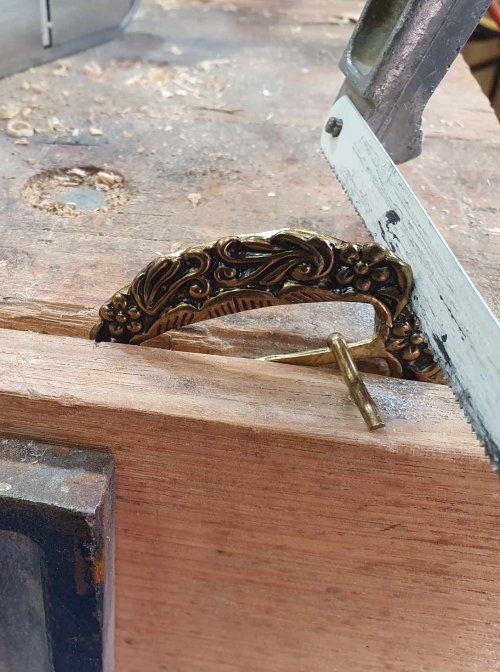
I wanted the belt to be of similar scale to that in the portrait, and long enough to hang well down on the skirt. I looked through my stash and found a close-ish buckle, but in spectacle form (double loop). By cutting this up, I could make a D ring buckle, plus a decorative curved piece I might use on the belt chape.
I had some red and gold brocade, red velvet and various gold bead options. No suitable gold flower mounts, but some in tinned steel mounts that might work.
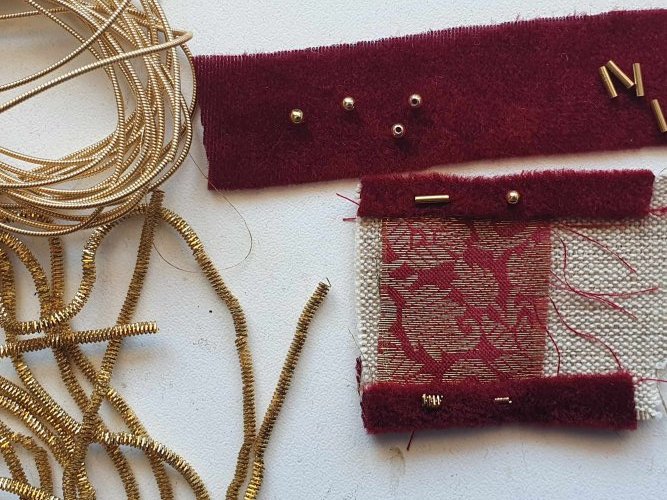
With the width esablished (based on the buckle), I did a belt test piece to check materials, proportions and decoration. My original plan for fabric over leather proved too stiff and heavy, so I’m using heavy linen canvas in the middle.
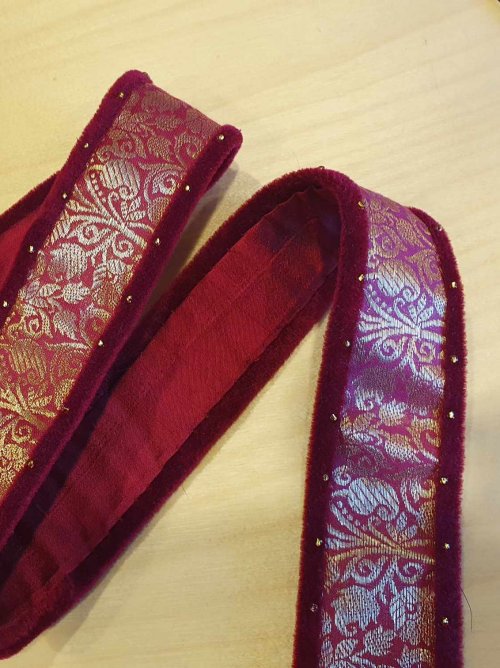
The painting shows small gold decorations along the velvet edge of the belt – dashes rather than dots. I tried a few options and while I like the check purl (bullion) best, it’s a bit large and will damage too easily. I ended up using small gold-lined bugle seed beads. Materials sorted…
Belt
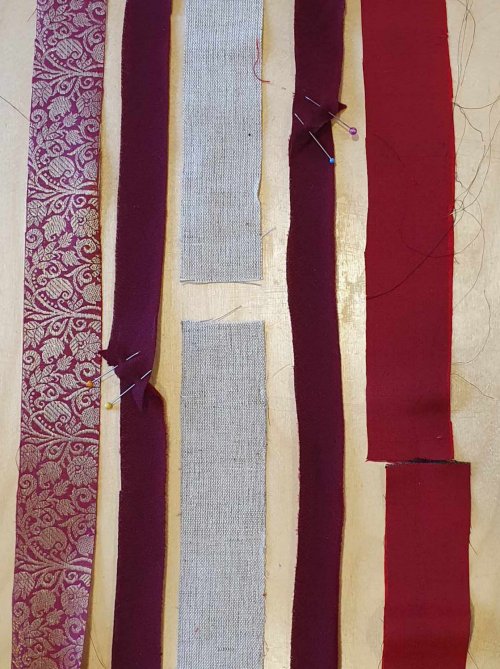
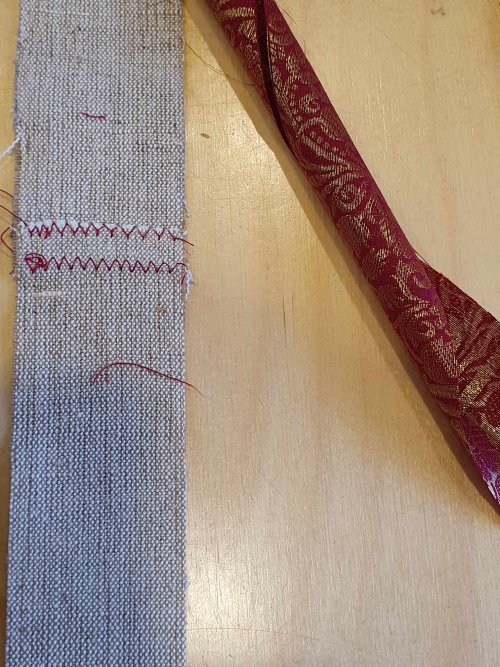
I cut out all the bits for the belt: heavy canvas base, silk brocade cover, red velvet edges and red silk lining. The belt is 1.7m long, so everything had to be pieced to make up the length. Overlapping the canvas and stitching both sides helps avoid a bulky seam.
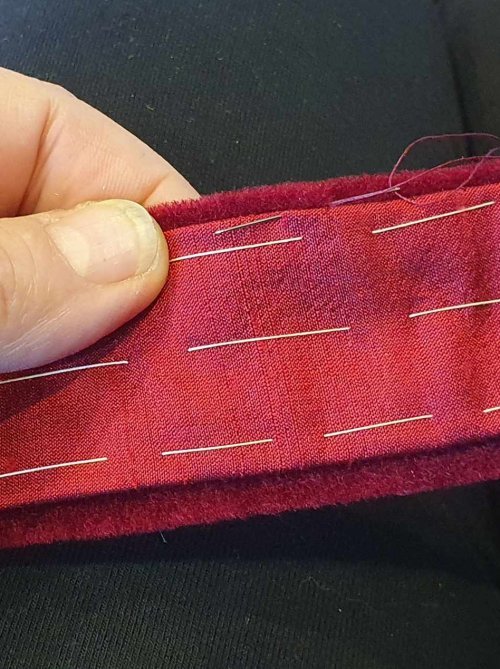
I basted the brocade to the canvas, then basted the velvet edge strips and sewed them on. The basting was essential – the narrow velvet strips would have been impossible to manage without!
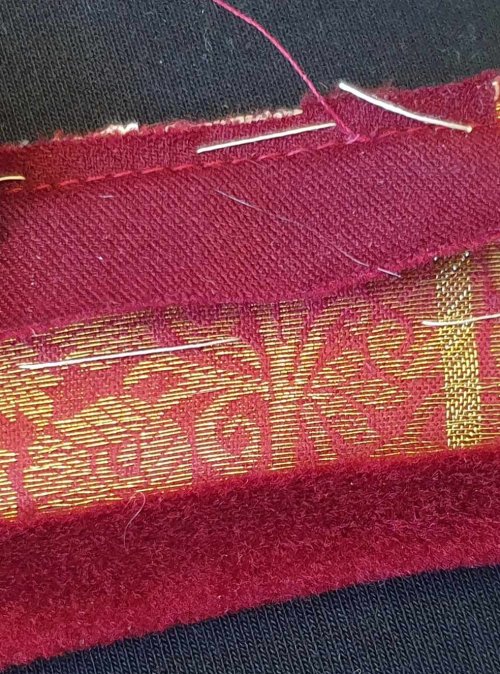
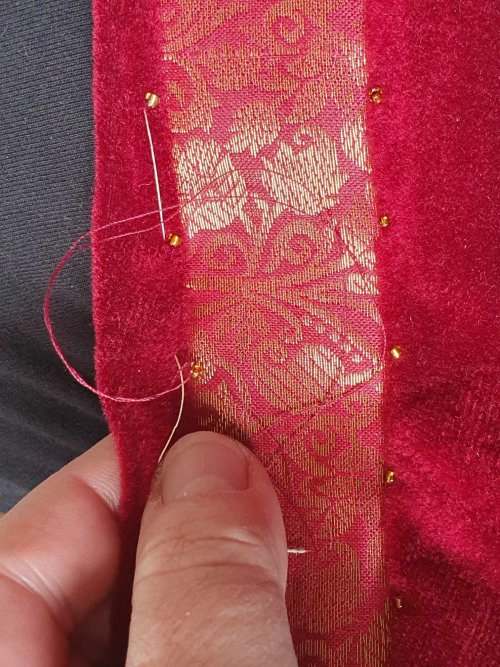
I’m not completing the bindings yet, becasue I want to sew the gold beads on without stitches showing at the back. Since I need to baste the binding to hold it in place, I measured 2cm basting stitches, which will act as spacing for the beads.
I sewed on the gold beads, then wrapped the velvet strips around to the back(hiding the stitches) and basted these to the canvas. To finish, I basted and then slip-stitched a strip of red silk to the velvet binding on each side. Lovely!
Buckle and Chape
With the main belt complete, I can work on the fittings…
My first step was to cut one side of the buckle off with a hacksaw and then file the edges smooth to make a D buckle and decorative curve I can use on the chape. I discovered the buckle was not solid brass, but brass-coated steel! The cut ends will need sealing…
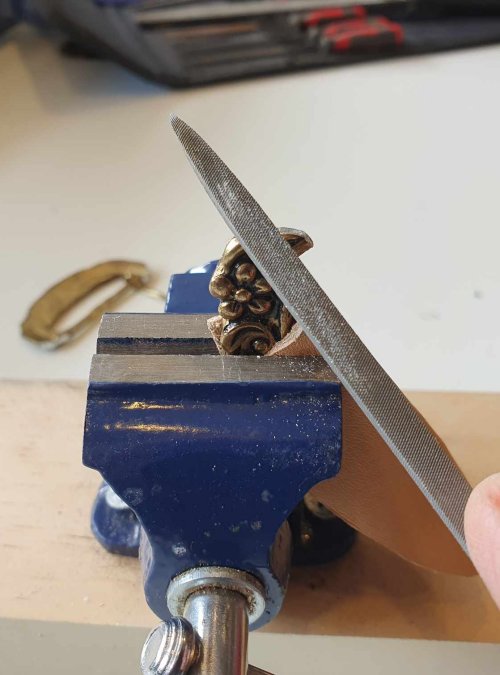
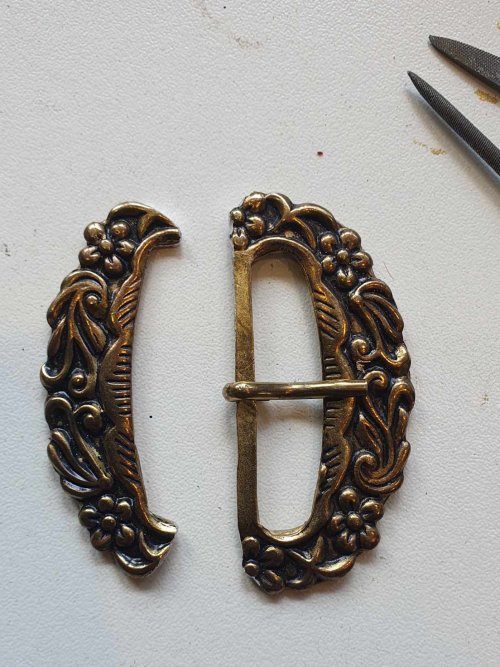
I had planned to strip the dark varnish from the brass, but this won’t work with brass-plated steel, so I painted the cut edges with gold modelling paint and re-finished the lot with gold paste wax to make it brighter.
I made a pattern for the buckle plate and chape in light card, loosely inspired by the extant examples but plainer. Flower mounts for the rivets will add some extra bling, as will the curve from the buckle. At this point it was pointed out the end would obviously not fit through the buckle (thanks Robert!), so I needed to adjust the chape to fix this…
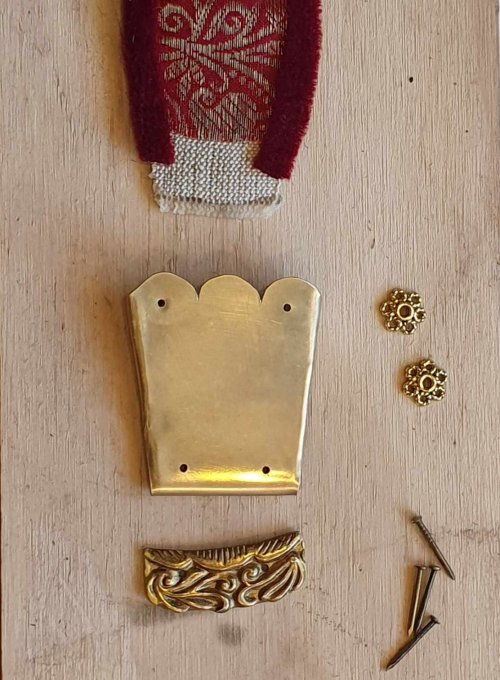
I transferred the pattern to 0.64mm sheet brass, drilled holes for the buckle tang, shoulders and rivets (front only). Then cut out the pieces with a fine saw (using leather to protect the surface), and filed it all smooth.
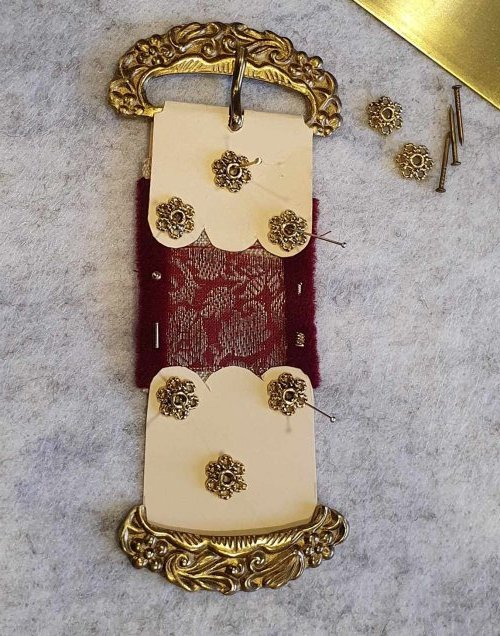
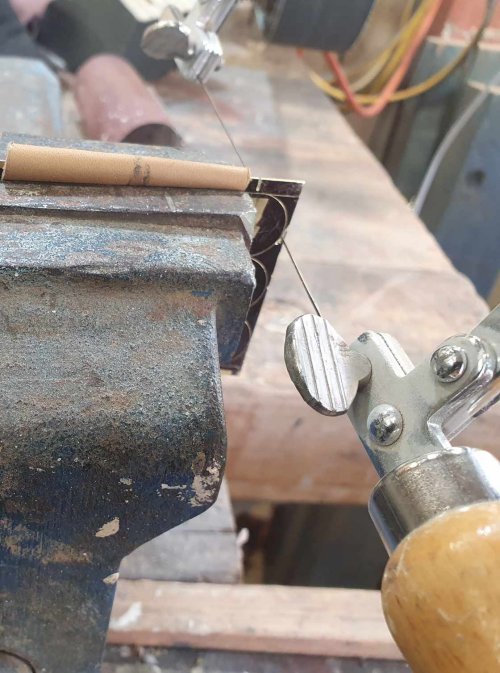
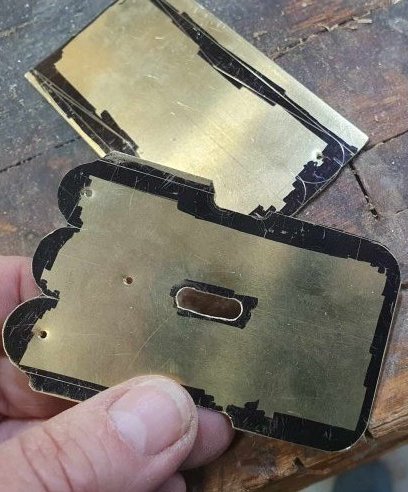
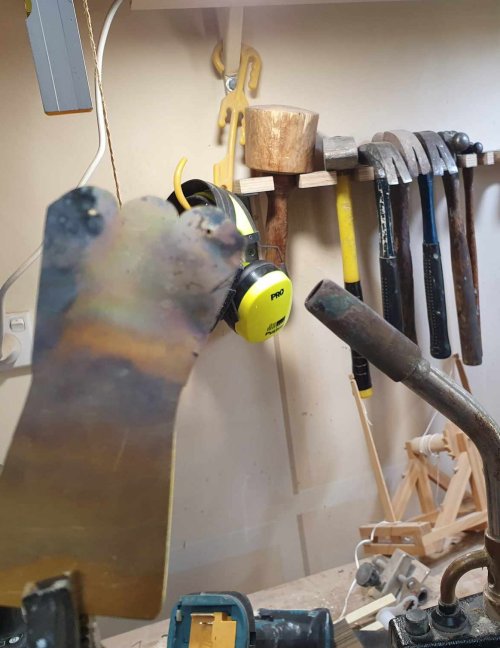
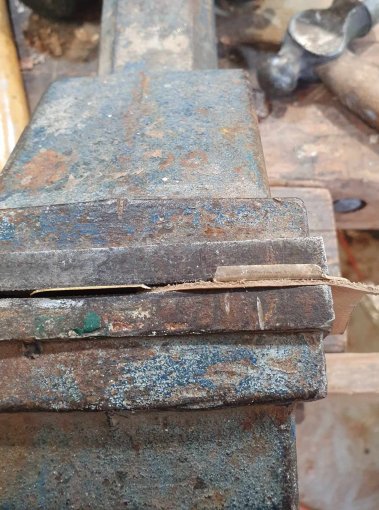
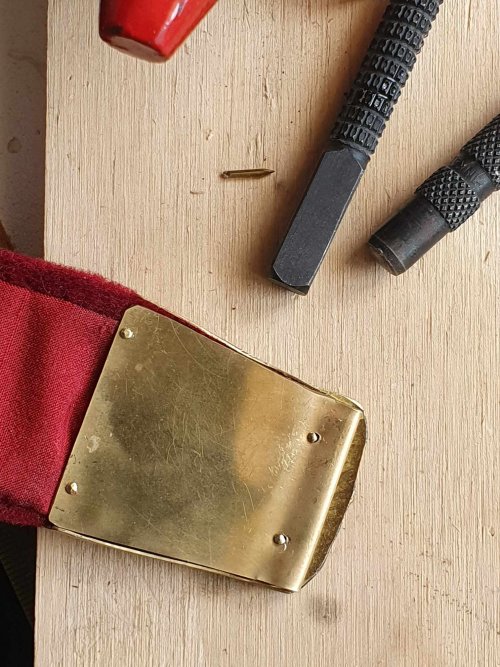
I need to fold over the narrow edges to enclose the belt, so I annealed the brass with a blowtorch to make this easier. I folded the edges in the vise, then folded the plates in half to make the finished buckle plate and chape.
Now I could see how the plates lined up, I drilled holes though the lower plate, ready for the rivets.
An overnight pickle in vinegar remove the firescale and then I polished everything, ready for assembly.
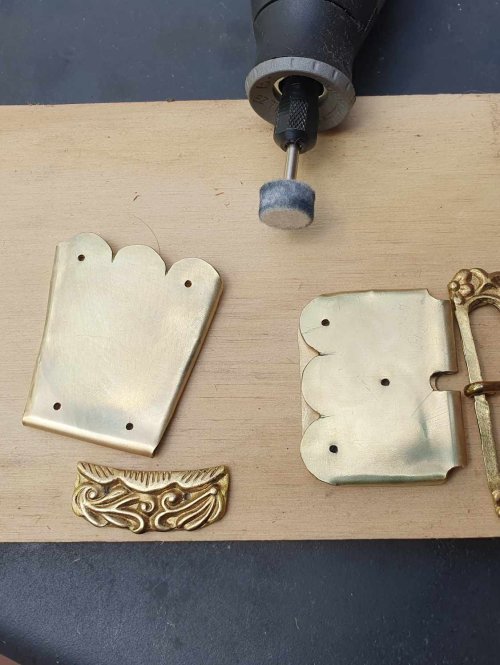
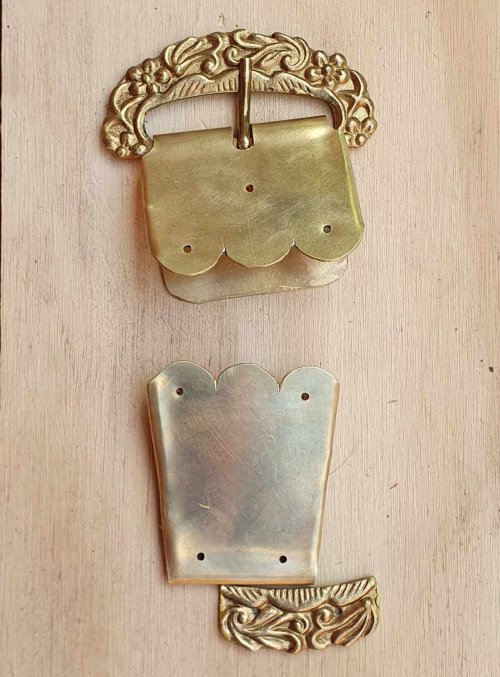
First step was to open the buckle plate and insert the buckle. Then I put one end of the belt into the buckle plate, and secured the sandwich with brass rivets through the mounts, peening them at the back. I’m using small brass escutcheon pins, trimmed to size – and a nail set punch helps peen the tiny ends.
At the other end, I fitted the belt chape the same way, rivetting on the mounts and the decorative piece cut from the original buckle.
Fitting & finishing
The original belt has three holes reinforced with decorative gold mounts. I could not match the elaborate flower mounts on the belt in the painting, despite much online searching. I considered making some (potential new skills: lost wax casting, or metal clay, or punch and die…) but I want to get this done, not start another sub-project!
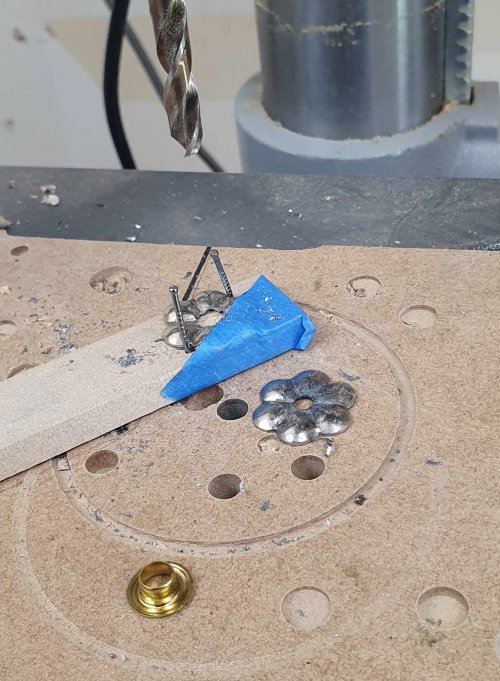
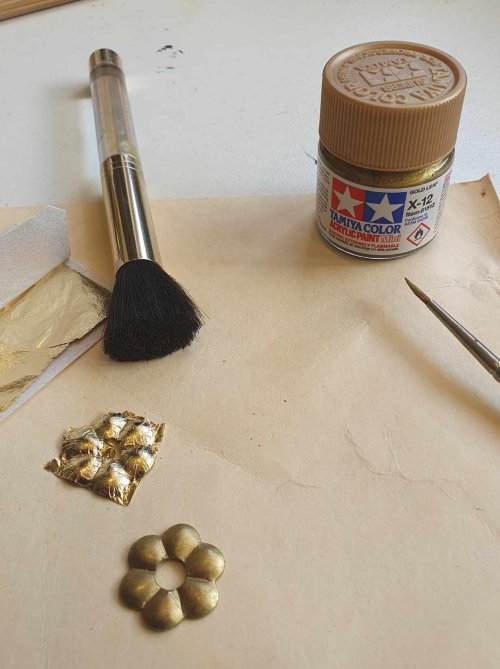
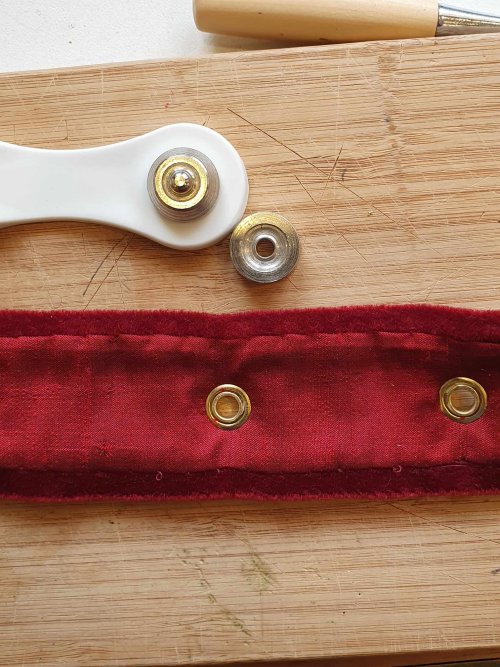
The closest match in my stash were flower mounts made of tinned steel – and starting to rust. I drilled out the centres to take the brass eyelets, nailing the mounts to scrap wood for safety. Then I cleaned them off and painted them with gold model paint to change colour and stop the rust. Too dull, so I applied a layer of gold leaf and varnished them to protect the gold. Not ideal, but passable.
Finally, I tried on the belt over all the layers of clothing, marking the size for the holes.
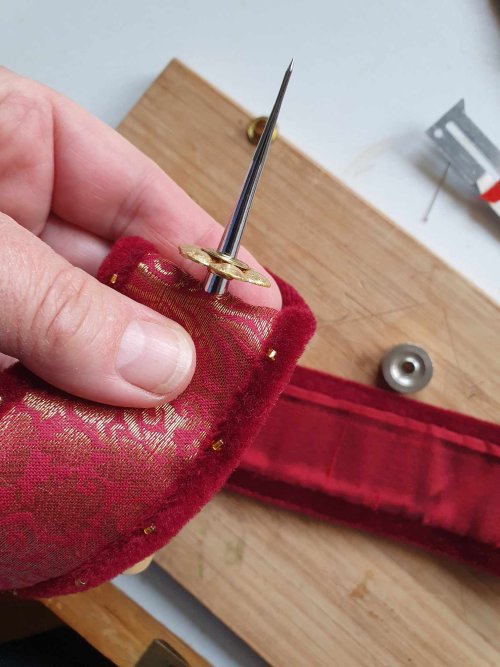
I did not want to punch holes in the belt, since this would weaken the fabric and might fray away from the eyelets. After testing first on my scrap piece, I used a wide awl to pierce a hole through the belt (with some effort), large enough to take the eyelet.
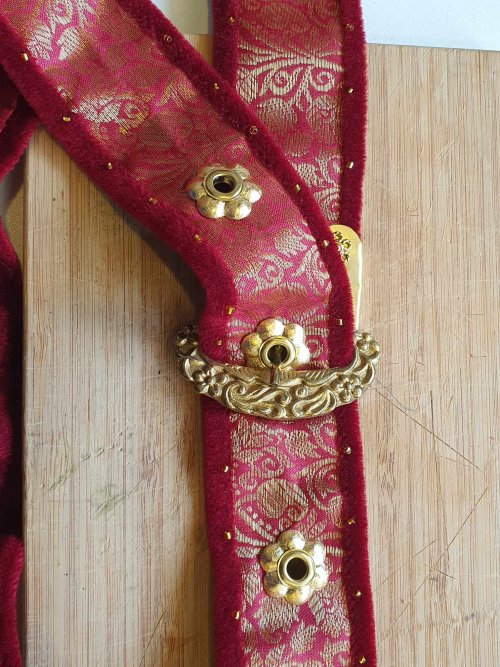
The belt is complete!
It works really well with my pink Rock – and with the fur-lined Goller which started this whole project…
