

A set of wooden boxes, painted in several medieval styles with egg tempera.
This project solved two problems – I wanted to have a play with egg tempera, and I needed a several portable scribe kits for teaching medieval calligraphy and illumination.

Research and Design
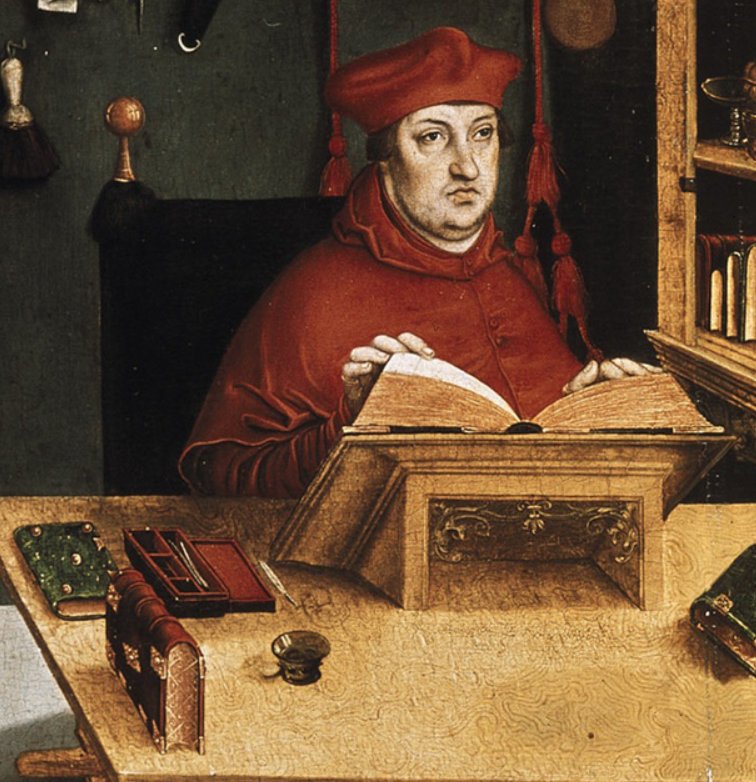
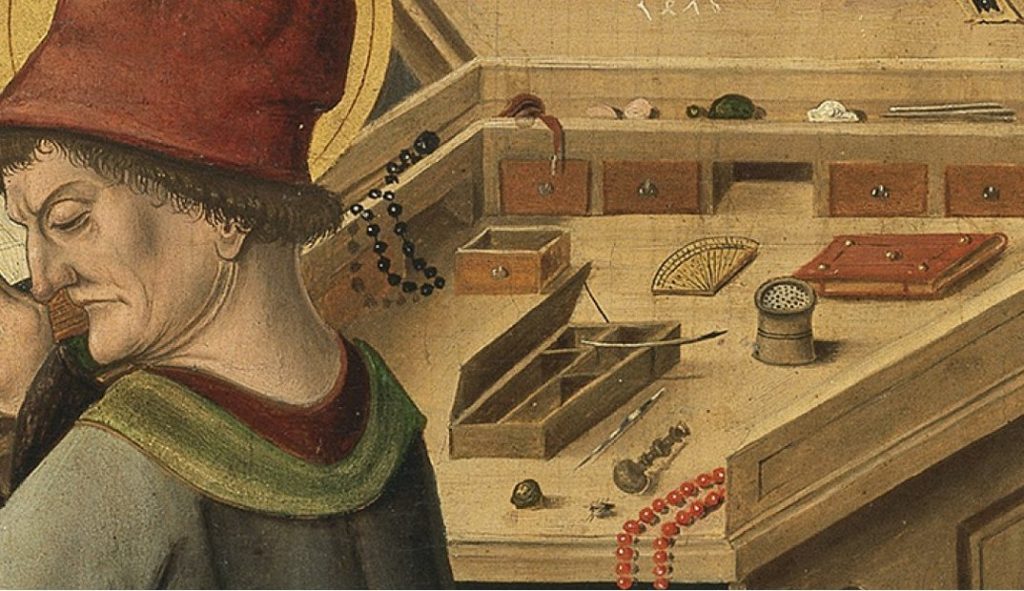
Images of scribes often depict them with boxes of tools by their side – a practical way to carry brushes and the like. These are usually rectangular or oval, and are often divided into sections. Pens (and pen knife) might be stores in these boxes, or in a leather casework penner, with an attached inkwell.
Source: Wikimedia
Source: Thyssen-Bornemisza
The images I have seen of scribe tool boxes are plain wood, or perhaps covered in leather (or not detailed enough to tell). But decorated boxes and caskets were certainly known in other contexts.
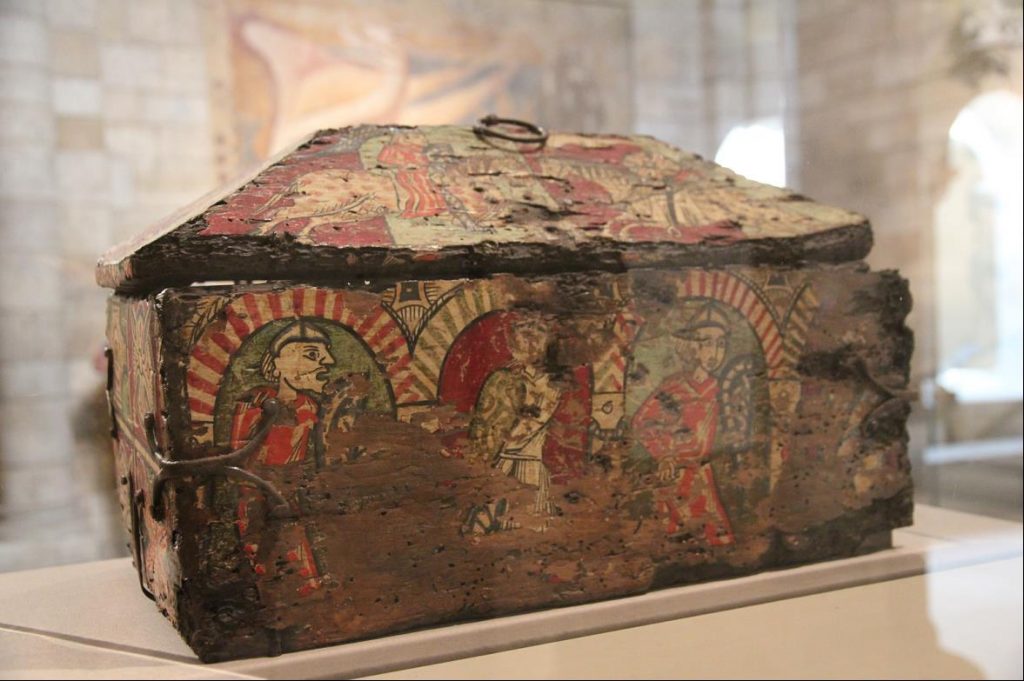
Photo: Author
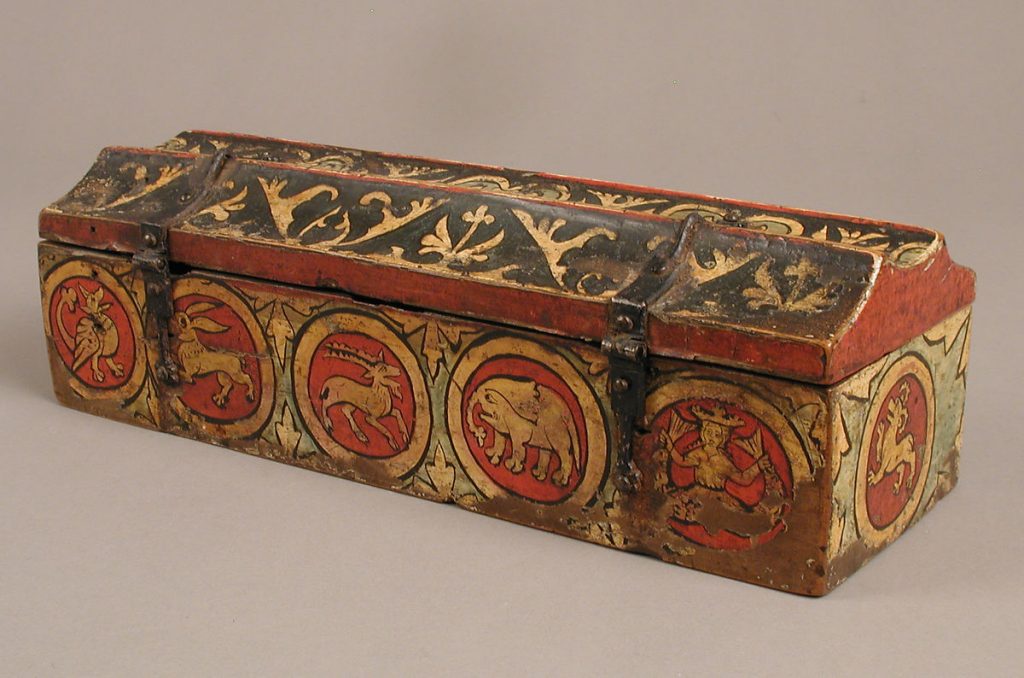
Source: The Met
For this project, I put these two ideas together, to create painted boxes full of scribe tools. The tools would be a mixture of medieval and modern, suitable for teaching beginner scribes.
Construction
The first task was to design the box. It needed to fit in a ruler, ink bottle, paint dishes, paintbrushes, pencils, pens and nibs – everything needed for calligraphy and illumination. It needed to be as small as practical and light.
I made up a prototype in pine skirting, with a compartments below for ink paints, and partial top till for brushes and pens. It worked well, so I handed it over to my husband, who made the 4 boxes I needed for teaching kits and several others for scribal friends.

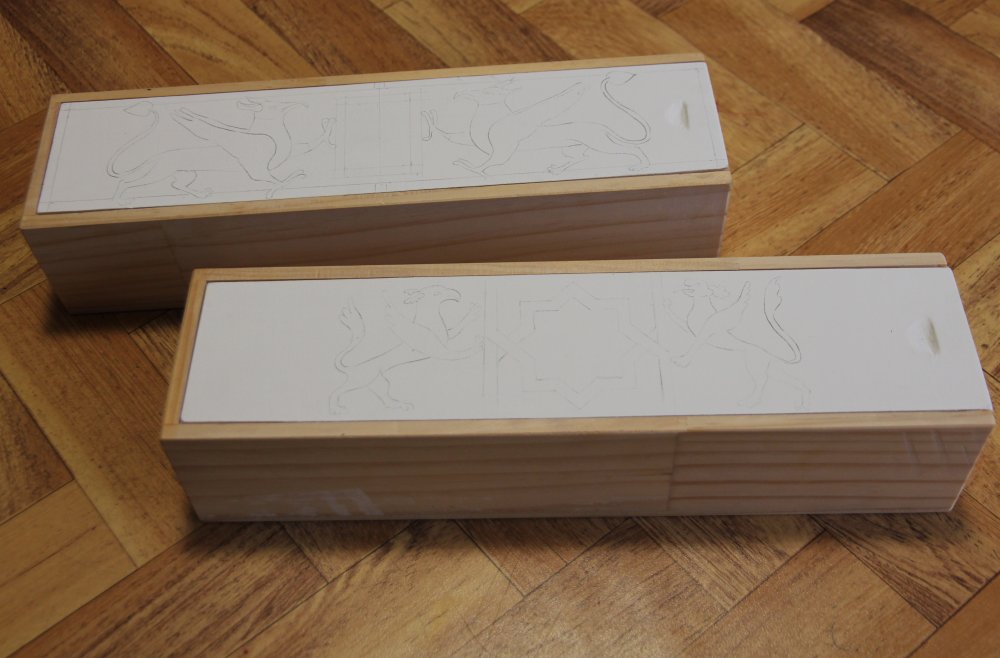
The next step was to paint the boxes for the teaching kits. I based the designs on illuminated manuscripts, but adapted them to my overall scheme of two griffins facing a central cartouche:
- #1 – Late 13th century, MS, BNF lat 3630 f.77r
- #2 – c1185, Morgan Library MS m81 f.36r
- #3 – c1340, Bibliotheque de la Faculte de Medecine H437 f.227r
- #4 – 14th century roof beam, Catalonya Art Museum.
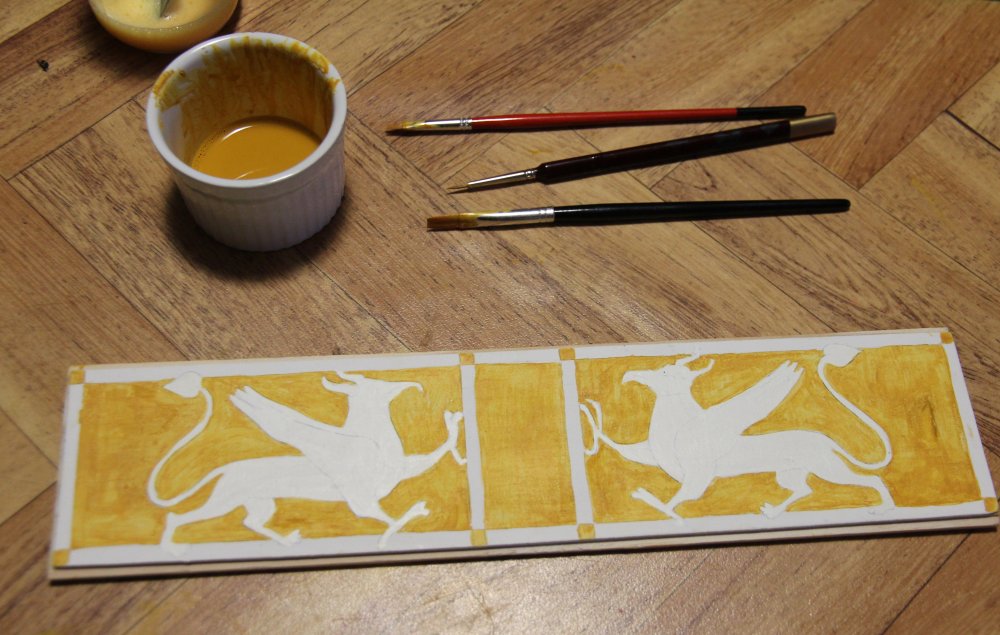
For the lids, I made up fine gesso using hide glue and painted the lids with several coats, sanding each layer until I had a smooth bed . I transferred the design using carbon paper, then painted the designs using egg tempera – powdered pigment in egg yolk mixed with an equal volume of water.
And though all the painted boxes I have seen are painted on both lid and sides, I chose to leave the sides plain. I painted the outer boxes in egg tempera with no gesso beneath, to compare the effect and wear.
I dried the boxes in the sun for a week – in fact, it takes 6-12 months for the paint to fully cure! After a week, it was hard enough to use, with care, although the sides still felt a little greasy.
Once the boxes were dry, I filled them with the tools and materials:
- Glass bottle of Windsor & Newton shellac black ink
- Nib holder, Mitchell Round Hand nibs (sizes 2-5) and brass reservoir
- 30cm clear plastic ruler, Pacer pencil and spare leads, white eraser
- Brushes (small flat, round 1, 0, 000) and eyedropper (for adding water to paint)
- Shells with Windsor & Newton gouache – Permanent White, Lamp Black, Ultramarine, Purple Lake, Permanent Green, Cadmium Red, Cadmium Yellow Pale, Gold
- Shells for colour mixing – red & white, blue & white, purple & white, green & yellow, black & white, Burnt Siena & Yellow Ochre.
The boxes were have been put to good use – a great assistance to the monthly scribe workshops, for people who do not yet have their own gear.
Afterthoughts
The egg tempera really does need an absorbent surface to bond with. A year later, the lids were robust, but the sides were showing signs of wear.