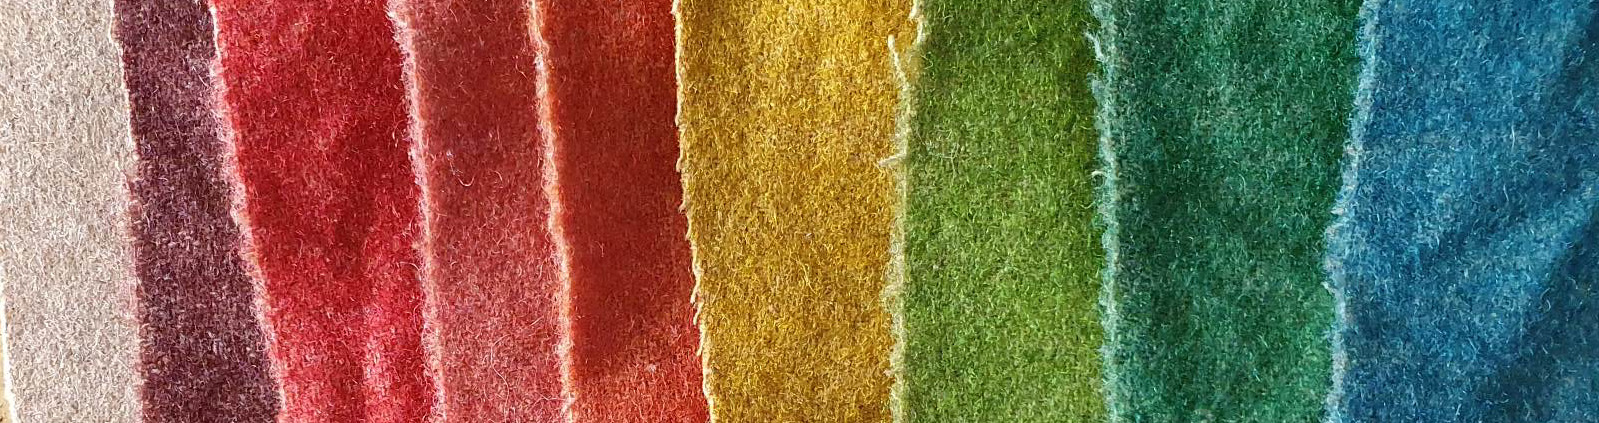
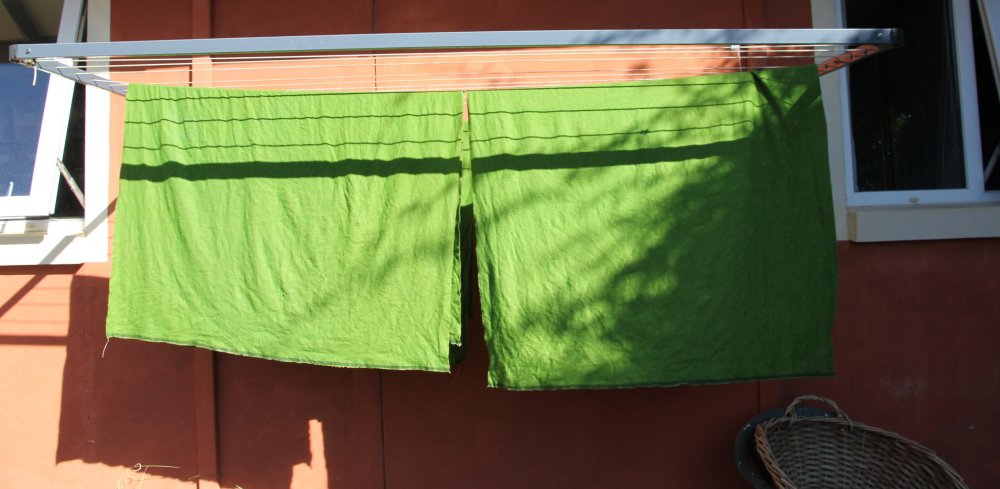
Dyeing is a great way to turn blah fabric into beautiful.
I’ve used a lot commercial dyes over the years, but once my friend Montjoye introduced me to food dyes, I was hooked. This is obviously not a medieval process, but a really useful technique for dyeing protein fibres – wool, silk, hat bodies, even feathers.
About Dyeing
In the middle ages, fibre could be dyed at several stages in the processing, but the most common approach was to dye the cloth once it was woven. Expensive fabrics might dyed several times to achieve greater depth of colour.
Common medieval dyes were made of plant material – eg woad leaves; dyers chamomile flowers, madder roots, saffron stamens. More rare and costly dyes were made of insects (cochineal beetles), shellfish (Murex snails), and ground mineral pigments.
Most dyes need a mordant (from the Latin mordere, “to bite”) to help the dye bind to the fibres. Common medieval mordants include alum, iron and copper. Some mordants also change the chemistry of the dye – a different mordant will give different colours. You can mordant the fabric before you dye (most common), in the dyebath, or after dyeing.
Of course, food dyes are not medieval dyes, but are a great way to dye wool and silk fabric to a range of colours!
Pros and Cons
Dyeing with food colour is easy and cheap, but has some limitations.
Advantages:
- Works really well on protein fibres: wool and silk – even feathers (see below)
- Very cheap, compared with commercial dyes (about $1/metre)
- Easy to get hold of (most supermarkets stock at least some colours)
- Colours mix easily to give a broad range
- Food safe and no nasty smells – you can use regular cooking equipment to dye
- Splashes wash out of clothing easily (if made of cotton, linen, synthetics)
- Seems to be as lightfast as commercial dyes (both will fade in the sun over time).
Disadvantages:
- Will not work on linen, cotton, or synthetics (despite what you might read on the internet, you only get pale tinges of colour)
- If your fabric is a mix, the wool or silk element will dye, but the other fibre will not – you will get a flecked or mottled effect (not always a bad thing)
- Temperature is critical, so you can’t use a washing machine or large tub – this is a stove-top process. You are limited to the size of pot you have, you must use a thermometer, and you may need to dye in batches
- As with any dye, it will not cover up stains or fade marks on fabric. Sorry about that.
The detailed process below explains how to dye lengths of fabric, but you can use the same technique for dyeing yarn, or even a whole garment (if your pot is large enough).
Equipment
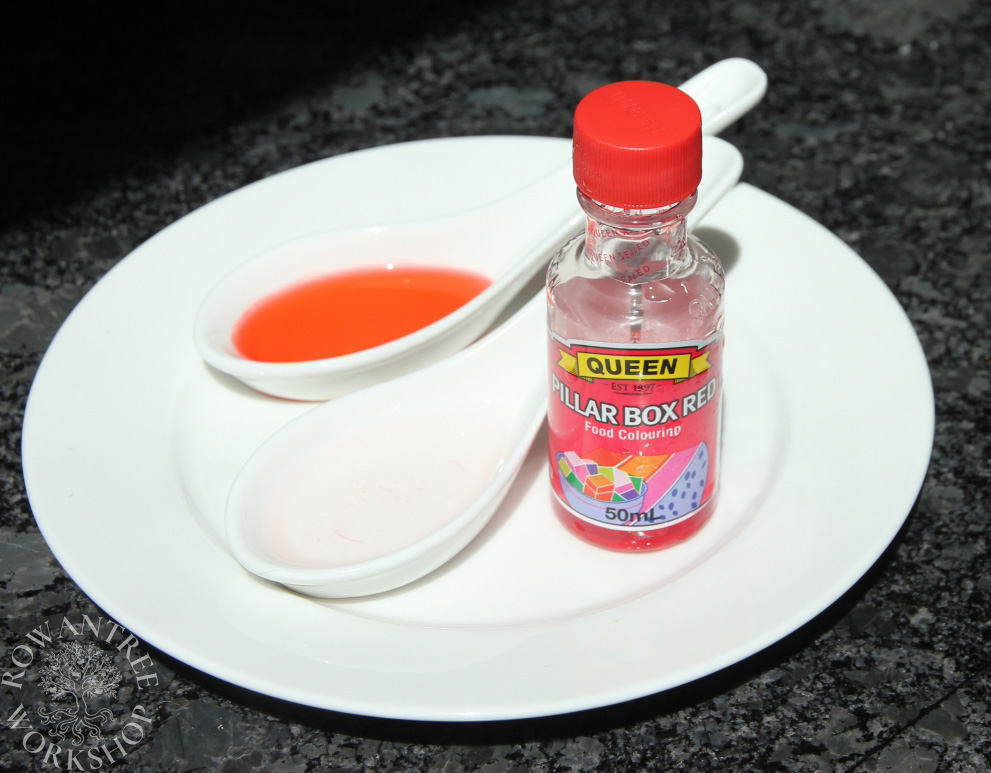
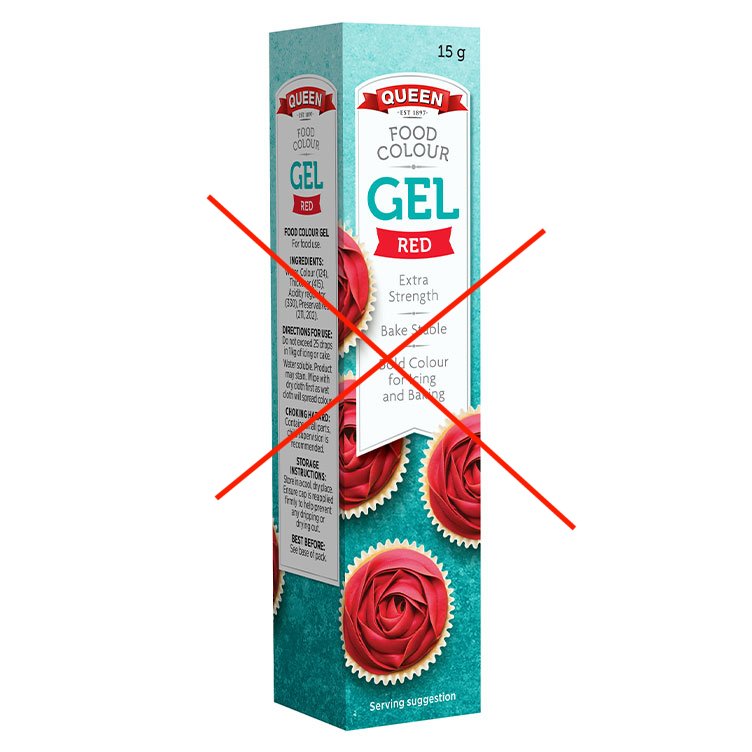
Liquid food Dye, such as Queen brand (Australia). DO NOT use other types – paste, oil, gel or powder. They works well for icing, but not for fabric. It is impossible to get them to dissolve evenly for dyeing fabric (trust me on this).
One 50ml bottle per meter is a useful rule of thumb – or the amount you need to get the colour intensity you want.

Other tools and materials:
- Heat source – a stovetop or similar, where you can easily control the heat
- Pot – large enough for the fabric to move around easily in the dyebath, A 15l stockpot will hold up to 1.5m of medium weight wool. Ideally stainless steel (aluminium and iron may affect the colours)
- Tub for pre-mordanting – large enough to hold all the fabric
- Thermometer – immersion type (eg jam thermometer) or instant read
- Rubber gloves – hands are made of protein too!
- Large wooden spoon (metal will get too hot)
- Tongs to remove fabric (wood or metal)
- Large jug (if doing several lengths of fabric)
- Bucket/bowl for transferring wet fabric
- White vinegar –used as mordant (cheap cleaning vineger is fine).
Project planning
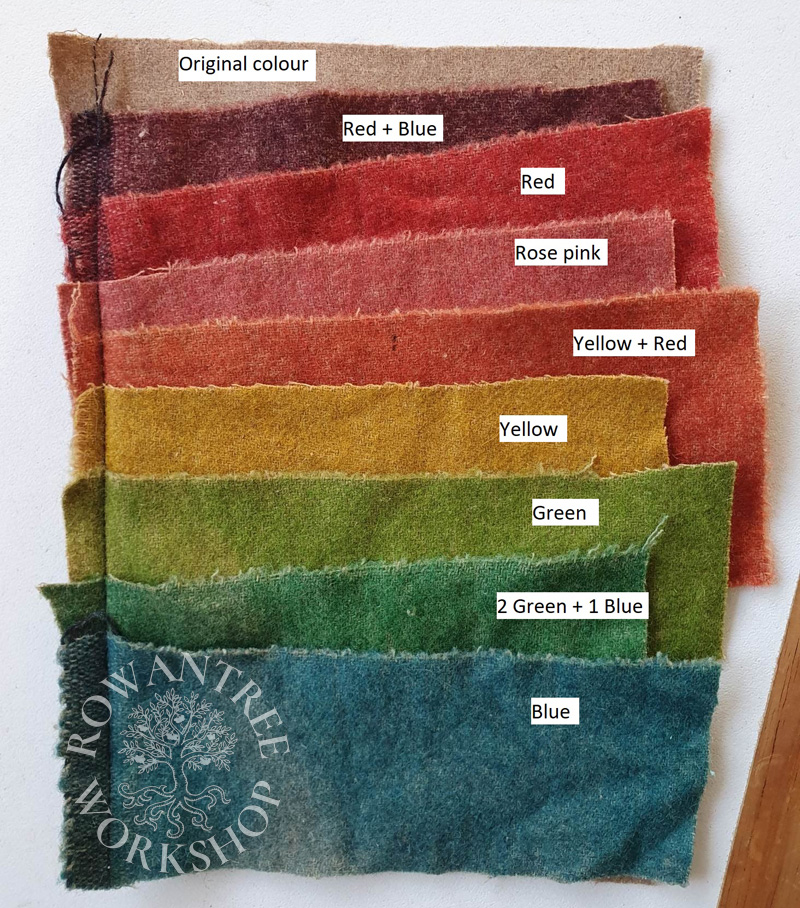
Colour selection
Consider the starting colour and composition of your fabric – this will affect the final colour. The colour of the dye will add to the colour of the fabric, not replace it. If your fabric is a mix (eg wool and polyester), the dye will work on the wool and not on the synthetic, so you will get a mottled effect (which can also look good!).
The food dye I use does not come in many colours, but you can mix them. You get a better result by blending them in the dyebath, rather than over-dyeing – but note that some colours ‘take’ at different temperatures. If you are doing batches, you must match temperature for each batch.
To try colour combinations use an eyedropper (one dropper per bottle) to put a drop of each on a white plate with some water – adjust the proportions as needed. But remember – if your fabric is not white, this will affect your colour! Queens have a colour mixing chart (it’s actually for buttercream, but it might give you some ideas…).
Test run!
Before you start cutting and preparing, you should do a test run to make sure this process will work for your fabric!
Cut a 20cm square and test dye it, following all the processes below for washing, pre-mordanting etc. If you are short on time, soak in the vinegar solution for an hour, rather than overnight – it will not matter if the dye is uneven for the test. For test dyeing, use 20 drops (1ml) of dye in 500 ml of water, with a teaspoon of vinegar.
Fabric lengths
Assuming your test run goes well, pre-wash your fabric to remove any finishing, which can prevent the dye taking (you can do this in advance and then dry and store).
If you are dying larger lengths, you will need to cut it up to fit into your pot. You need small enough lengths to fit easily and be able to move in the dye. I typically dye a skirt drop (120cm) of 150cm wide medium weight wool in a 15 litre stock pot. For lighter fabric you can dye more at a time.
Consider the layout of your garment pieces – you want to end with manageable pieces to dye, without wasting fabric. Even length pieces mean you can use the same amount of dye for each piece. For a 16th century dress, I would dye 3 lengths for the skirt, plus another for bodice and sleeves. If you need to dye a partial length, calculate the area (or weight) as a proportion of a whole piece, so you can adjust the amount of dye.
Dyeing
Start the process the day before….
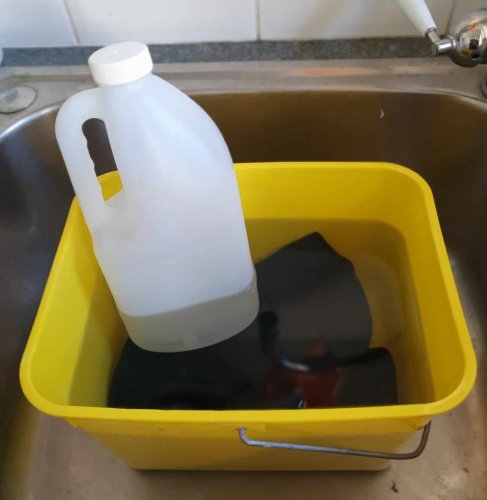
Pre-Mordant
The day before you want to dye…
- If necessary, cut your pre-washed fabric into suitable lengths (as detailed above)
- Fill a bucket or large tub with enough cold water to cover all the fabric
- Add vinegar – ½ cup for a bucket, 1-2 cups for large tub – and mix through
- Immerse fabric and wet thoroughly – take the time to remove any air bubbles completely, then leave to soak overnight.
The fabric must be evenly saturated – any dry areas will not take the dye well!
Dye pot
Assemble your equipment – heat source, pot, thermometer, rubber gloves, stirrer, food colour, vinegar, tongs.
- Fill your dyepot with hot water (allow room for fabric) and turn on the heat
- Add a glug (50ml?) of vinegar and bottle of dye (or the amount and colours you need for one length of fabric)
- Remove your fabric from the mordant bath and drain it
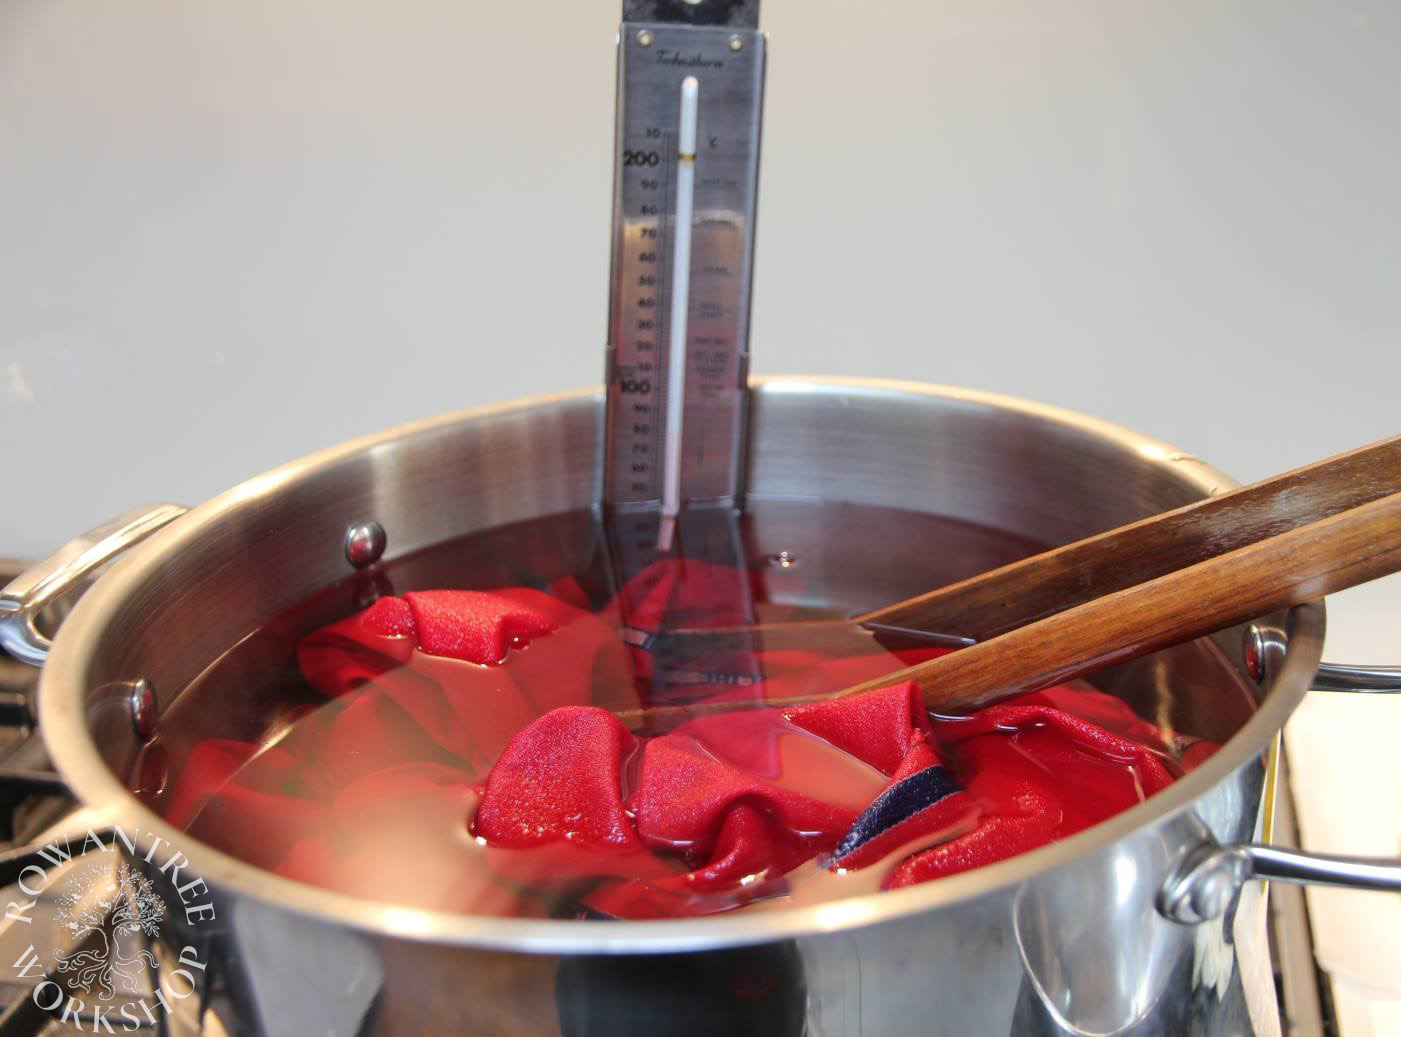
- When the temperature reaches 60C, gently add one piece of fabric to the pot – avoid air bubbles
- Keep the fabric moving gently, expelling any air, but do not compress the fabric
- Bring temperature up to 80-82C – fabric will take up dye and water will clear (colours ‘fix’ at different temperatures)
- Once the water is clear, take off the heat (or turn down)
- Remove the fabric and give it a cool rinse – you should lose very little dye in the water (if you do, you may have used too much dye)

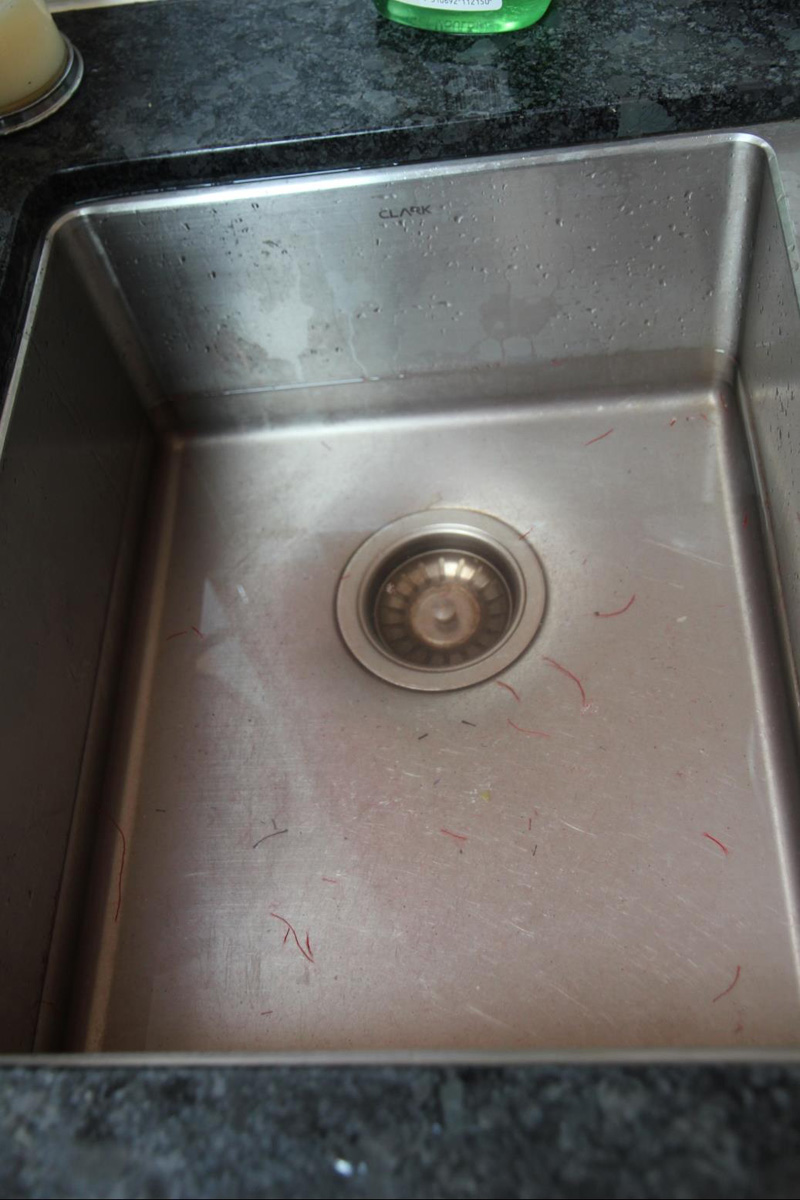
- If you plan to wash the garment, wash the fabric in the same way to remove any trace of dye
For silk, re-wash in lukewarm water using a dedicated silk wash or mild shampoo and rinse well (add a glug of vinegar to the rinse water to restore the sheen) - Finally, dry your fabric. If you cannot line dry, be careful – tumble dryers can shrink and felt woollen fabric.
Extra lengths
Keep the dyebath going to dye extra lengths…
- Remove a large jug or water from the dyebath (1-2 litres) and top up with cold water – you need to drop the temperature back below 60C
- Add another lot of dye and vinegar, stir well
- Add the next length of fabric
- Bring up to temperature again, stirring well as above, until the water runs clear again and the fabric is dyed
- Remove fabric and rinse etc, as above
- Repeat as many times as needed.
Overdying
- If you need to adjust the colour, you can over-dye the fabric, using the same process.
- Remember that colours are additive!
- If you have washed the fabric, remember to pre-mordant again before you start
- If you are over-dying multiple lengths, remember to match the volume of dye and temperature on each batch.
Hat bodies
You can use the same method to dye wool felt hat bodies – capelines, flares and hoods. (It should also work for fur felts, but they are expensive, so I haven’t actually tested one.)
- Note that colours are additive! Test first on a sliver cut from the edge, as described above.
- Since you are making the felt hot and wet, you can easily block the hat immediately after dyeing. Set up your block before you start the dyeing process.
- If you plan to stiffen the hat with a water soluble stiffener (eg hide glue), soak and prepare the size before you start.
- To prepare the hat blank, soak overnight in a bucket with vinegar, as above. The felt will hold air, so ensure the brim does not trap bubbles – you may want to weigh it down.
- Fill the pot with water at about 40-50C and add dye (50ml per large blank) and vinegar, then add the hat blank (ie start dying at a cooler temperature)
- Moving the hat blank in the water and turn over occasionally.
- Check on progress – you may need to stop the process earlier if the original dye starts to leak into the water (anything from 70C should be close enough).
Without blocking
- Remove the hat blank and rinse well in cold water, then squeeze gently to remove excess water.
- Place on a hatform or similar round topped stand – the felt will take on the shape to some extent, so avoid hard edged supports.
Blocking the hat
- Wear rubber gloves – some of the dye may come off, especially if you had to stop at a lower temperature
- Rinse well in hot water (50-70C)
- If using water soluble stiffener, brush on and work in well (or use on the block)
- Pull onto your block as usual, working the felt gently
- Pin, band or weight as usual
- Dry for a day on the block (or until it feels dry), then remove and dry upside down to ensure the inside of the crown is completely dry
- Trim as usual.
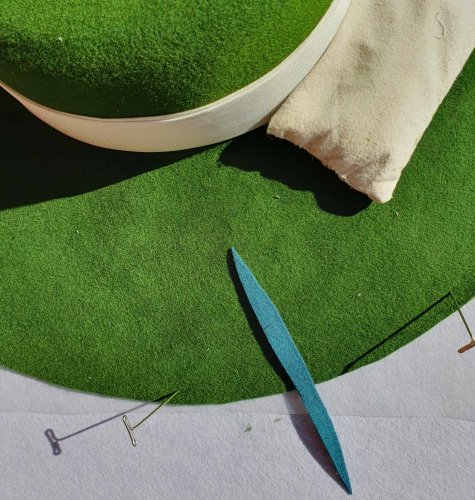
Feathers
You can dye feathers too!
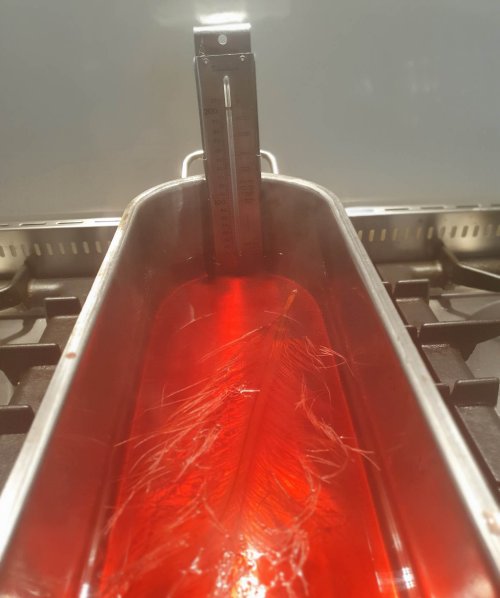
You will need a pan long enough for the feathers to lie flat – a baking pan or similar will work (I use a fish kettle).
- To prepare the feather, wash in a bowl of warm water with liquid soap (or mild shampoo), swishing the feather gently. Hold the blunt end of the quill and pull through your fingers to squeeze out the soap. Rinse in clean water and repeat until all the soap is gone.
- Soak overnight in water with vinegar, as above.
- Add enough water and dye (2ml may be enough for 1 feather) and move the feathers gently until dyed, checking the temperature as above.
- Remove the feather and rinse well in cool water.
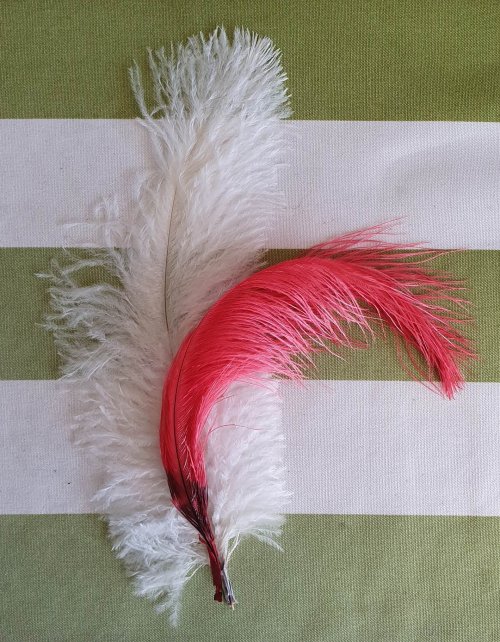
- To dry, hang with the vanes down, ideally in a breeze (or use a fan or hair dyer on low). If you want to curl the feather (as here) dry with the feather held upright.