To pattern a hat, you need to be able to see it from all angles. You need a stand-in head of the right size. Ideally, one you can stick pins into…
Professionals use wooden blocks shaped as heads, which come in standard sizes, but are very expensive. Styrofoam display heads are cheap, but are much smaller than most heads (I have a pinhead, so this IS actually my size).
However, you can easily resize by them by making a series of felt ‘hoods’ in graduated sizes. I have 7 hoods, which allows me to change the size of the headform from 52-63cm (21″-24″).
Making the hoods
Felt hoods are easy to make. You will need cheap fabric for patterning and felt for making the hoods. Thick felt (like old ironing board padding) makes fast changes to the size; thin felt will give you finer size gradations – I have some of each.
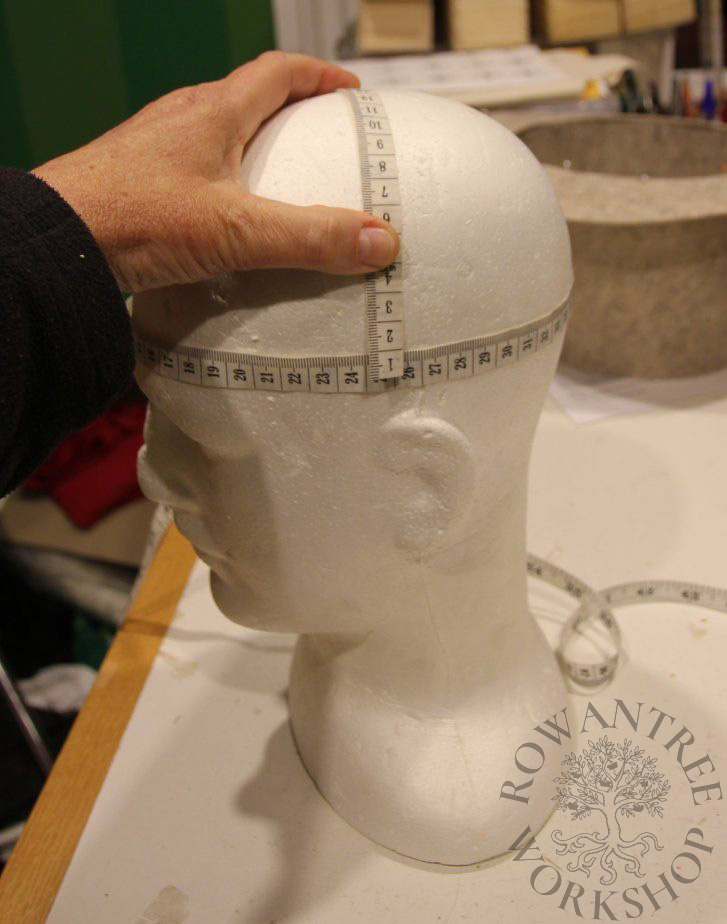
Measure and make toile:
- First, measure around the circumference of the headform, just at the brow line. Then measure from this line up and over the head to the top point.
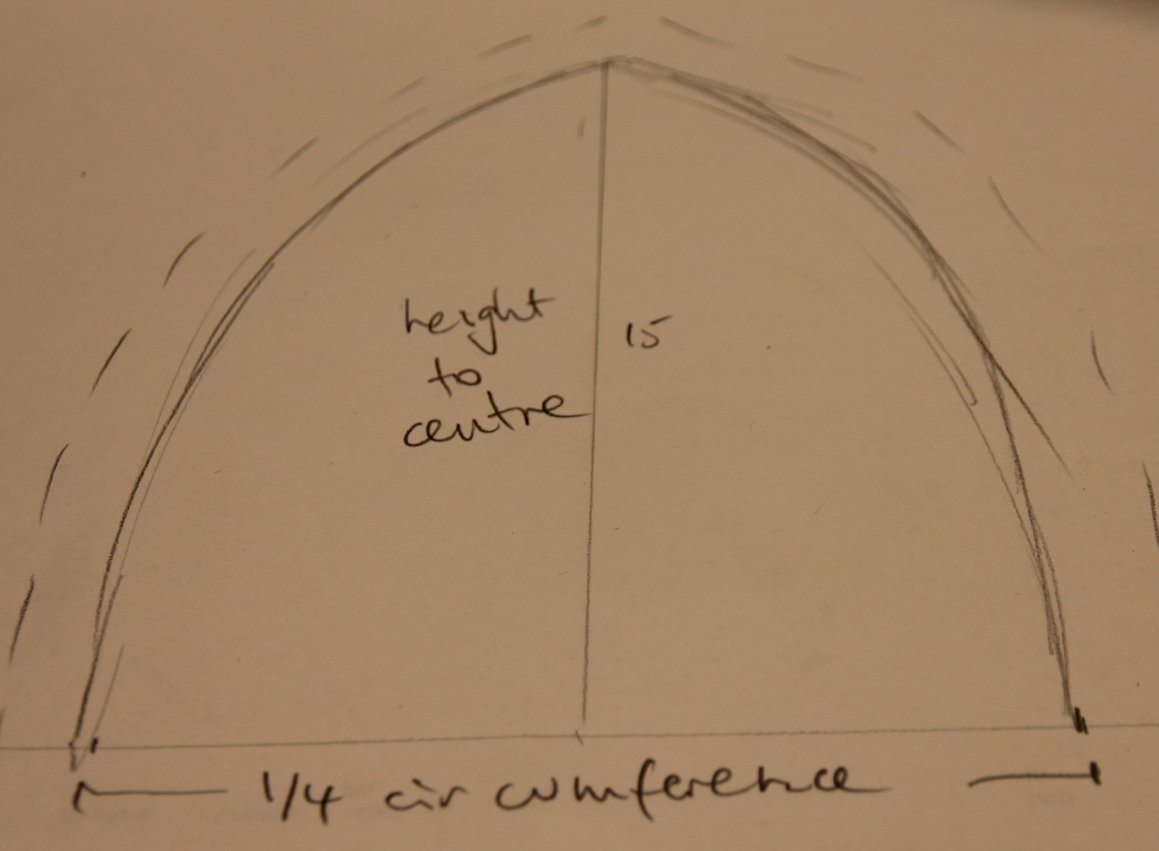
- Draw your draft pattern – a rounded triangle. Height is your measurement to the centre point, width is 1/4 the circumference. Make a smooth line – it only needs to be approximate!
- Draw onto scrap fabric and cut out with a 1cm seam allowance. Repeat so you have 4 pieces.
- Pin pairs together – match corners and then pin along the seam line. Then pin these together to make a hood toile.
- Try it on the headform. Pin into the headform front and back to stop it sliding, then adjust pins to make a close fit.
- Remove the hood toile, mark the new lines, then unpin.
Make the pattern:
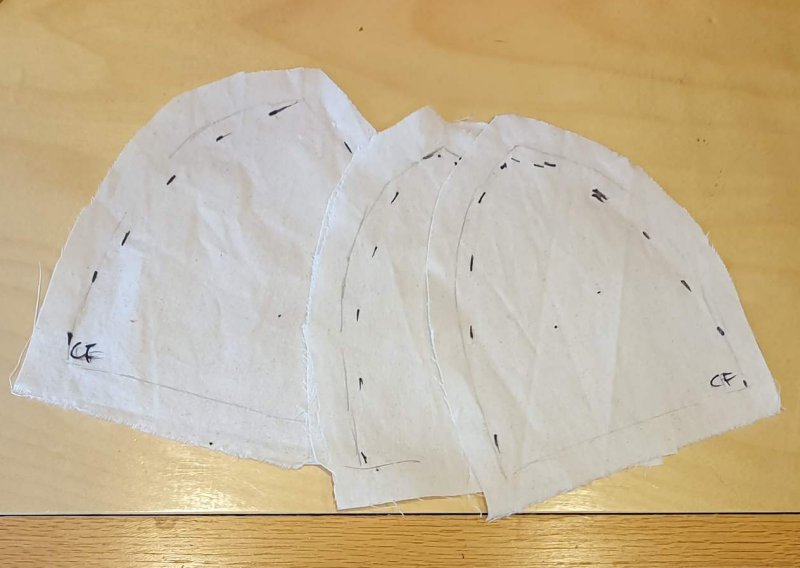
- Cut around the new lines on each toile piece, marking CF (centre front) and CB (centre back).
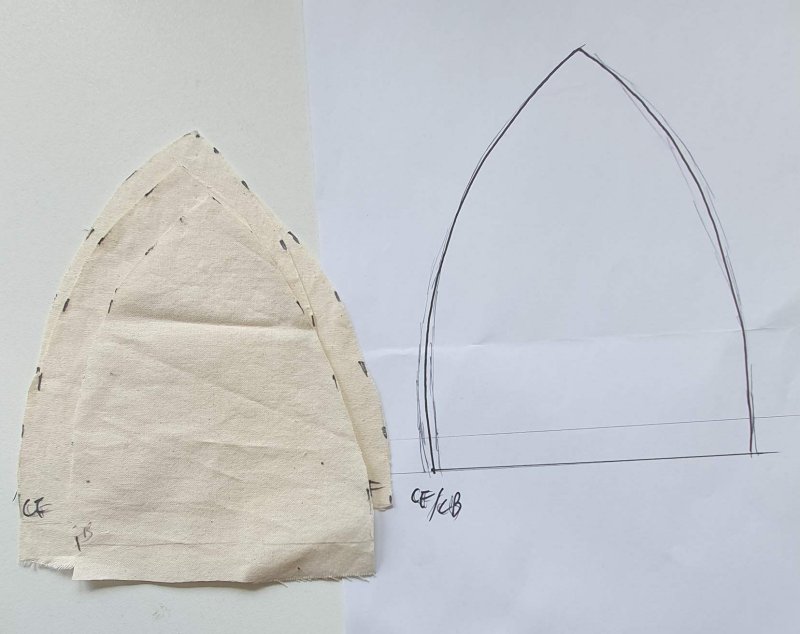
- To get a final pattern, we need to average out the differences. Draw around one piece on paper, then remove the patter.
- Repeat for each other section, matching the baseline, top point and CF/CB.
- Draw an average line with a darker pen, then cut out your final pattern, marking CF/CB – it will not be symmetrical.
Make the first hood:
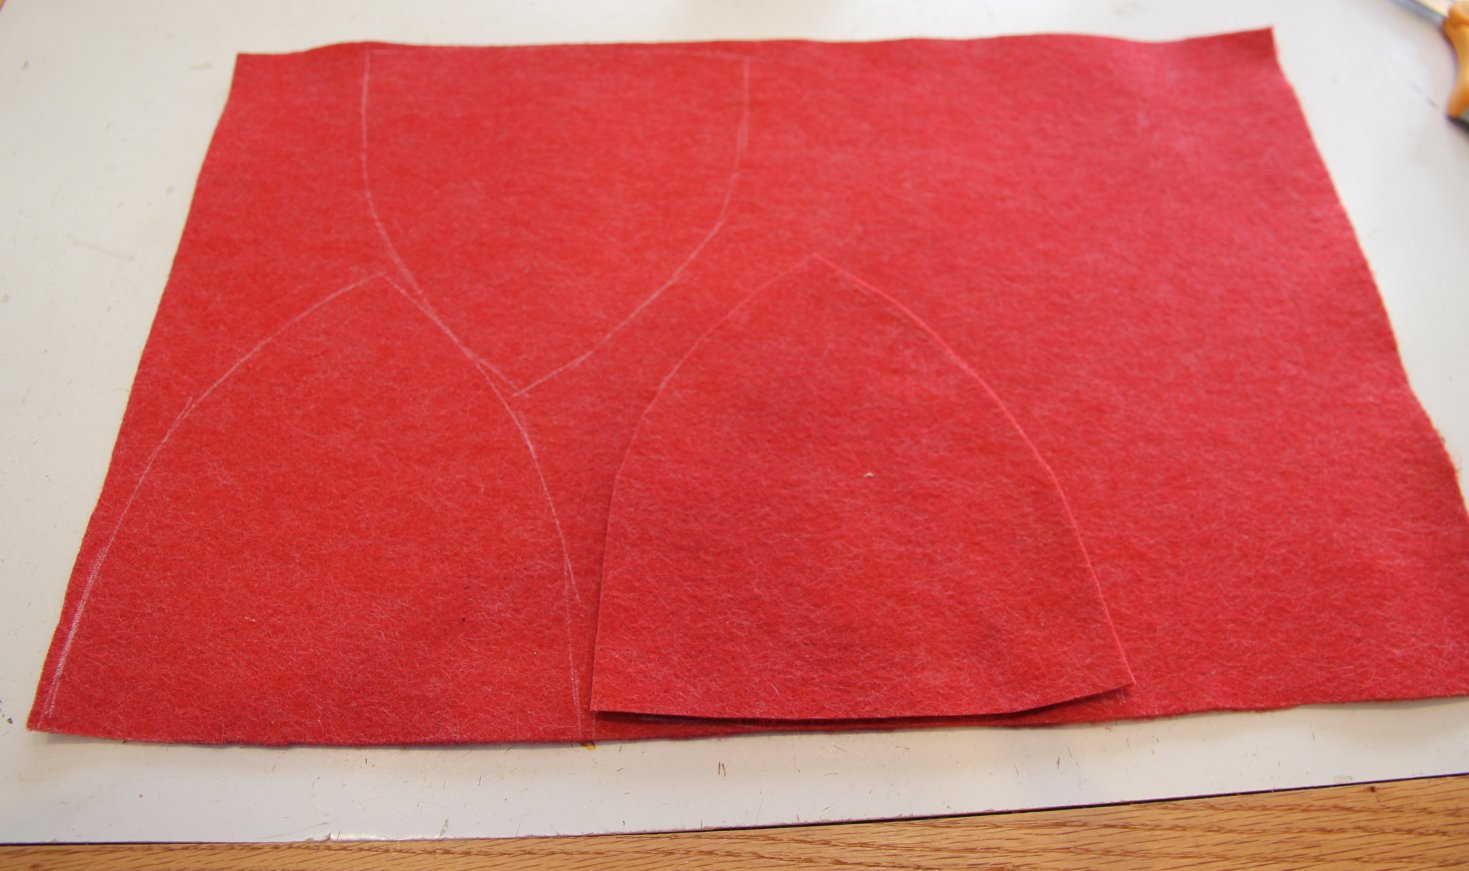
- Trace your pattern onto felt with NO seam allowance.
- Cut 4 sections, making sure the seam lines are smooth (the base can be rough)
- Match two pieces at the CF/CB points, and use a sewing machine to zig-zag the seam, catching both sides. The pieces will curl up as you go – keep pushing the edges together as you sew. (You could also sew by hand, whipping the seam together).
- Repeat for another pair to make 2 halves.
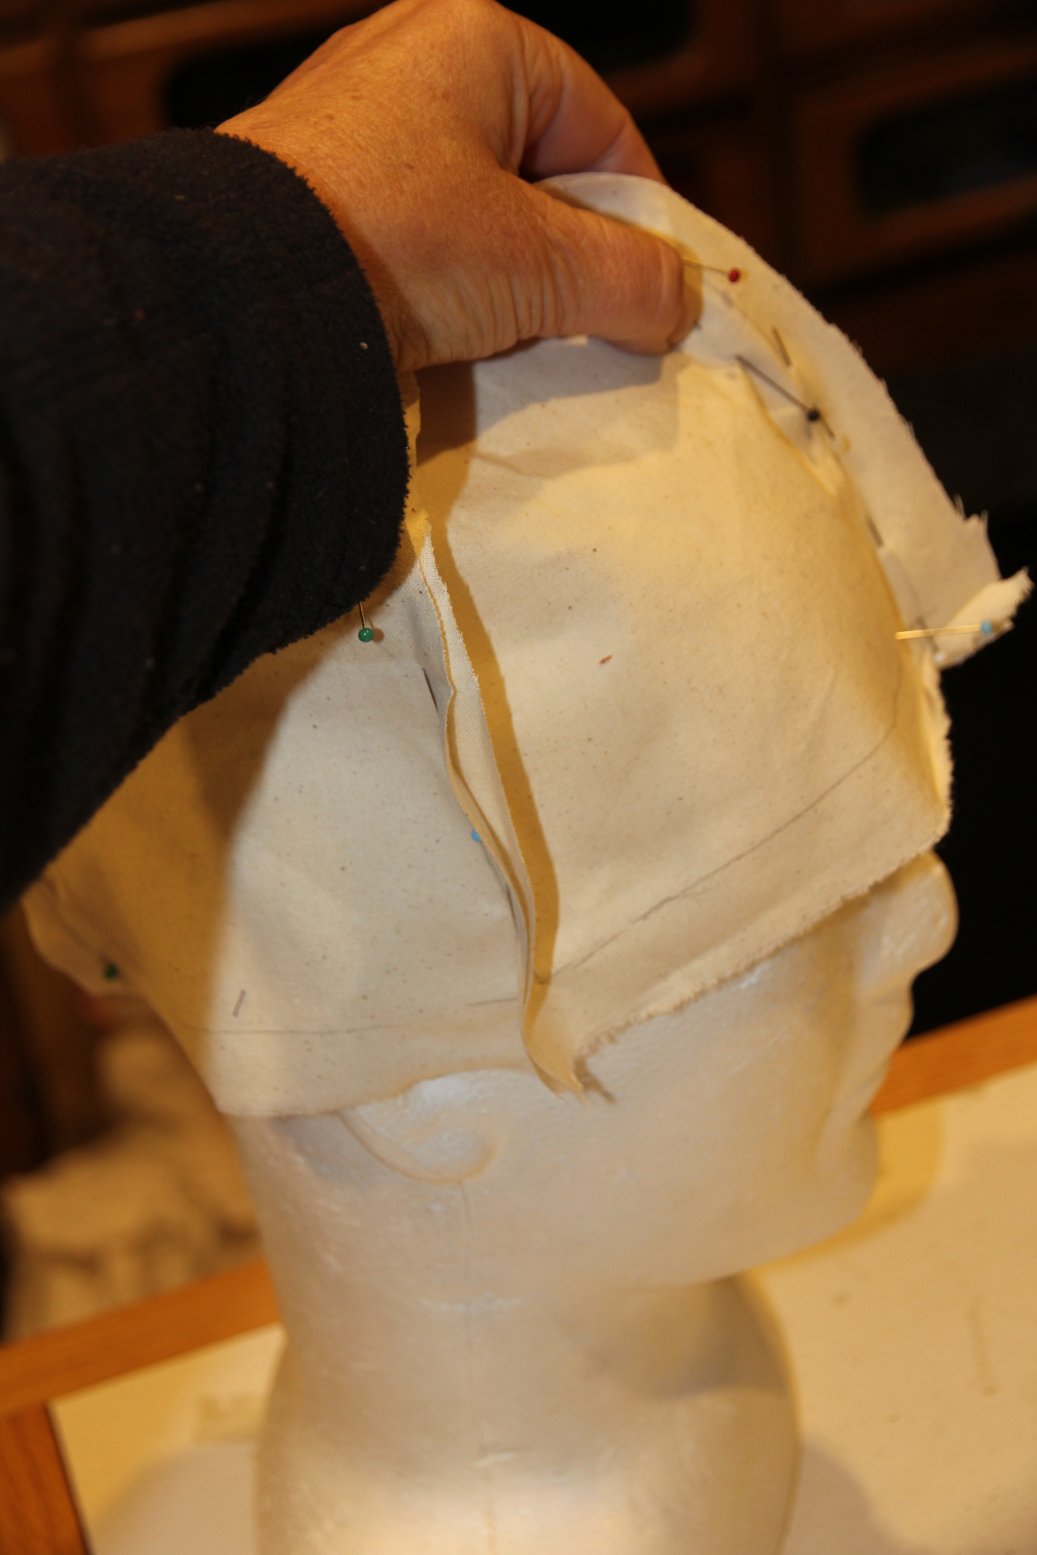
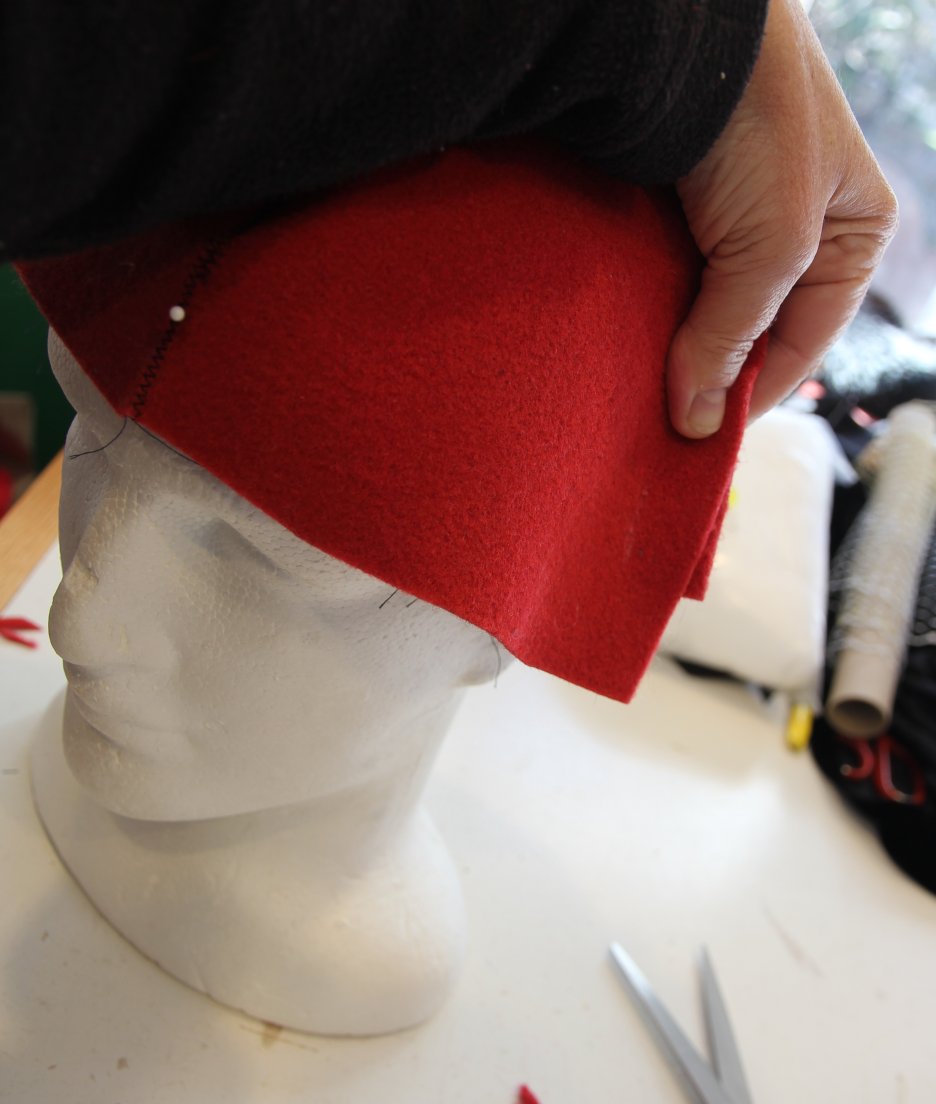
- Fit the two halves over the headform and pin in place, so they don’t move. Pinch along the open seam and mark any excess (have exaggerated in the picture – won’t be this much!).
- Update your pattern with any changes.
- Trim the felt as needed, then sew together as before.
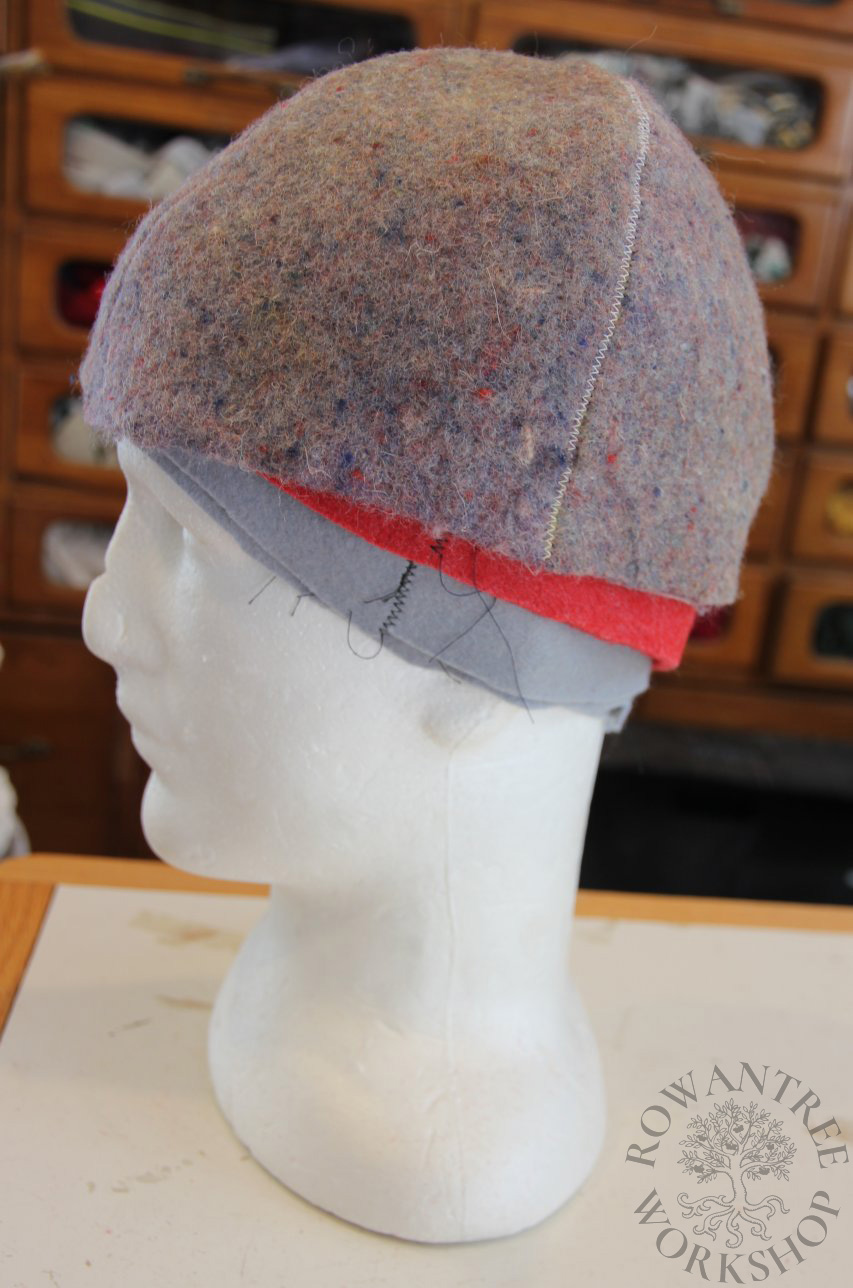
- Pull over the headform – it is now larger!
- Measure the new size to estimate how many more hoods you will need.

More hoods:
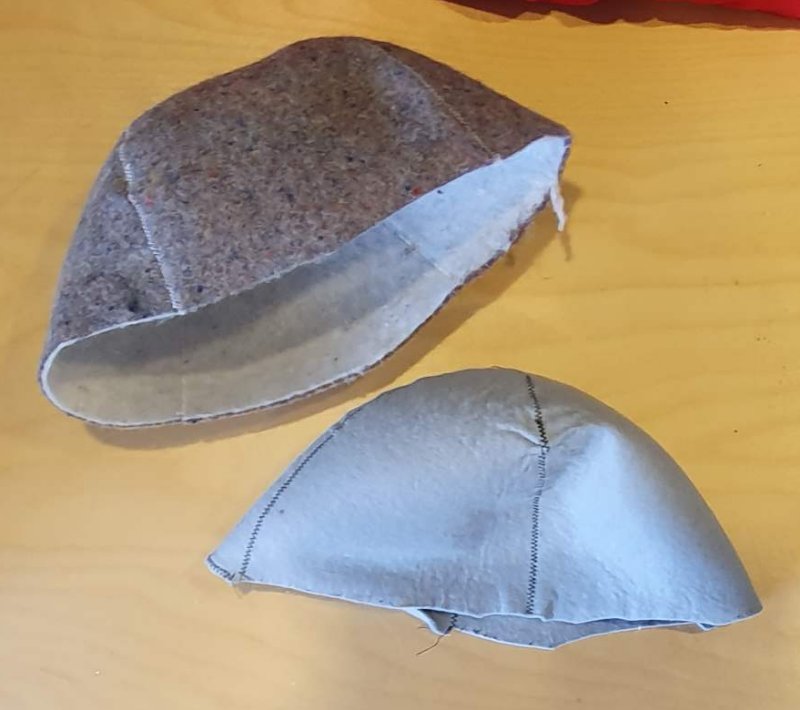
- Each hood needs to be larger to fit over the previous layers.
- For the next hood, adding the thickness of your felt to all edges before you cut out the pieces.
- Sew the hood and check it fits over the first one (if not, adjust your pattern and make a replacement)
- For the 3rd hood, add 2x the felt thickness (adjusted if necessary – the compression varies a lot with different types of felt!)
- Keep making larger hoods until you have the size you need.
- Number them, so you put them on in the right order next time.
Adjusting for hair etc
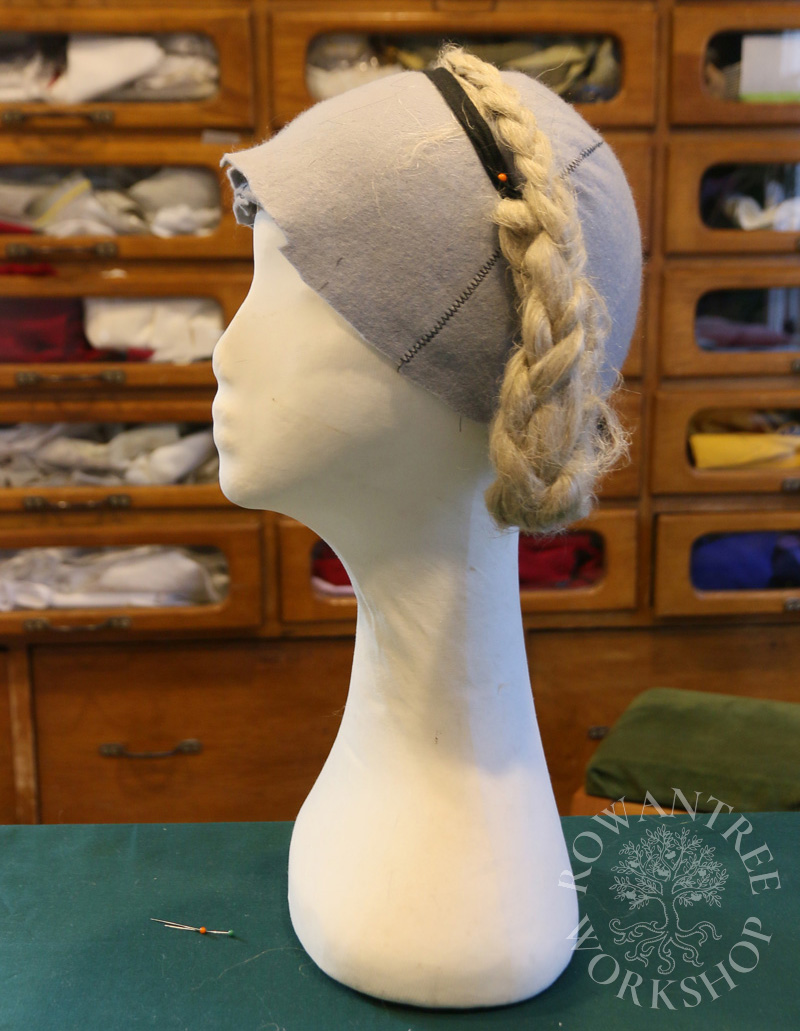
Next, consider the hair!
If the headwear will be worn over a bun, braids or similar, you need to add this to the headform too, in the appropriate position.
- Fake plaits or even braided wool can be pinned on, or held in place with tapes or ribbons.
- You can make a simple bun with a ring of wadding, bound with fabric strips
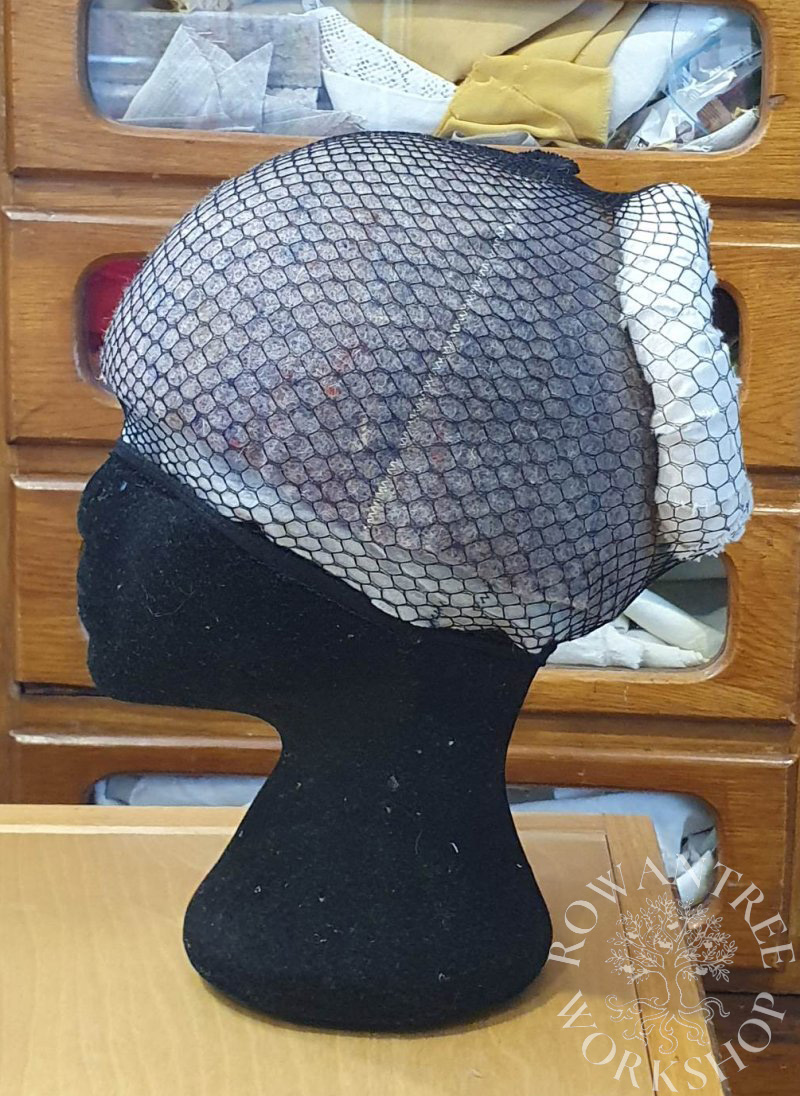
- Once you are done, hold the whole lot together with a hairnet (a mesh wig cap is ideal – stretchy and strong).
Finally, if the headwear will be worn over another layer (eg undercap, coif, Haube etc), fit that to the headform first, before you pattern the next layer.
Now you can start patterning your hat…