

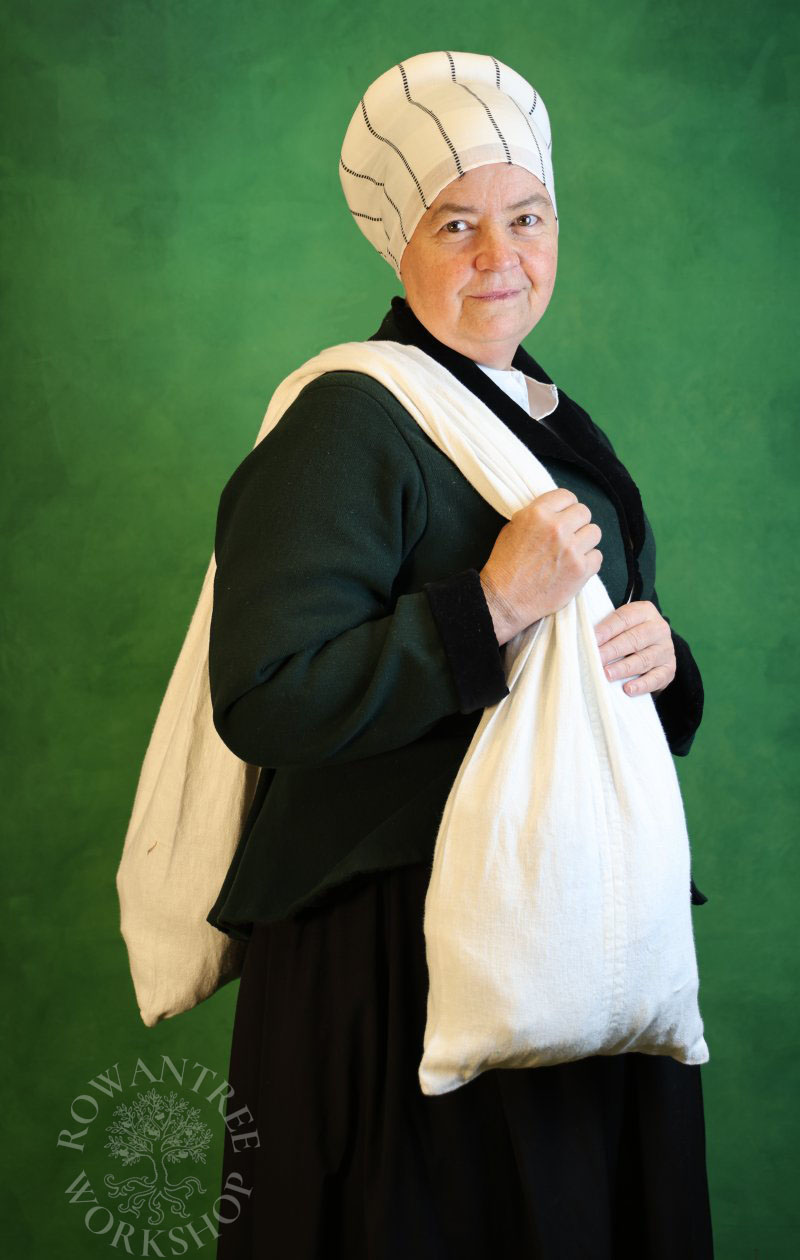
This practical sack was in use across Europe throughout the middle ages and renaissance. Slung over a shoulder or staff, lower classes could carry their shopping or working lunch, and travellers could easily carry a lot of gear. A simple project and a great solution for carrying stuff for events.
I was introduced to the ‘market wallet’ when I went to Canterbury Faire many years ago and saw several people using them. I have since heard them referred to by various other terms including Martebo sack (after the sculpture in the Martebo church in Gotland), fässing/fussing, stuff sack and shoulder sack.
Once I knew what I was looking at, I started seeing them all over the place in manuscript illuminations and paintings, and in a few different forms. Most of the contexts are lower class, but there are a few middle class examples too.
They proved ideal when we travelled to Raglan Faire in 2017. We stayed at a nearby inn, then walked the to the site every day with all we needed in our shoulder sacks.
Research & Design
Market wallets first appear in manuscript images from the 12th century and may well have been in use before then. They were widespread across Europe iduring the middle ages and renaissance and indeed into the 19th century in some northern countries.
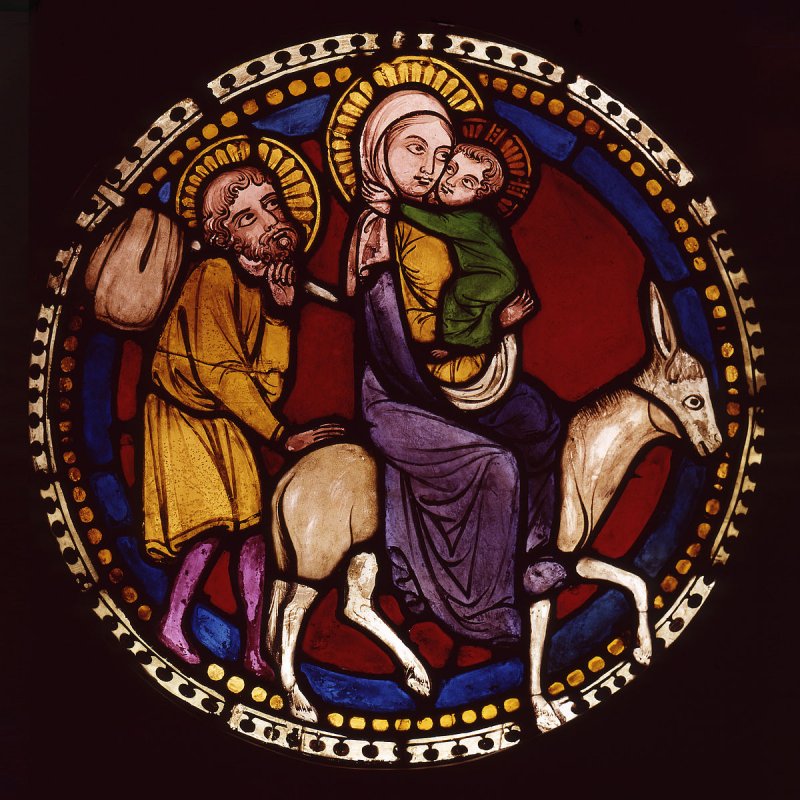
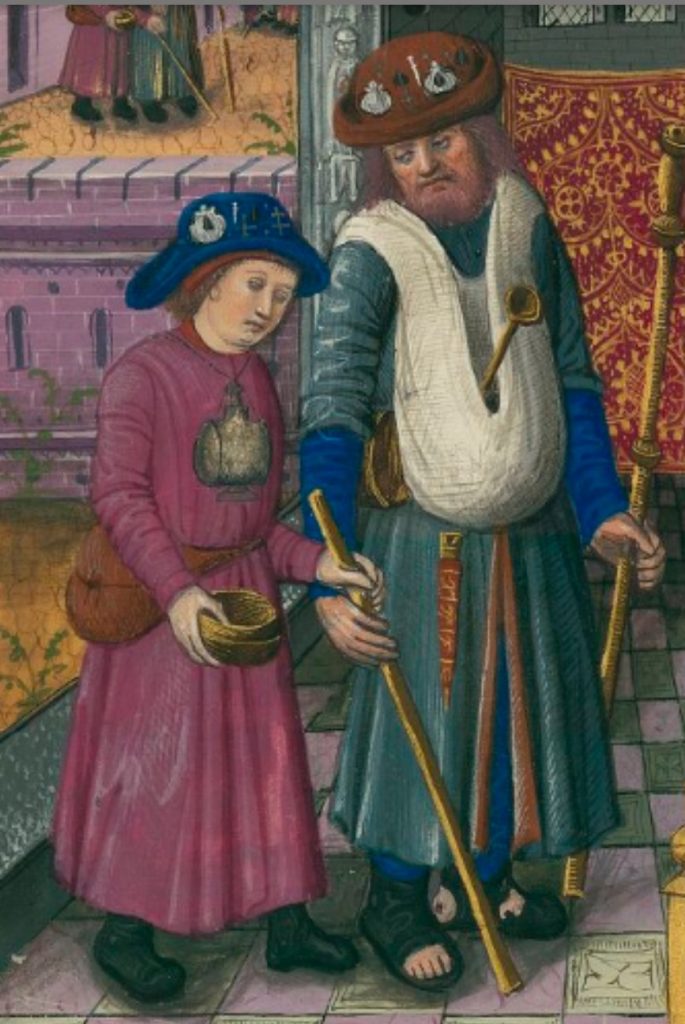
They appear frequently in scenes showing markets, pilgrims and travellers, and are a common element for any biblical scene entitled ‘Flight from Egypt’ – the archetypical traveller’s luggage!

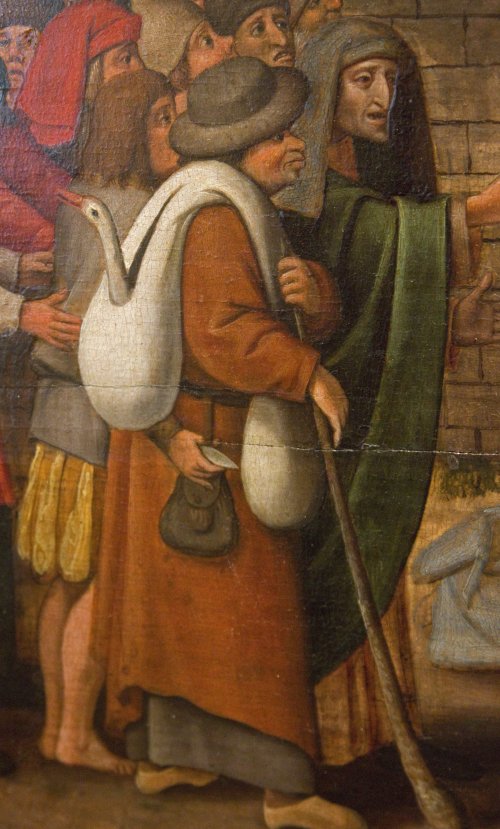
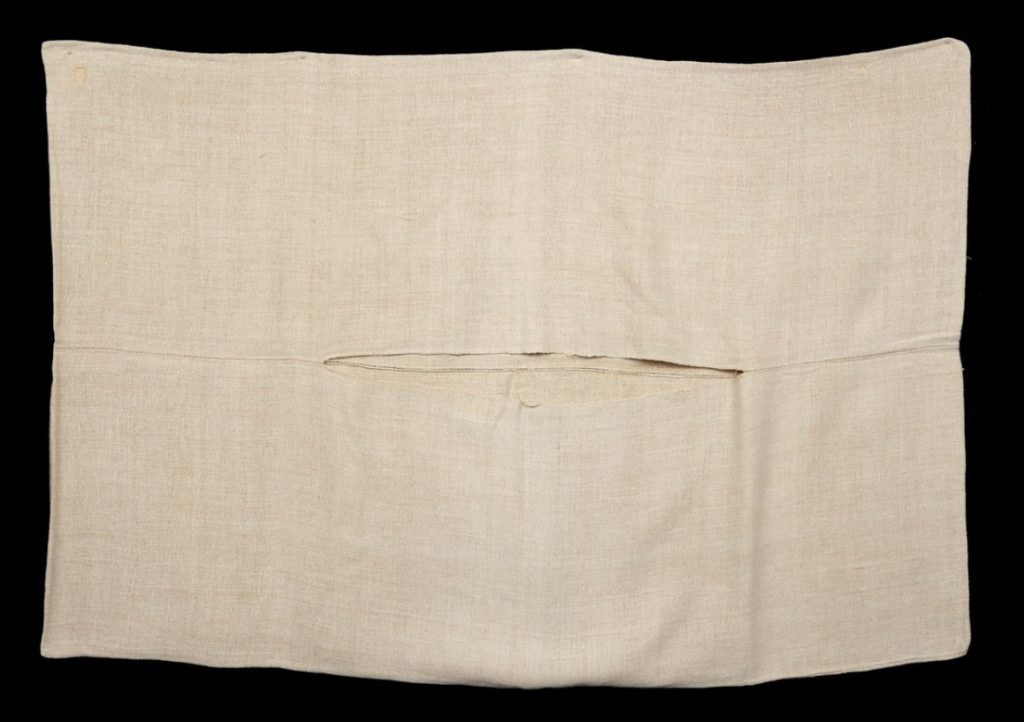
Source: Badisches Landesmuseum
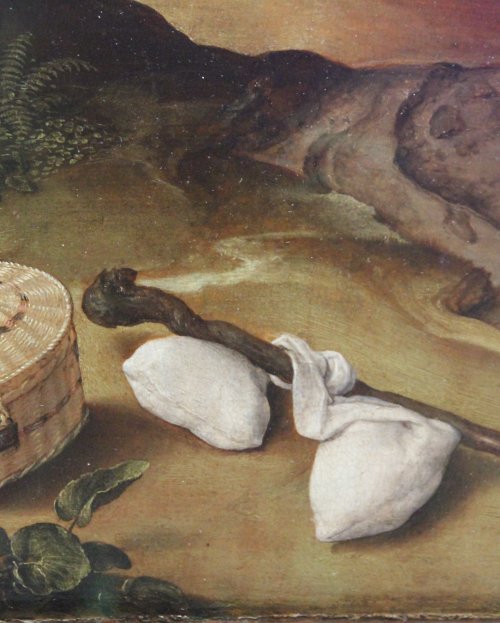
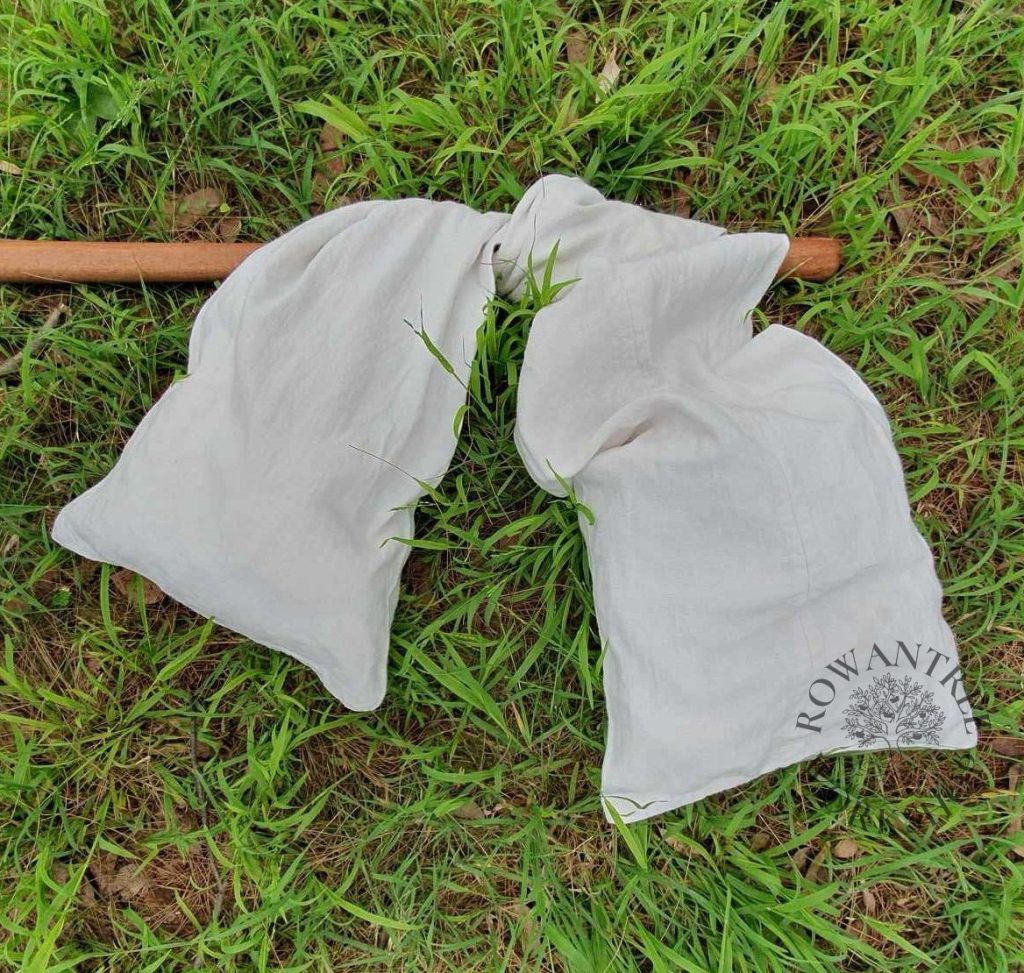
Photo: Robyn Spencer
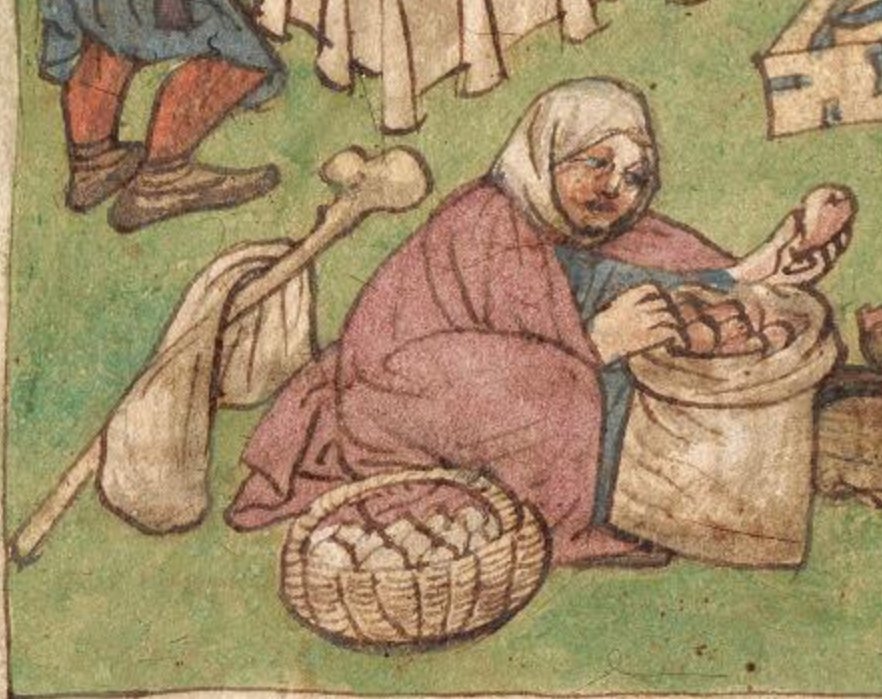
The sacks were used for marketing (both buying and selling) and pligrimage.
Source: University of Tübingen
Source: BnF
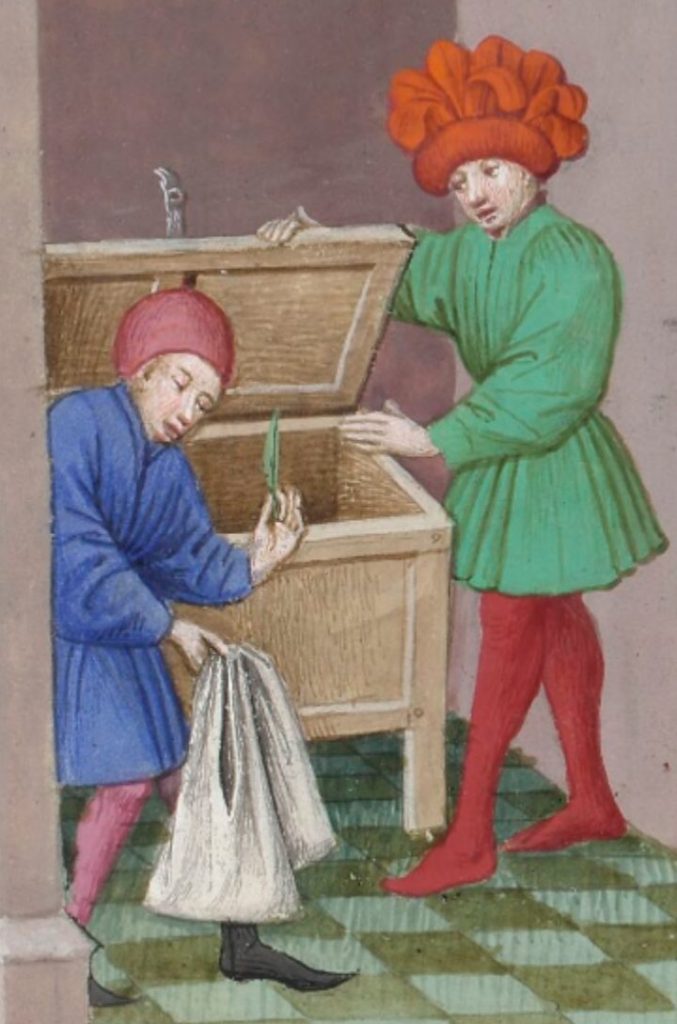
They were used to take your lunch to work, and for ad hoc storage around the house.
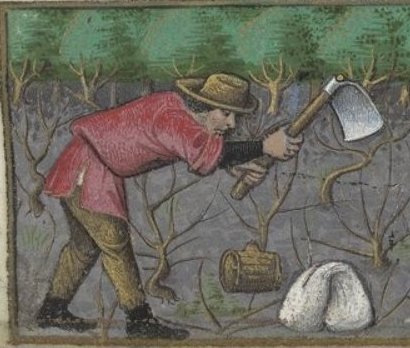
Source: BnF
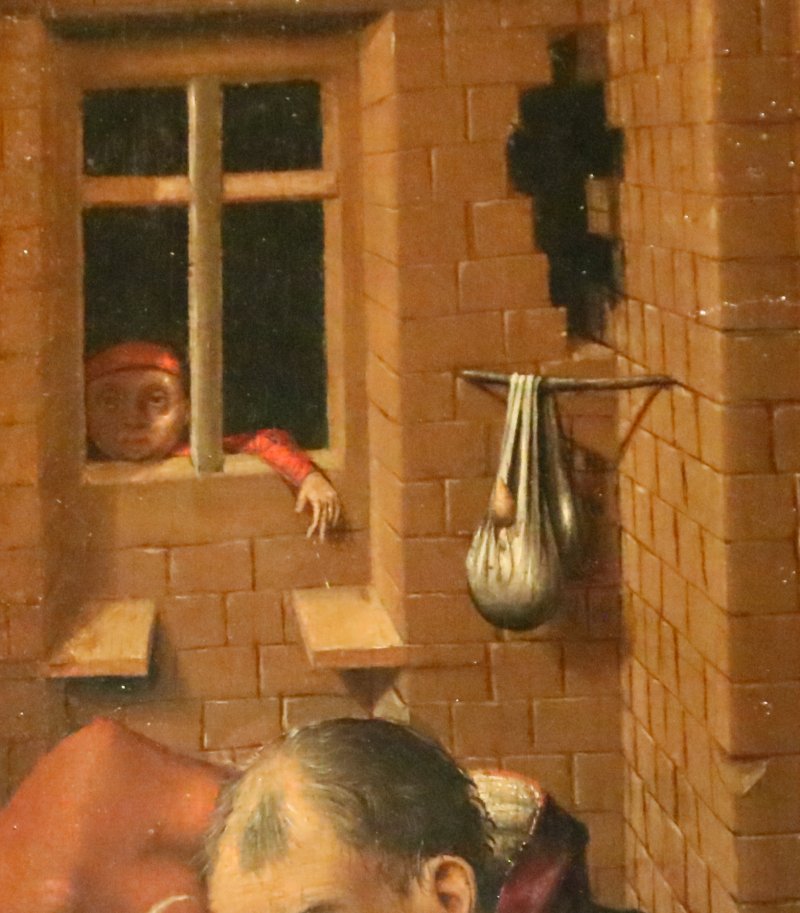
Source: BnF
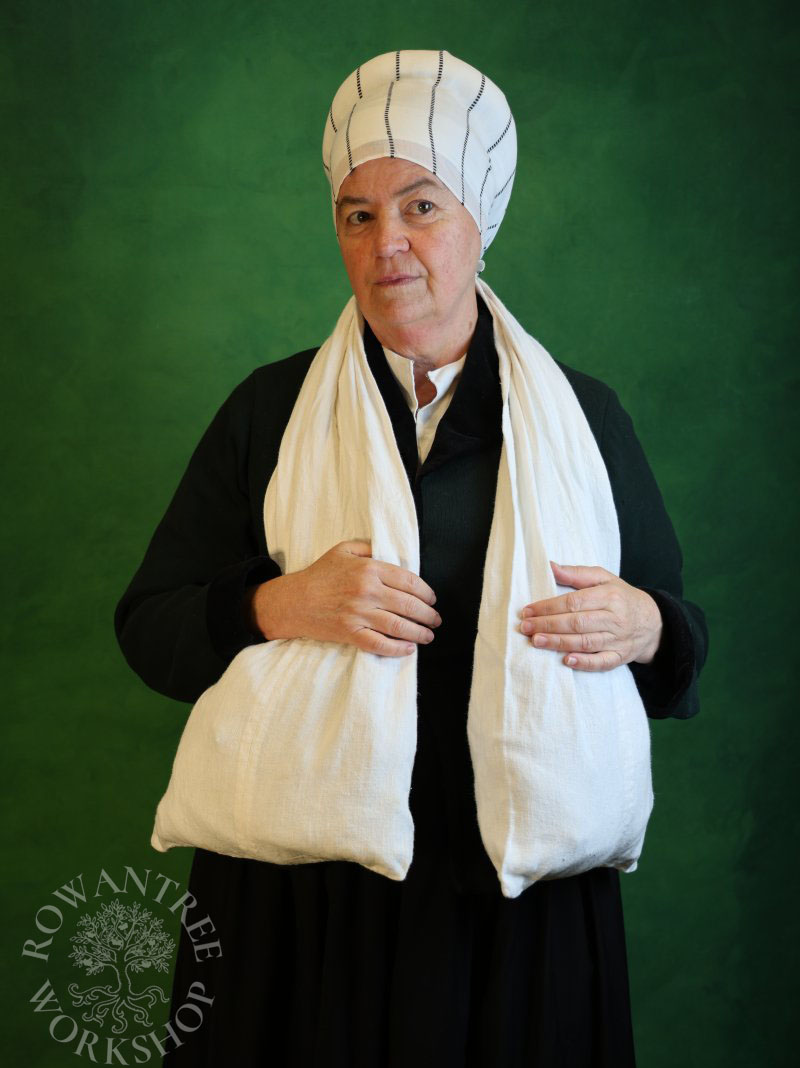
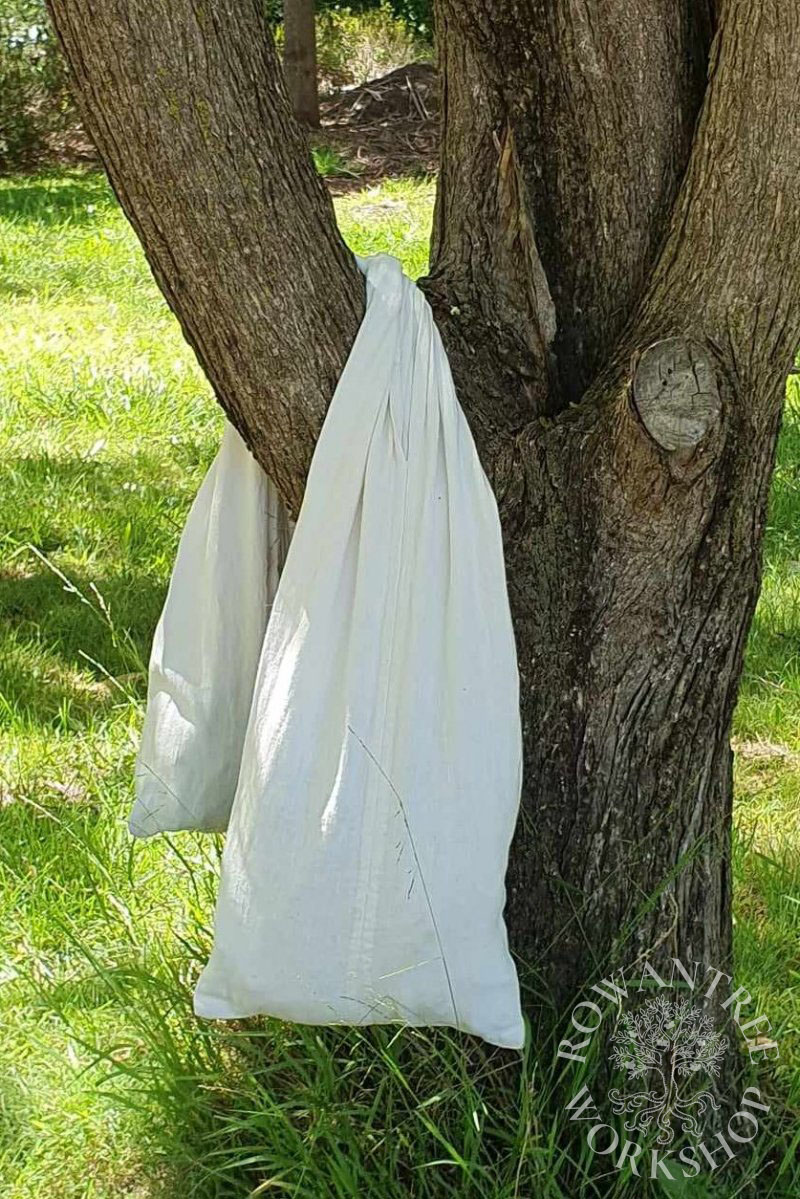
You see the sack worn over one shoulder, over both shoulders, hung from a staff or a tree or just lying on the grass. The most common form is rectangular with a single long-wise slit in the middle of one face, and a rounded or square end. The round end is seen throughout the middle ages and renaissance; the square end starts to appear from the 15th century.
There is also a ‘rustic’ version, with a slit in the middle of both sides, so it can be worn front and back over the head, with round ends (the Le Livre des faiz de Monseigneur manuscript is one such example).
I have seen other people reconstruct Market Wallets with a single slit across the width of the bag rather than lengthwise, but I’ve not yet seen any artwork that explicitly shows this version (if you know of any, I’d be interested!)
Looking at these and many other examples, we can estimate the size in proportion to the people. The width seems to vary from about 30 to 50cm; lhe length is usually down to the waist or hips when worn over the shoulder – 1.2 – 1.5m, The slit is typically 1/3 – 1/2 of the overall length.
These sacks are invariably white or off-white, so a plain linen canvas or similar bast fibre (eg hemp, nettle) seems the most likely material. (I have seen one illumination with a decorated bag, but everything was decorated so I think this was artistic, not reality.)
This extant 19th century example is made of linen and it tells us a lot about the manufacture at that time (and possibly earlier). It is shorter and wider than the medieval examples and used two widths of fabric, with the selvedges simply sewn together. With the right fabric width, we could do that too!
I’ve made these sacks using hemp canvas, linen canvas and painter’s cotton drop cloths – something sturdy with a reasonably tight weave. Heavy unbleached calico (muslin) would work, but won’t stand up to heavy use.
Construction
The basic pattern is a simple rectangle, sized according to need and fabric width.
1.2m x 70cm is probably the minimum useful sized pattern – this makes a sack 115cm x 33cm wide, large enough for a day’s worth of useful stuff (class notes, lunch, camera, warm layer). 1.5m x 80cm (145cm x 38cm finished size) will let you carry bulkier objects.
Before cutting your real fabric, I suggest making a quick mockup in scrap fabric (old sheets, Op Shop curtains…) to check your sack will be the right size for your gear. Consider the length, width and slit lemgth. If you are making more than one, consider the best layout for efficient use of your frabric.
Once you have your size sorted, cut your canvas rectangle. Fold the two long edges together and pin, marking where the slit starts and ends.
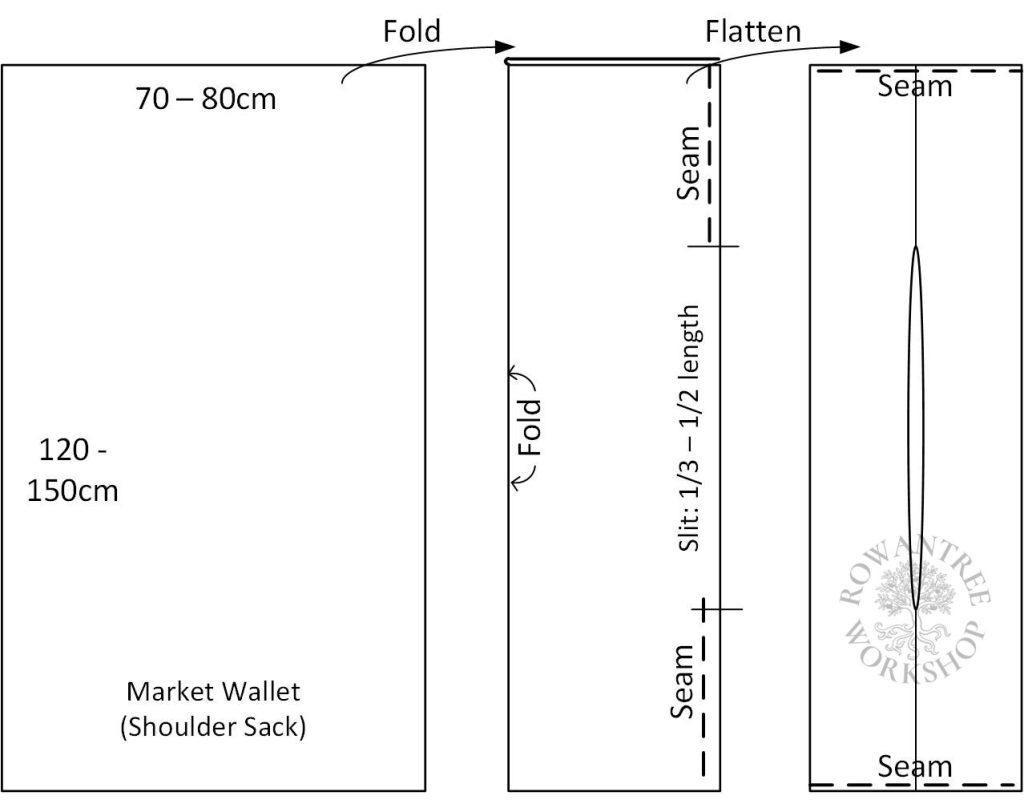
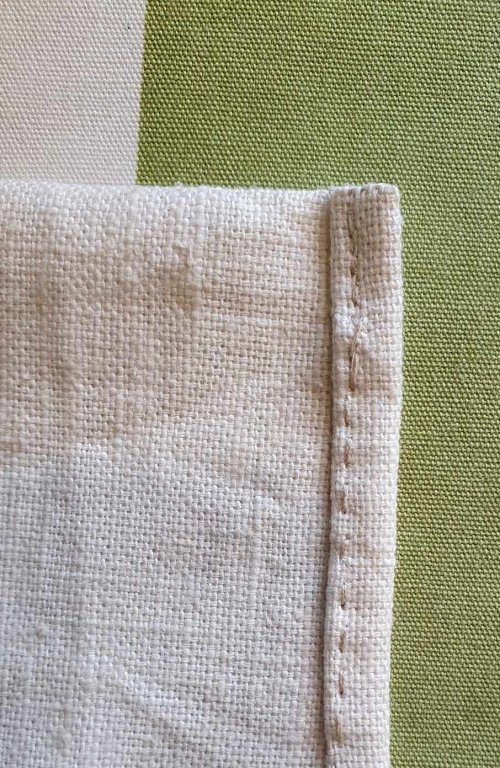
Sew the seam at each end with a 1.5-2cm seam allowance (easy to fell) using back-stitch or machine stitch, with extra stitches at the slit opening for strength.
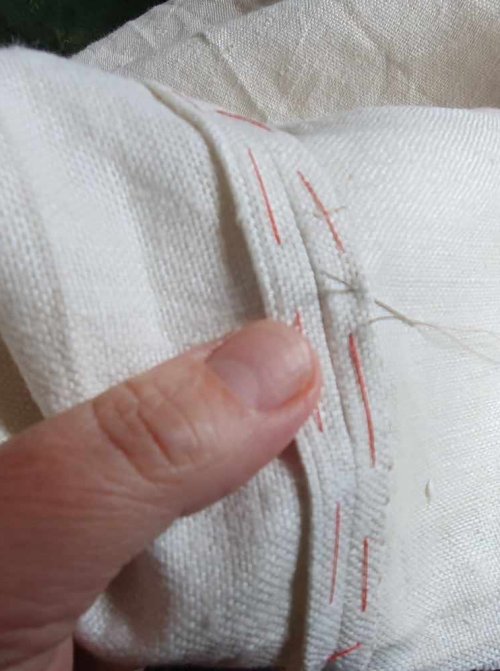
Press the seam allowance on each side open, then fold under and press well. I baste each side to make sewing easier. Fell the seams by hand (also possible using a free-arm sewing machine). Alternately, you could finish the long edges first and then join them with strong whip-stitch or machine zig-zag.
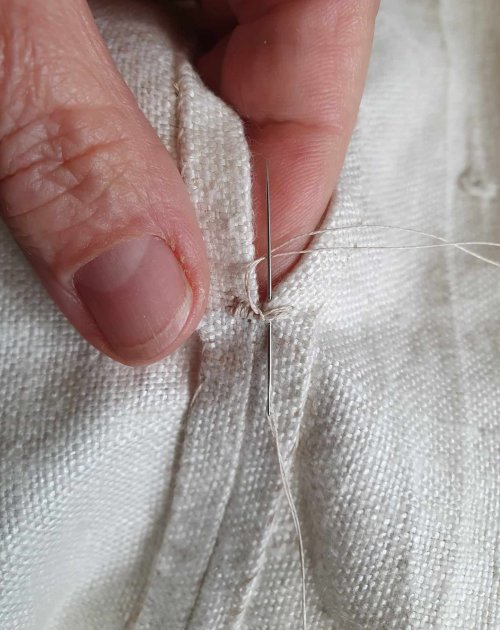
The end of the slit is the weakest point. I sew a bar over it – several long stitches, then buttonhole stitch over these stitches and into the fabric underneath.
Lay the sack (still inside out) so the seam and split is in the centre and the ends are flat.
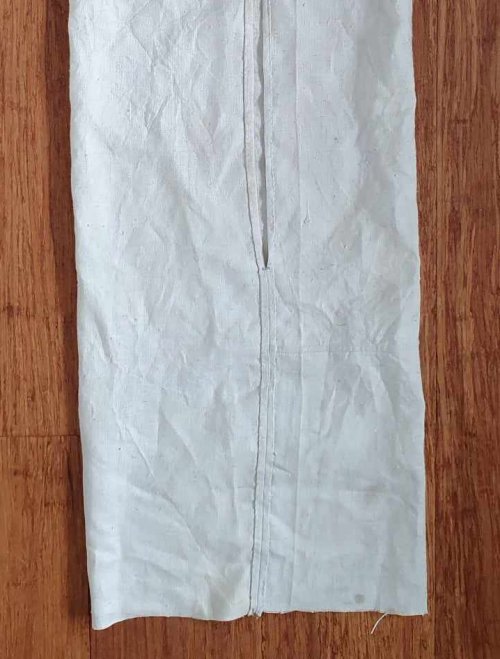
There are three easy ways to fininsh the end – they all look the same from the outside.
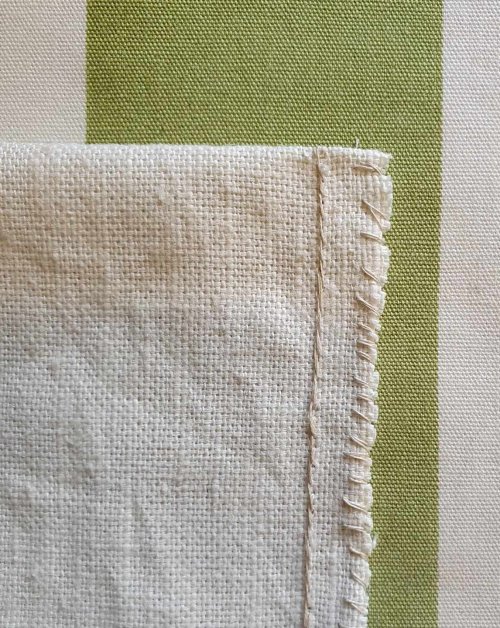
- Sew the ends using backstitch, then whip-stitch over the raw edge (or machine sew and zig-zag).
- French seam: Turn the right way out. Sew across the end using running stitch. Trim seam allowance to 3mm, turn inside out and sew with a 5mm seam using back-stitch (or machine both seams).
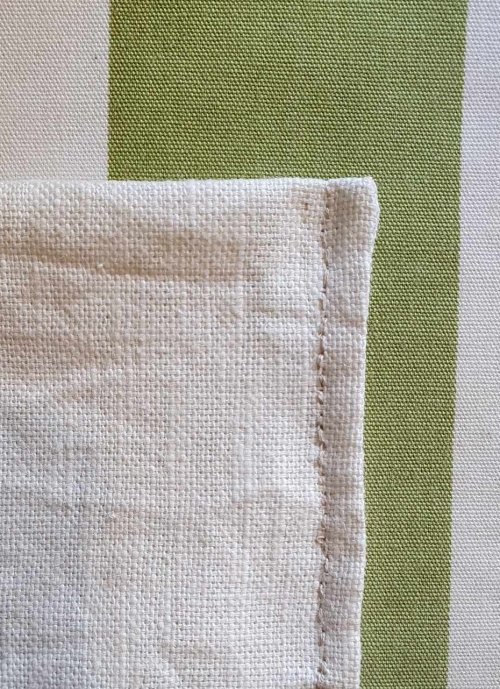
- Fold the end over twice and sew through all layers to give a neat seam.
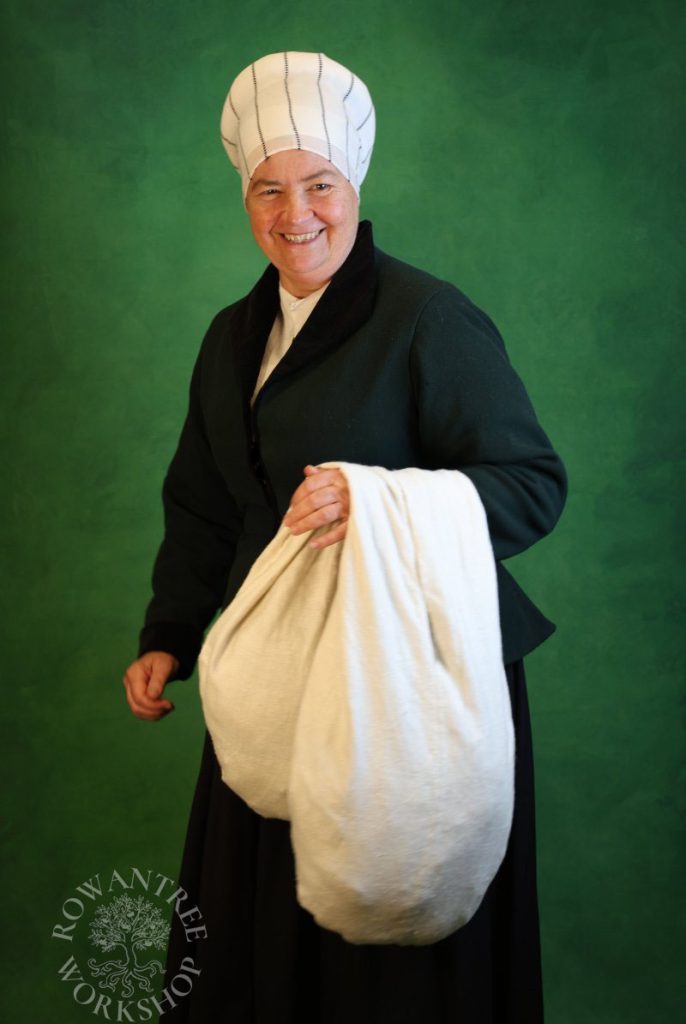
Turn the right way out – ready to pack your stuff and head off on your travels, or sling your lunch over a tree…
Round end version
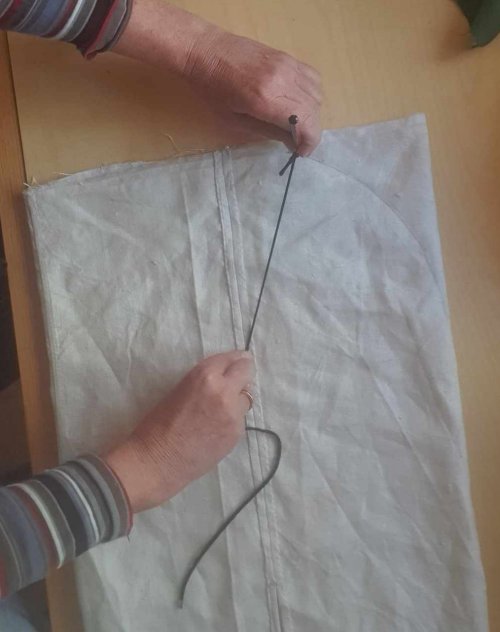
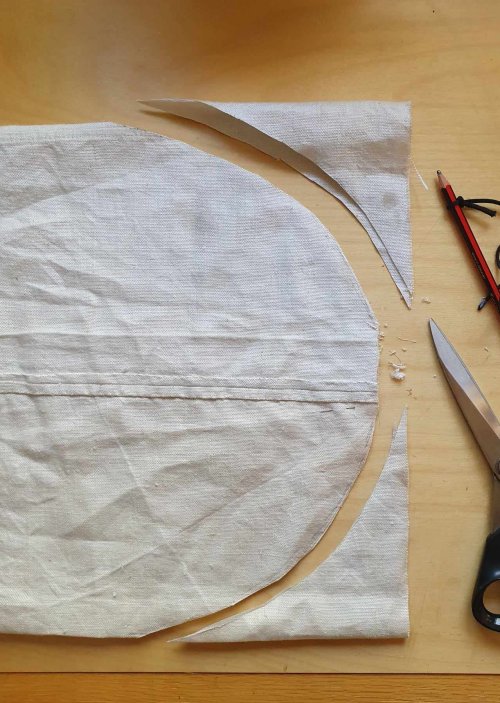
For the round-end style, sew and fell the main seam and lay out the sack as above.
Mark a semi-circle on each end using a string compass (or a large round thing) and trim. Finish the ends using backstitch and whip-stitch, or French seam as above (double-fold does not work for this style).
Double slit version
The double-slit examples all seem to have round ends, and are often shorter and wider. You make them the same way, but start with two pieces and sew two seams before flattening and rounding the ends. As always, mock-up and try your design first!
Afterthought
I made my original sacks with a 1/3 slit. This gives lots of stuffing space, but can make it harder to get the things out when you want them. I think a longer slit – 1/2 the overall length – is probably more useful.