

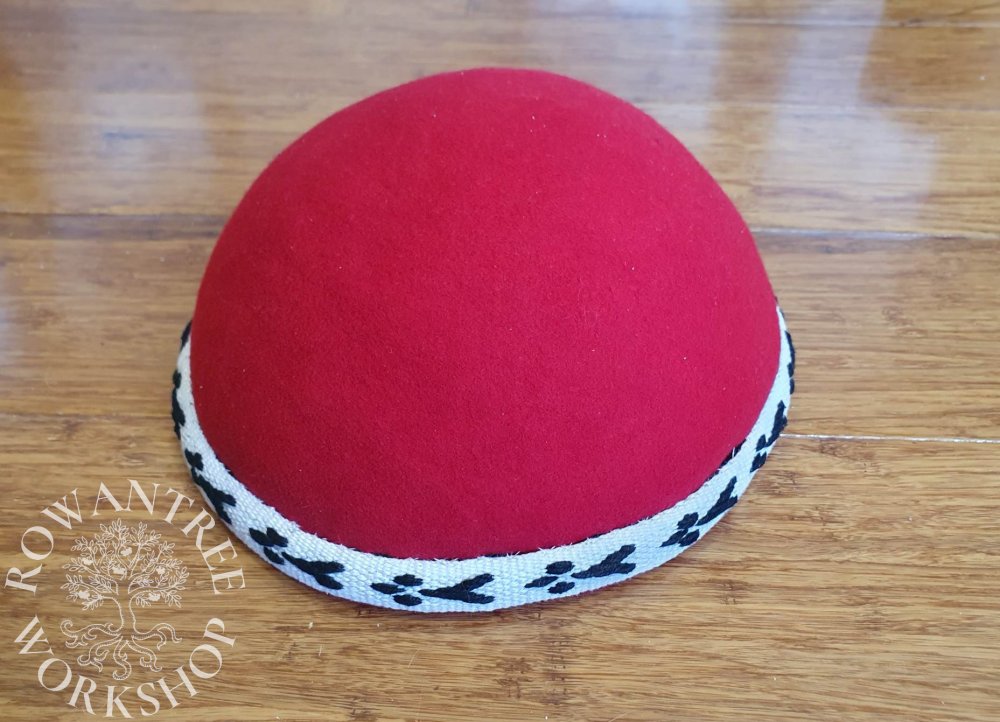
A man’s red felt cap, typical of both commoners and nobles in the 13th century.
I made this cap as part of a joint project to make a full 13th century outfit for my friend Ulric (along with a belt and purse). My original plan was to make a simple cap with a plain turn-up band, but with his impending change of status, this morphed into making a cap of maintenance for the SCA Order of the Pelican.
The earliest known caps of maintenance are from the 14th century, such as the one above the tomb of Edward the Black Prince – much later. So the aim of this hat was to evoke the Order while keeping to the 13th century style as much as possible.
Research & Design
These simple round hats were a common style for men in the 13th century, with many depictions in stained glass windows and manuscript illuminations. Red is a common colour for these caps, although I have seen examples in green, blue and ochre (such as the Wormsley Becket manuscript below).

Source: Wikipedia


Source: Trinity College Dublin
The cap has no brim, but depictions often show a small raised rim along the base. Stained glass examples show the band as the same colour (perhaps for practical reasons), but the manuscript examples often show a raised contrast band – ideal for this project.
Although the manuscript shows a plain band, this project required some adaptation to include a band of ermine. Another friend offered to weave the simple trim with ermine spots in the dimensions I needed.
Construction
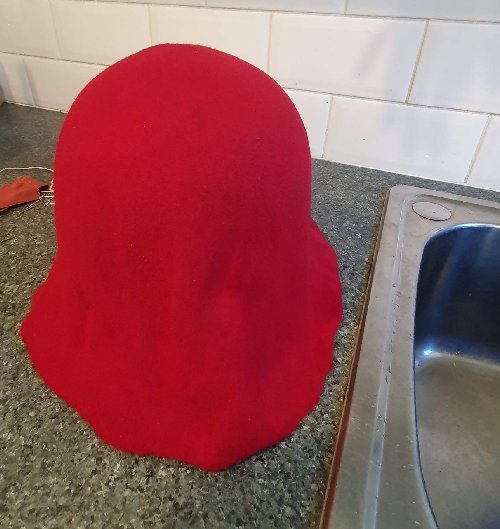
With no extant examples, we do not know what these caps were made of, but felt is an ideal material to produce this shape – and the variety of colours we see. I had a felt hood (also called a cone) in bright red, which I knew would block easily.
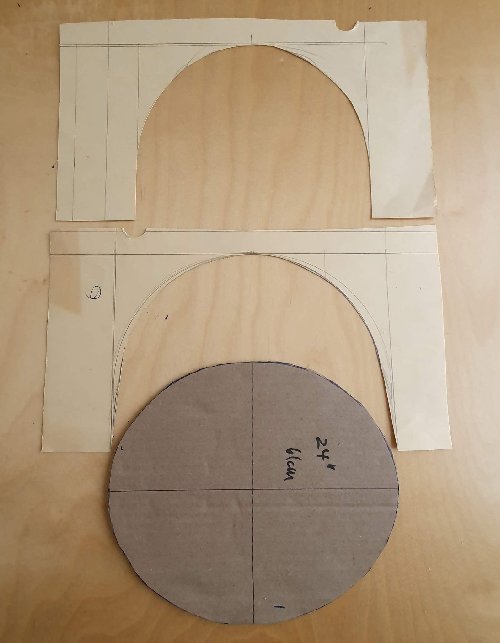
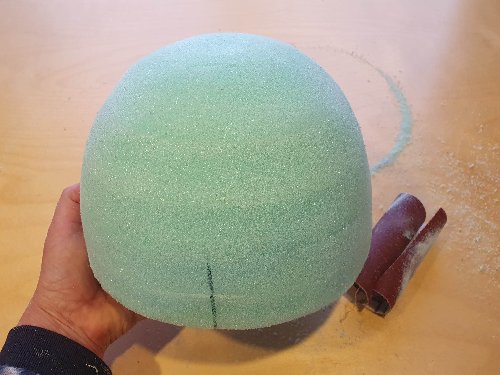
I needed a smooth round form a little larger than Ulric’s 24″ head. After a fruitless search for suitable bowls and the like, I made a custom hat block using XPS foam. Card templates of the base, front and side elevations make it easier to get the right shape. Marking the height on the block ensures an even cap.
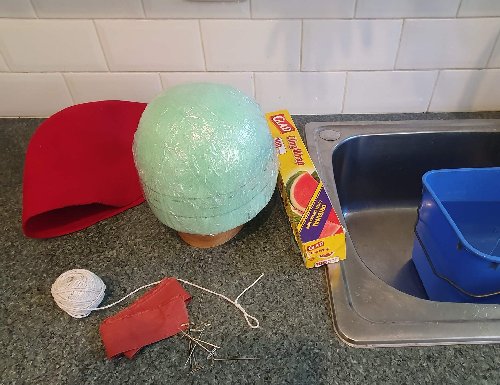
After wrapping in plastic wrap (makes it easy to remove the felt), I put the felt hood into hot water, wrung it out thoroughly and pulled it over the block, smoothing down well. I tied a string at the right height, flipped up the brim and secured it with a linen band, string and pins, and set it to dry. The pins do leave holes in the felt, but in this case, they will be covered by the woven band.
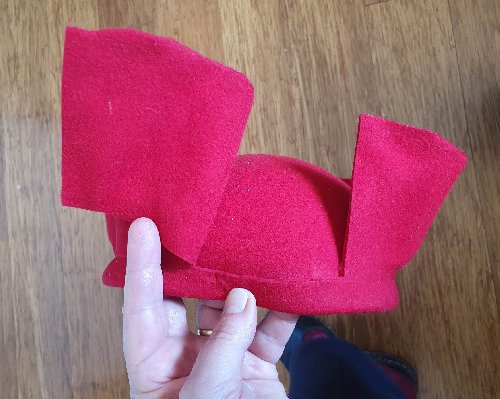
Once completely dry (it only took a day in the warm weather) I removed the string, band and pins.


The next step was to trim off the excess felt, using the string line as a guide. I wanted the small rim around the edge to add bulk, as seen in the manuscript images. I put the trimmed cap on a 24″ wig form and pinned the braid around, to get the right length find the best place in the design to join it.
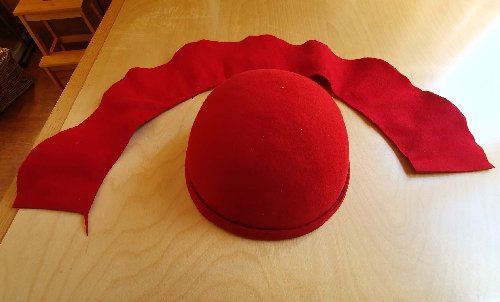
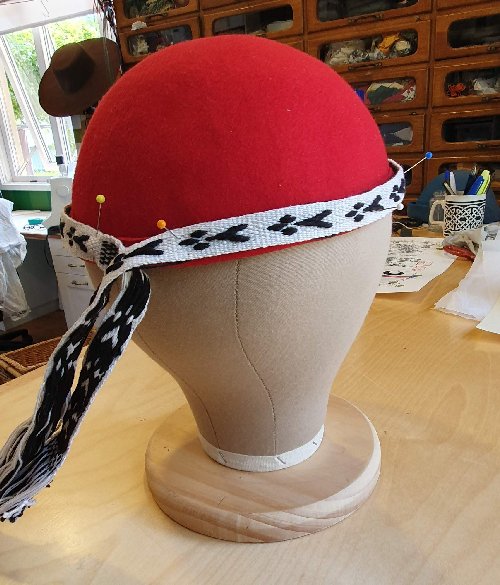
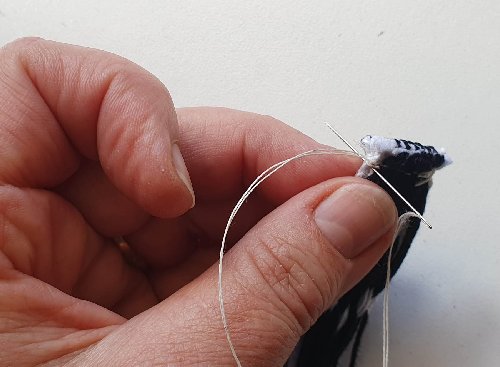
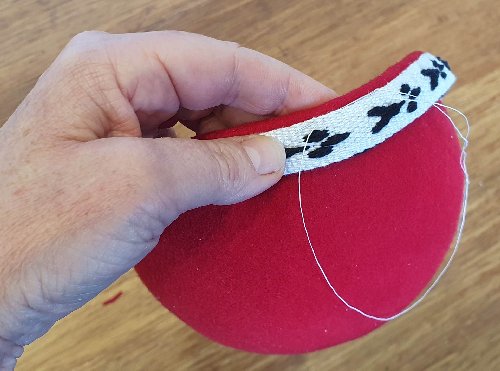
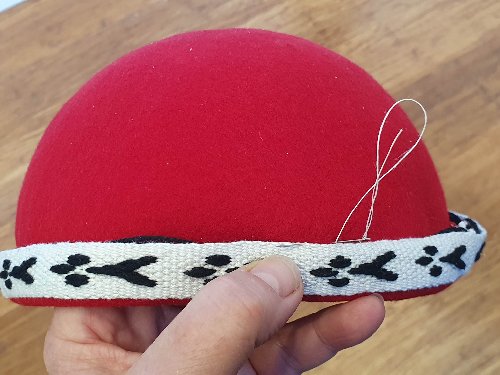
I trimmed the braid to length, sewed the ends together, then pinned back on the cap. I sewed the base edge first, to get the edge spacing even – the small red edge should protect the white braid, if it’s put on a dirty surface. Then the top edge, making sure to enclose all the loose wefts.
I was very happy with the finished cap. The rim stood out, just like the original and made the red felt pop beautifully. Ulric was surprised and very pleased – and it fit perfectly.
I’ll be using this hat block technique again…
