

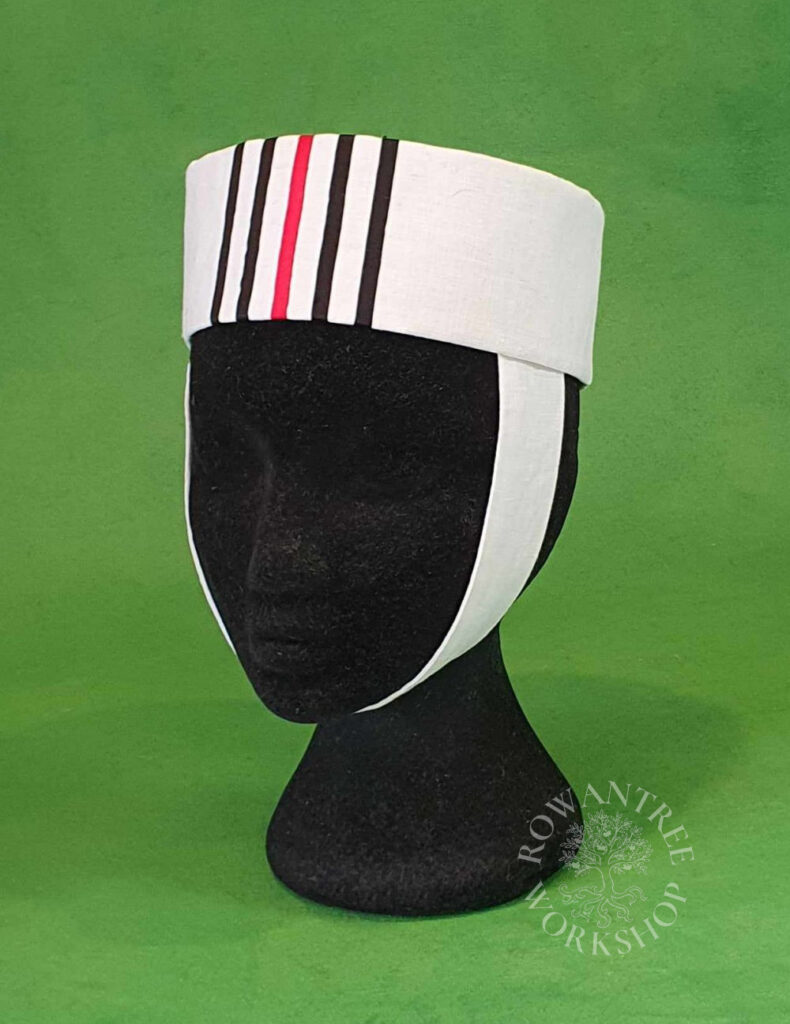
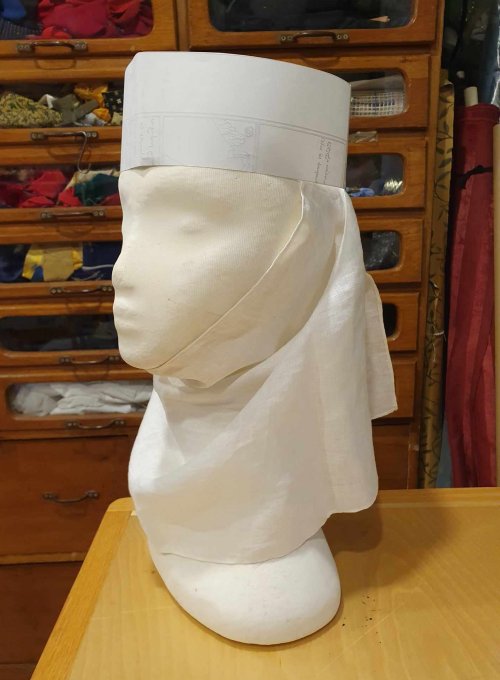
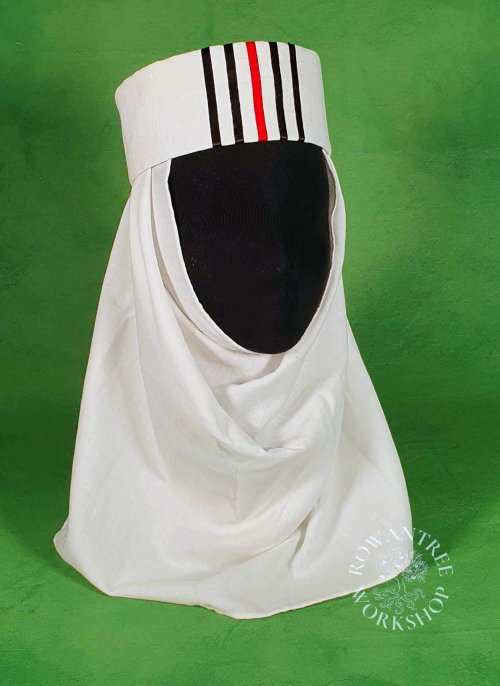
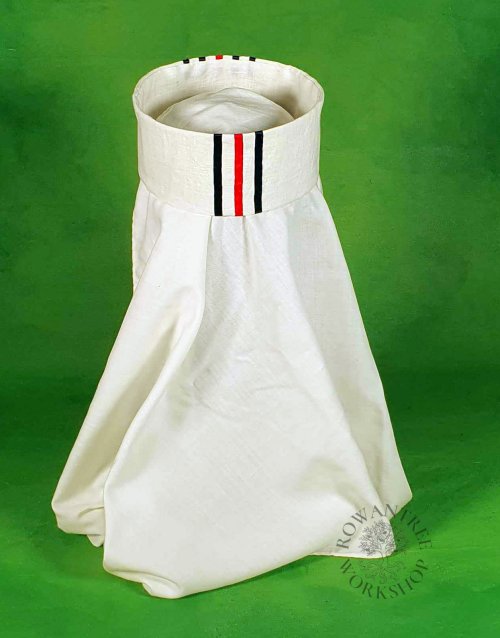
A simple, low crowned toca of the style worn by ordinary women in the 13th century Cantigas de Sancta Maria.
This was really an accidental project – I had no plans to make a 13th century Spanish hat! But I wanted to take some pictures of a 13th century camisa (chemise) and I needed the appropriate headwear to cover my very short hair.
A nice simple project, for a change…
Research
The toca is based on illuminations in the Cantigas de Santa Maria, is a book of songs in four volumes, written for the Castilian King Alfonso X during his reign (1221–84). I have based this piece on the Florence manuscript BNCF, Banco Rari 20. I was familiar with the general style, having painted an illumination based on the Cantigas, but I wanted to check proportions and details.
There are many forms of the toca (hat) shown in the Cantigas: low versions, both straight and flared; tall versions with patterns; and covered versions worn by those of rank.
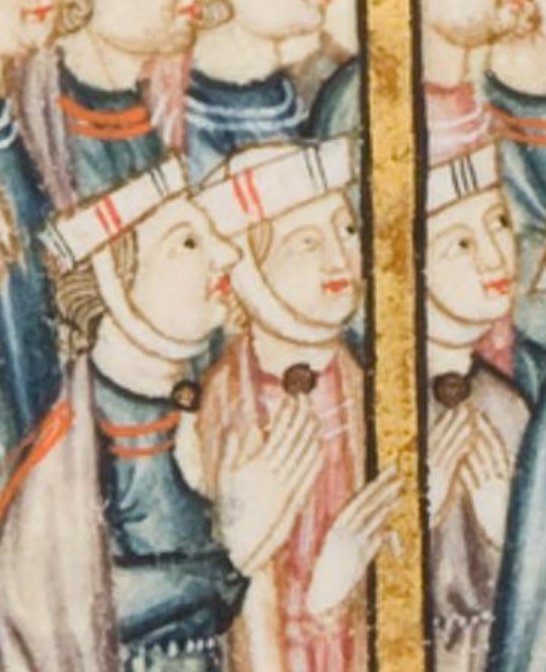
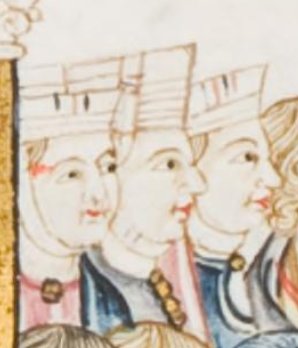
The low toca is depicted with narrow stripes in red, black and/or blue in blocks at the front or around the circumference, termed tiras or ribetones (Anderson 1979). Some examples have a white border around the base, while others show the tiras covering the full height.
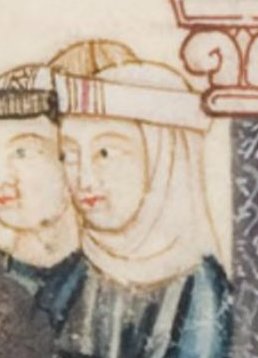
The toca can be worn with a barbete (barbette/chinstrap) or with a griñón (wimple) or other headcovering, as can be seen in the examples above.
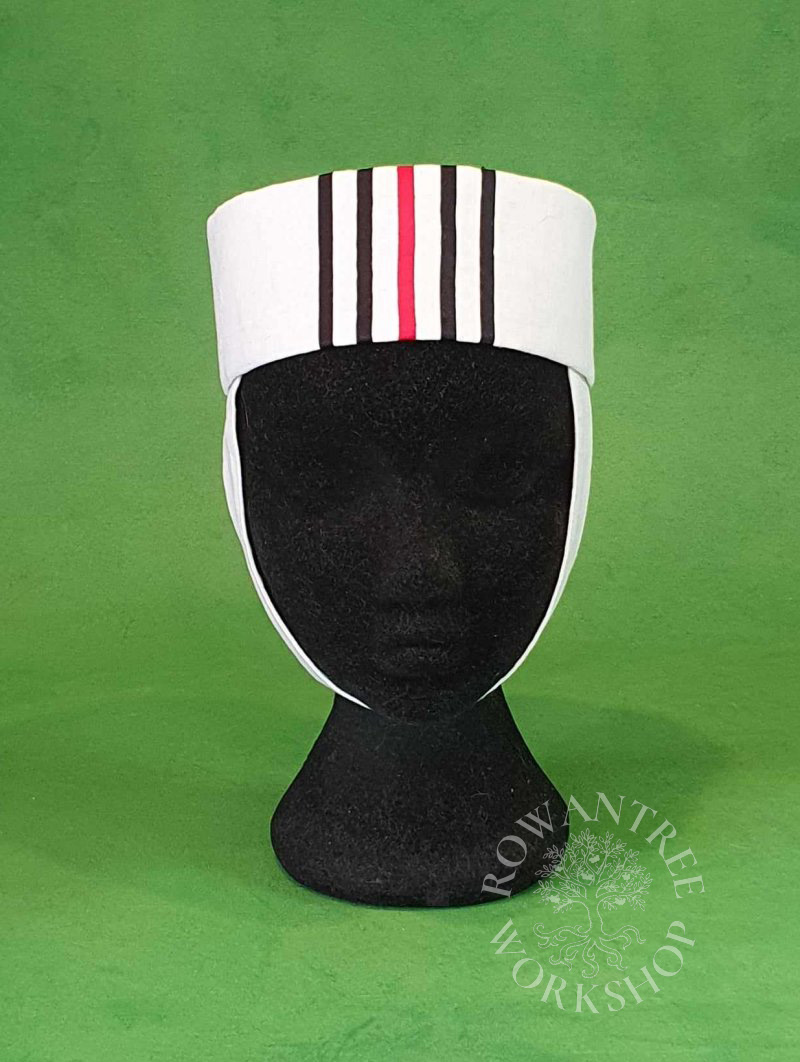
For this version, I went for a simple vertical band with stripes of red and black at the front and back. I’ll wear it with a griñón to cover my short hair.
Although taller versions were sometime stiffened with parchment (Carreto et al, 2005), I will use some heavy linen canvas.
Construction
My first setp is usually to pad up my headform, but I have a very small head, so the basic headform was the right size.
I already had various hemmed linen clothes, so I pinned one onto the head, then made a mockup of the toca using a simple strip of heavy paper to get the right size and height. The short ones in the Cantigas look to be about 4 to 7cm tall – this one is 7cm (there are also tall versions, up to 20cm).
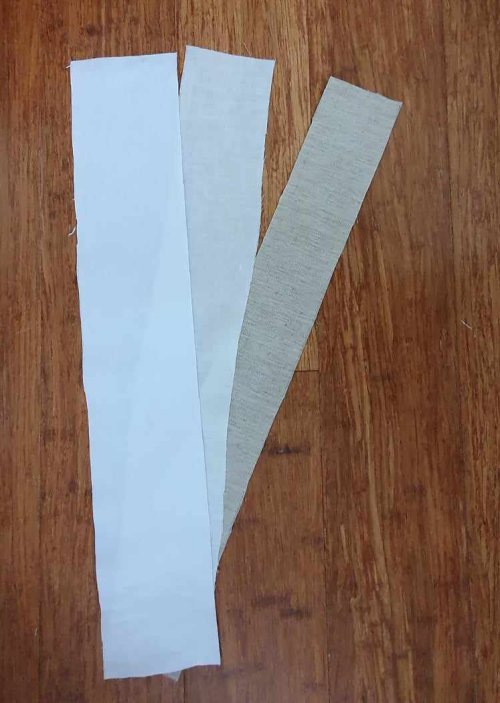
I cut out the a strip of very heavy linen canvas for the stiffening, a heavy linen for the outer layer, and a finer linen for the lining. To make the base, I machine-sewed the canvas together with an overlapped seam, to reduce bulk.

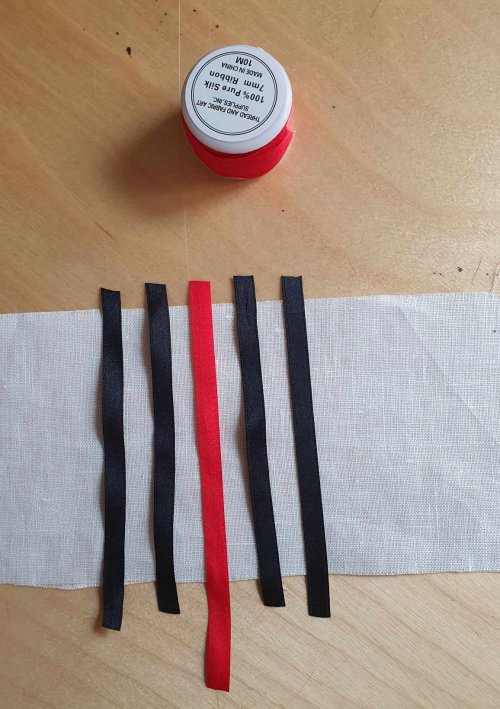
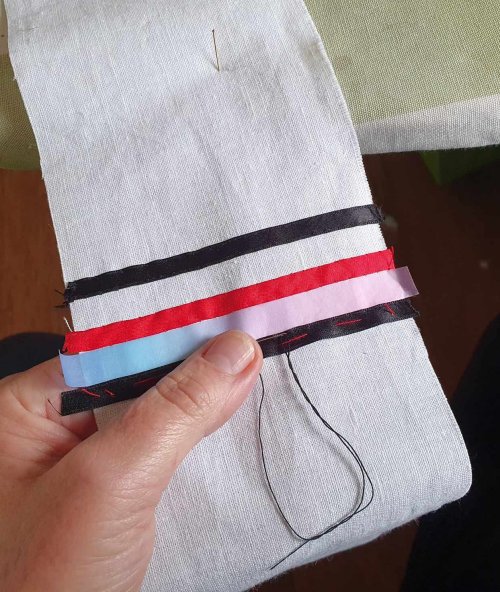
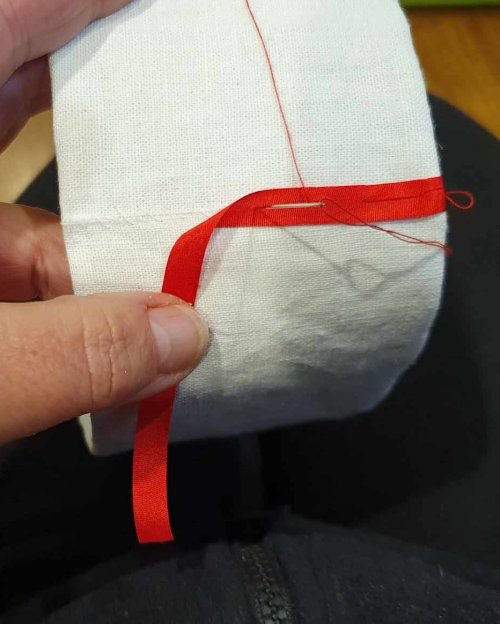
It is easier to decorate the linen before covering the base, so I cut some lengths of 7mm silk ribbon and tried out my design for the front, playng with the spacing. I basted the central red silk tira (stripe) on and couched it down using red silk thread. To get perfect spacing for the adjacent stripes, I used masking tape – a trick I use frequently!
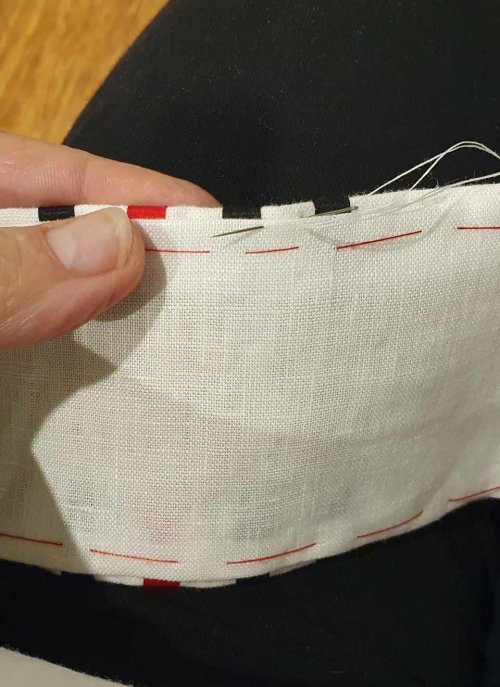
I felt the couching stitches were a bit too visible, so I changed technique and applied the black stripes using pick stitch – tiny backstitches, spaced about 5mm apart. To make it easier to sew, I pinned the linen to my ironing board and worked against the tension.
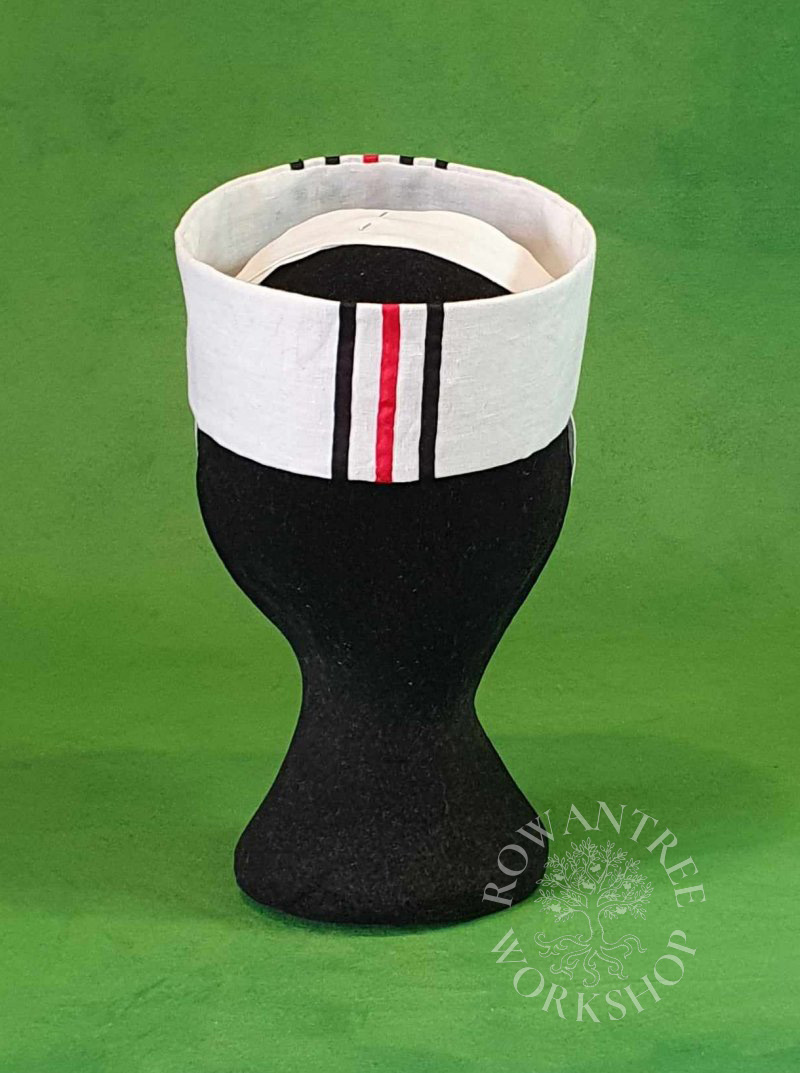
With the tiras sewn, I wrapped the linen around the base. I turned the hems top and bottom and basted the linen in place. For a smooth finish, I joined the linen at centre back with a butt seam, sewing the two sides together and into the canvas.
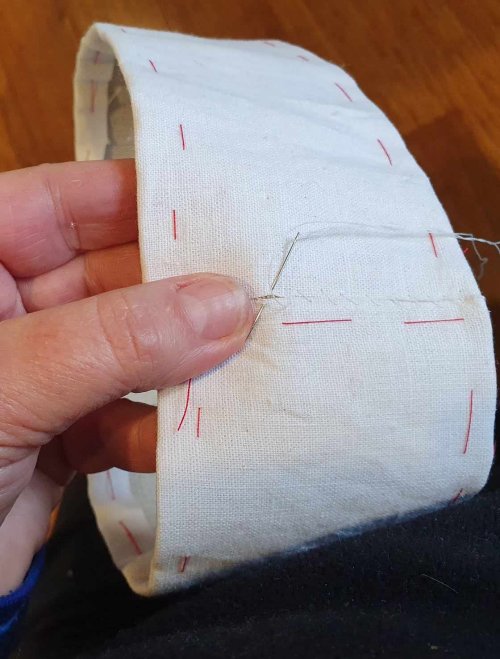
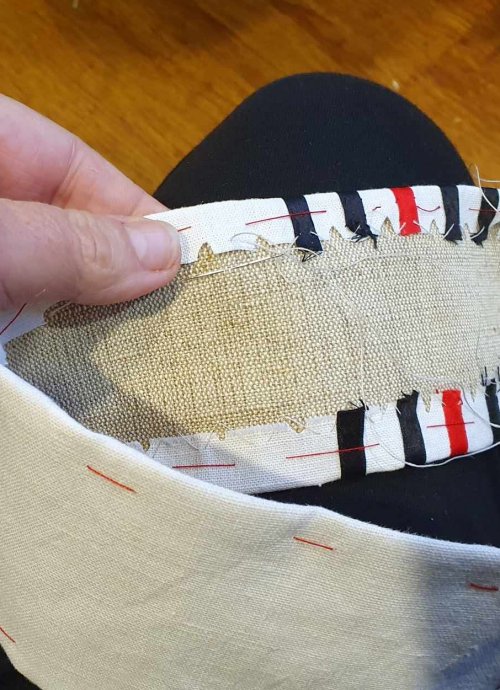
Becuase the inside is smaller, the hem fabric buckles, so I clipped the edge to help it lie flat. Then I sewed the linen to the canvas with catch-stitch and removed the basting.
I covered the back join with a red stripe, then added a black one each side, spacing as before.
Finally, I lined the toca with a strip of lighter linen, folding the long edges to sit a little below the edge. I basting it in place, making sure it lay snuggly inside the ring and trimmed to fit. Then I basted and slip-stitched the lining in. And it’s done!
The most common way to wear the toca was with a barbeta (barbette/chinstrap). This can be a simple strip of linen, sewn, turned and the ends finished. For a more comfortable version, you can make a shaped barbeta, cut narrower under the chin, with a fine hem all around. To wear it, you overlap and pin it at the top of your head.
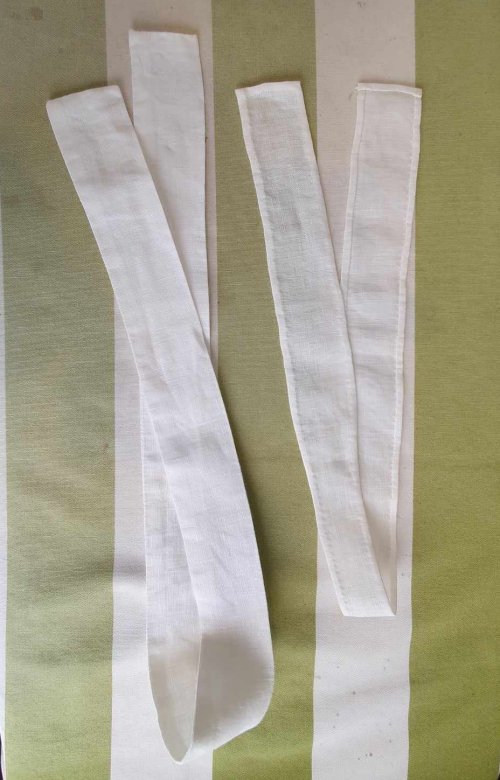
For the photoshoot I wore the toca with a griñón (wimple) which wraps the face and covers my short hair. This is just a rectangle of linen, with a fine hem sewn all around. Like the barbeta, this is simply overlapped and pinned at the top of the head.

It was a fun, easy project – and now I have another style of headwear for my teaching collection!