

This over-the-top red wool capuchon, with gold mounts and embroidery is one of my favourite builds. I made this for my friend Anne to wear with her new houppelande, based on an Italian fresco image.

Research and Design
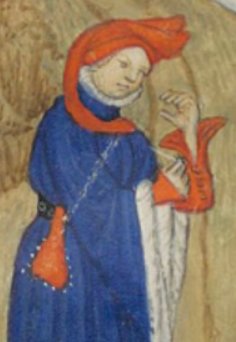
In the 13th and 14th century, capuchons or hoods were a short hooded mantle, worn by both men and women. By the end of the 14th century, we begin to see these being worn as a makeshift hat by men, such as in the miniature below – head through the face opening, mantle and liripipe hanging down.
By the start of the 15th century, hats were being deliberately made in this form – they could not be worn as hoods. The new style was fashionable in the upper classes across western Europe (although a male only fashion in England). The Visual History of Costume (Scott 1986) and Illuminating Fashion (Van Buren & Wiek 2011) both provide an excellent sequence of images from contemporary sources showing the transition.
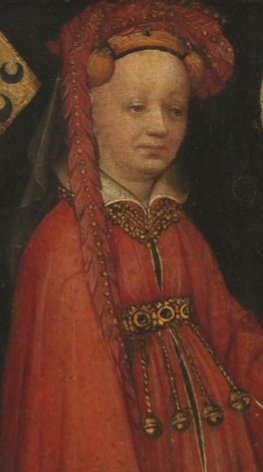
The inspiration for this hat is the Italian Nove Prodi fresco; the Netherlands portrait of Lysbeth van Duvenvoorde shows a similar style.
Source: Bilblioteque Nationale de Paris

Source: Riksmuseum
My plan was to make the hat as close as I could to the Nove Prodi example, but I would need to make some changes. In the fresco, Beatrice is wearing the capuchon over dressed hair – I would need to make a cap to hide Anne’s short hair.
Construction
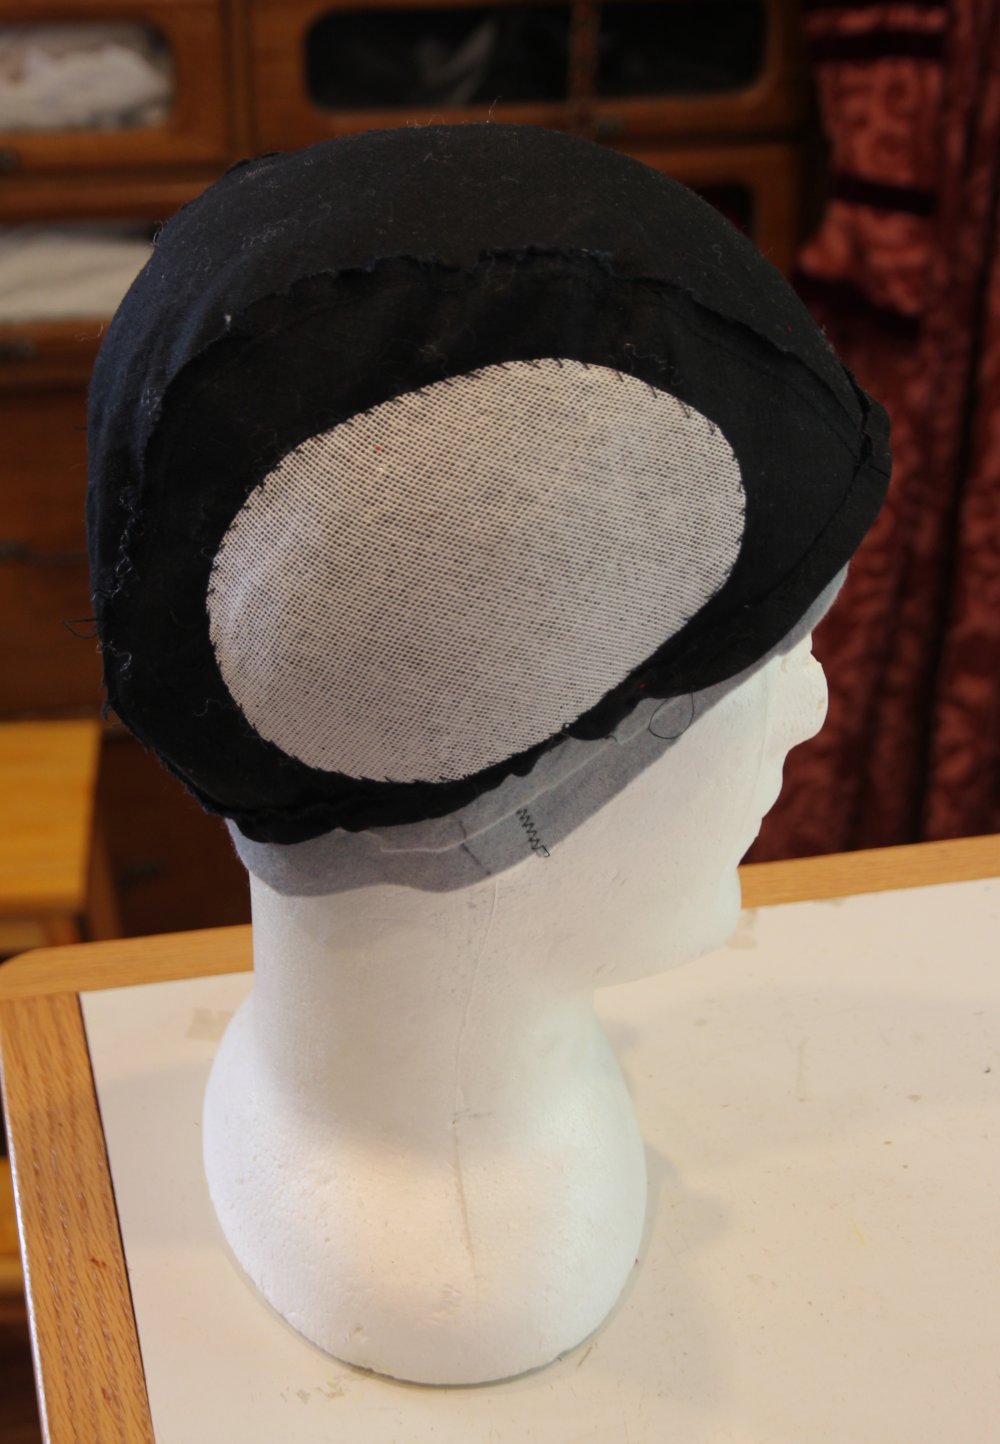
With any layered hat, you need to build the base layers first. After padding up the headform, I patterned a 3 piece lining for the cap and made this in black linen. I wanted to imitate hair dressed up on the temples, but thought simple padding might gets squashed. So I formed some curved ‘shells’ by setting leno (millinery buckram) over a glass bottle. Once dry and trimmed, I sewed them to the lining.
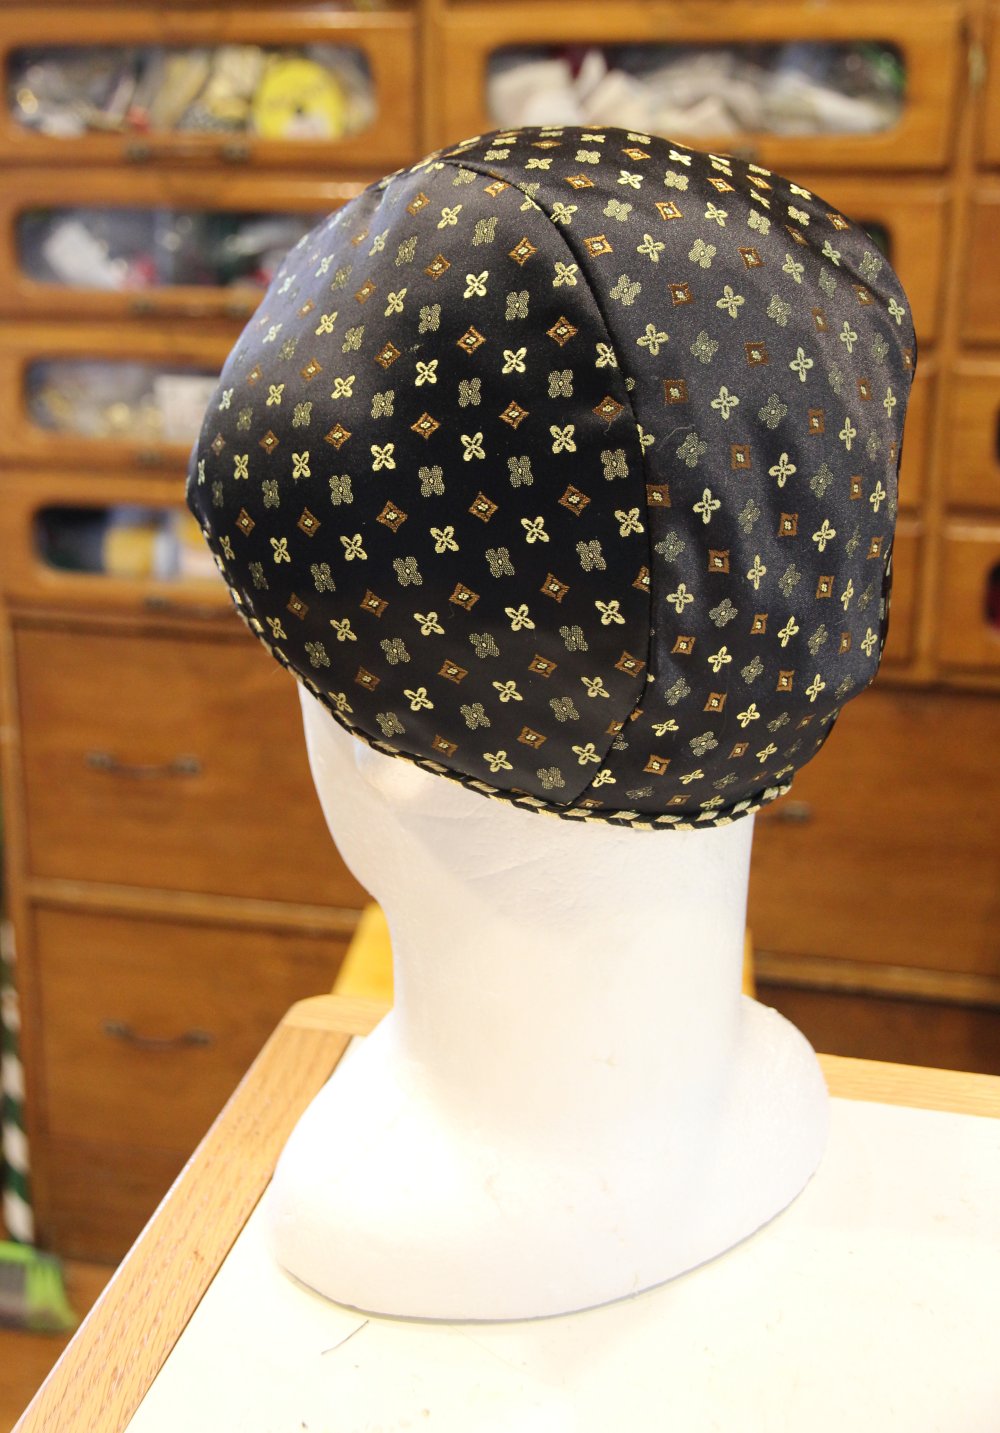
I fitted and sewed a cover for the cap in silk brocade – this small grid pattern is often seen on the cauls beneath 15th century headwear. I finished the edge off with some gold and black sotouche braid – again, a common edge treatment at this time.

On to the padded roll! Based on the diameter of the cap, I calculated the size of the roll and did a mock-up to check. I also mocked up the other elements – the mantle and liripipe, and the leaf shaped dagging. Looking very promising!
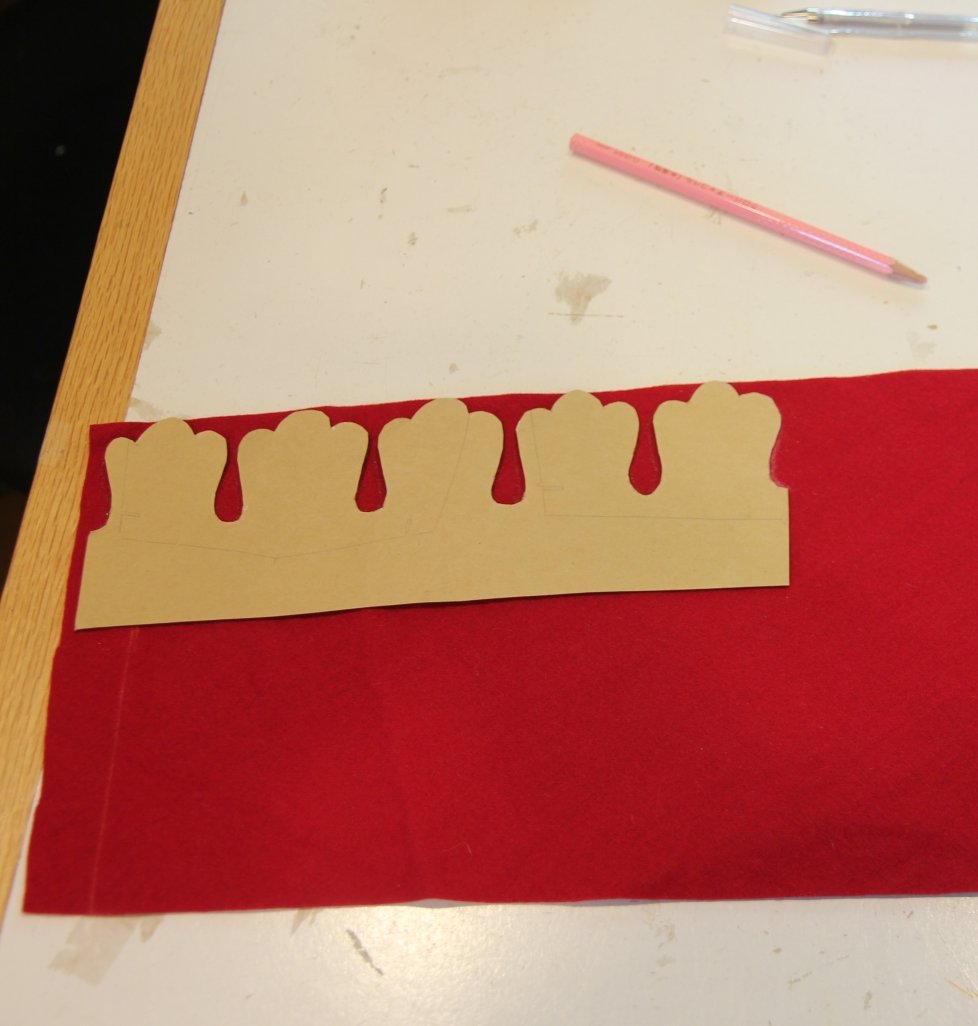
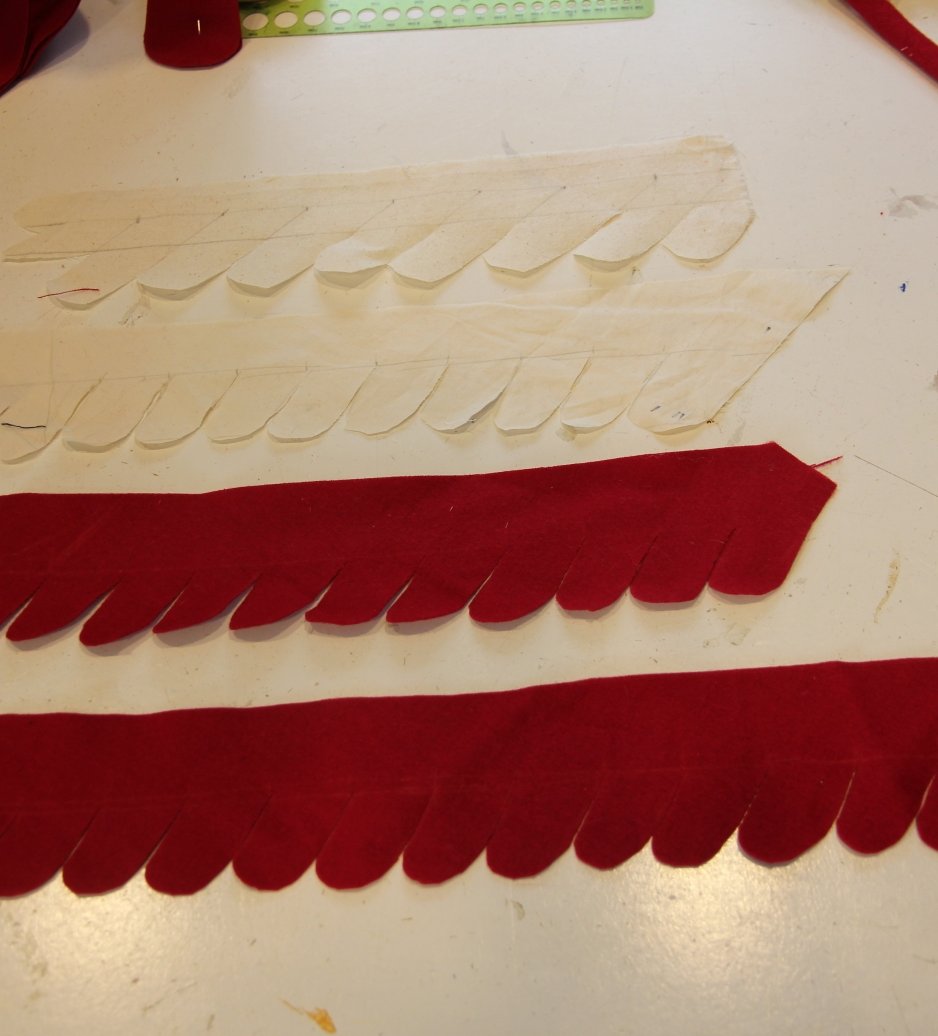
I made the roll cover as a rectangle of linen cut on the bias, sewed it, stuffed it with combed wool and sewed the ring closed. I made a template for the dagging in light card and drew the dags along the edges of the wool, then cut out using small sharp scissors. The red wool is very well fulled, so I do not need to finish the edges in any way.
I sewed one rectangle over the outer side of the roll, with the dags standing up. The second layer went over the inner side of the roll, with dags hanging down, and extra fabric standing up. I cut this to match the outer dags, giving 2 layers at the top.

I cut the mantle double thickness and decorated it with couched gold cord and gold plated leaf mounts (actually from a pair of cheap earrings), as in the original.
I experimented with the liripipe – a long strip with one diagonally dagged edge worked well. I cut this out of the red wool and sewed it in a continuous spiral around a spine of thick cord.

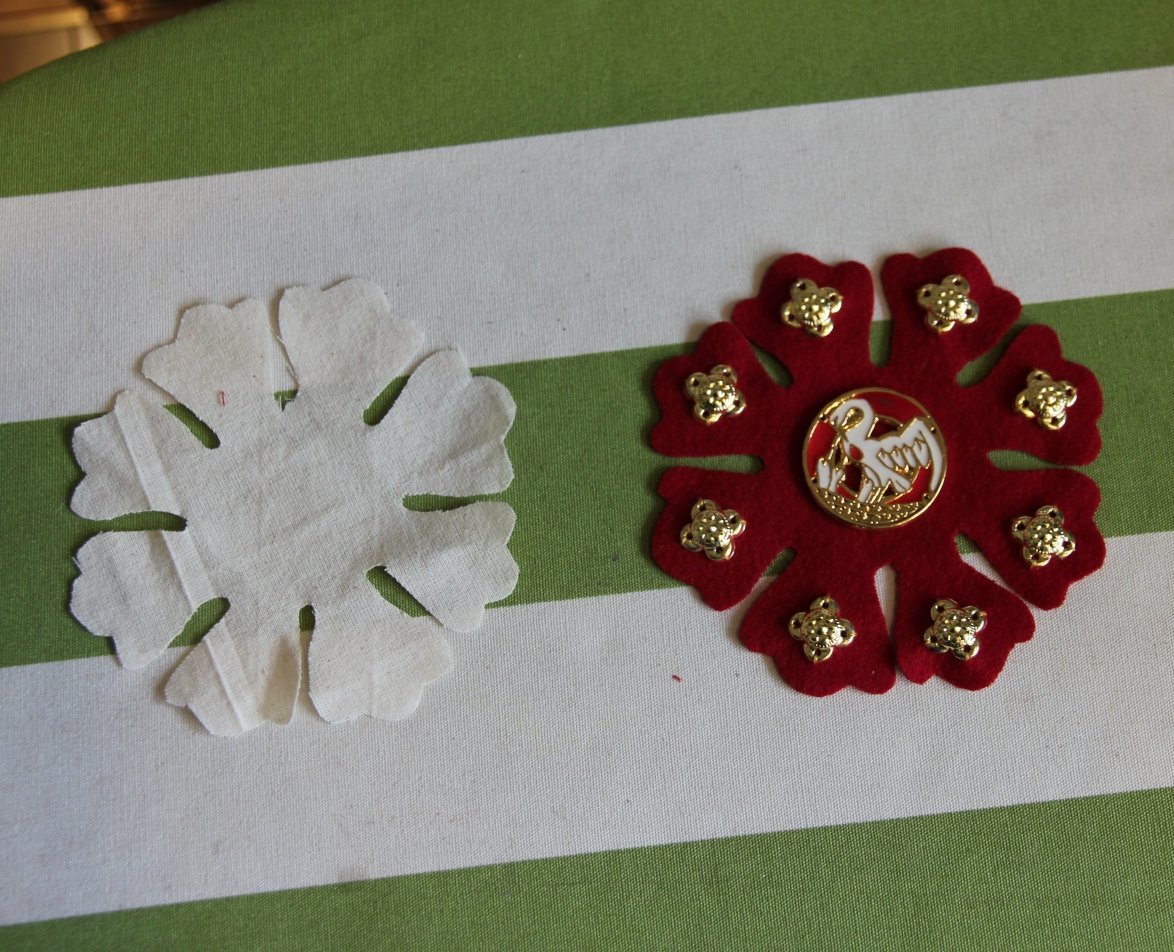
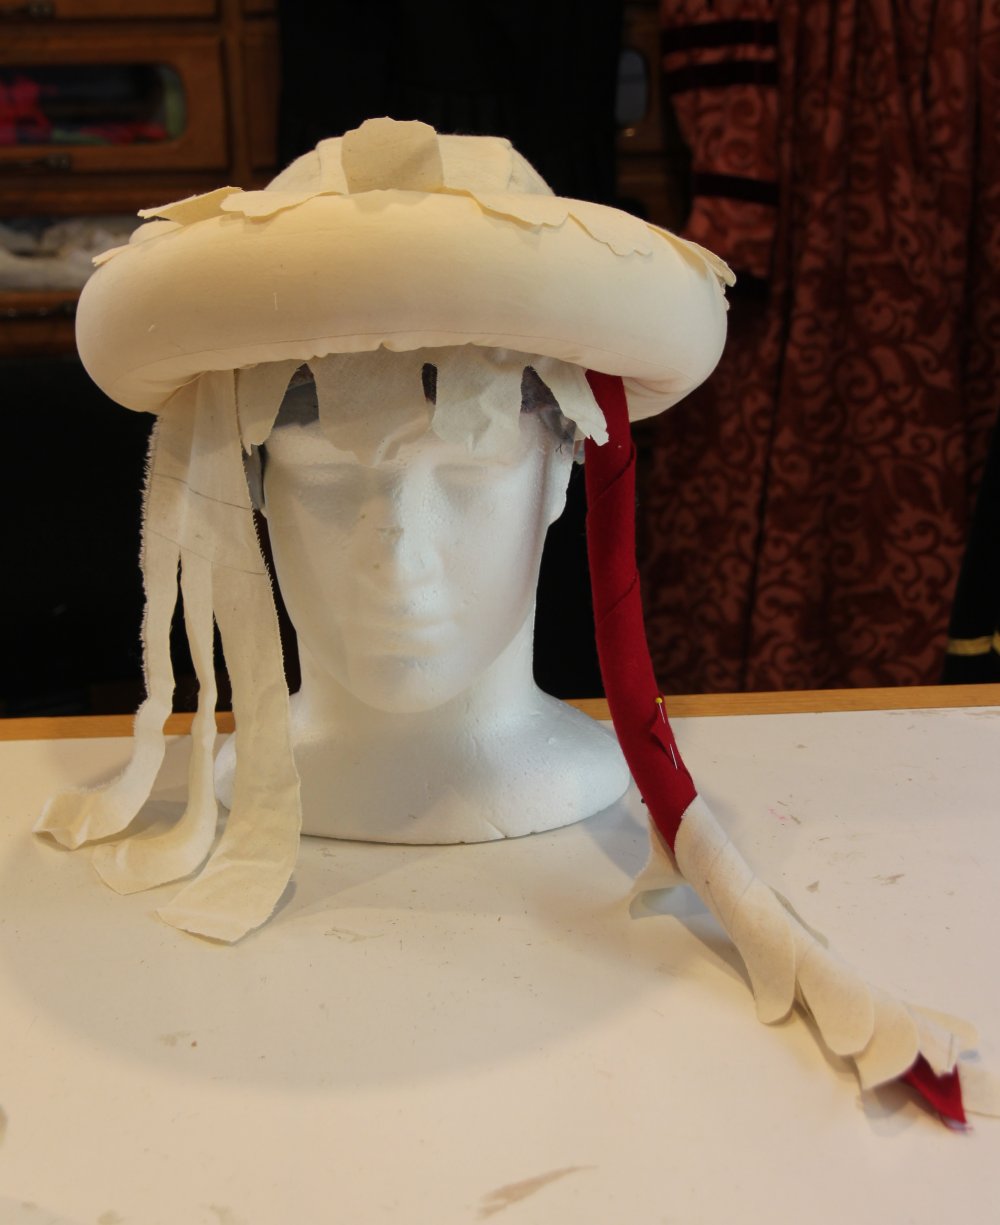
The top dags were held in place with gold quatrefoil mounts, and I also used these to embellish the mantle and liripipe. These came from an Indian dance headdress, which has yielded hundreds of mounts for many projects! Finally, I added the front dagged circle, ornamented with one of my Pelican medallions.
I loved working on this project, figuring out how to make the different elements. Unlike so many projects, everything went well first time – so much fun!


Afterword
As it turned out, you can’t actually see the cap, so I could have made this a lot simpler!
However, Anne does wear the cap by itself, with a veil pinned on, so the shaping did not go to waste.
These days I would not use Leno, which does not stand up to hard use. Instead I would use canvas or felt and hide glue.