

A mid 15th century henin for a noble Burgundian woman.
I made this for Olivia as part of the Largesse project – a skills exchange. The hat was a surprise for the recipient, but I checked with her friends to ask what she might like.

After considering hats from the mid 15th century, I decided that a truncated henin was a good choice – it’s a lovely look, easy to wear and can be worn with or without a veil for variety.
Research and Design
Rather than copying a specific image, I combined elements of several contemporary portraits. These images show a truncated cylinder or cone shape, usually in black velvet with a simple geometric band decoration at the base. There is a black loop on the forehead at the front, and some have fine veiling.
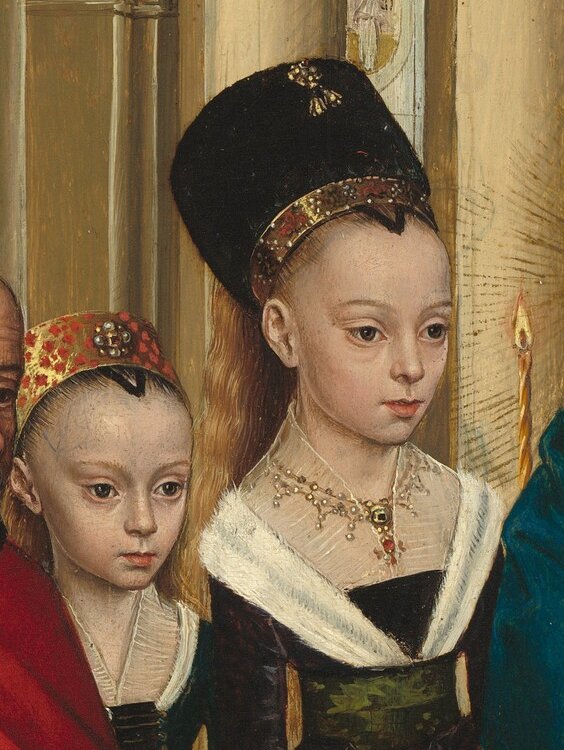
Source: National Gallery of Art


Source: Wikimedia
Construction
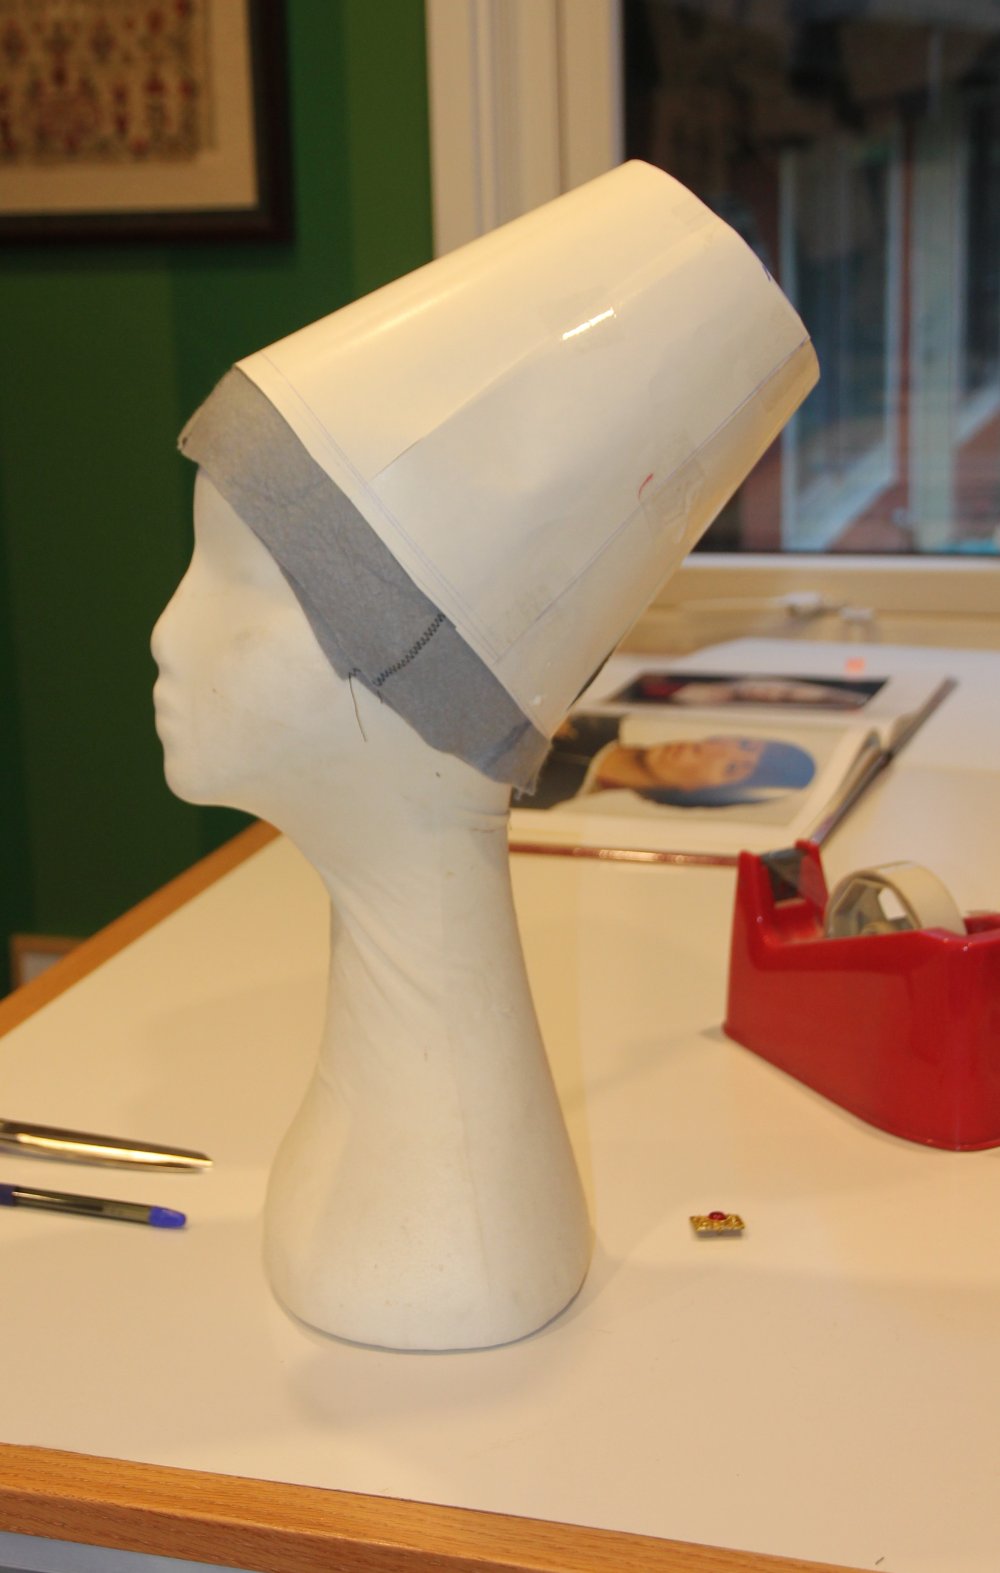
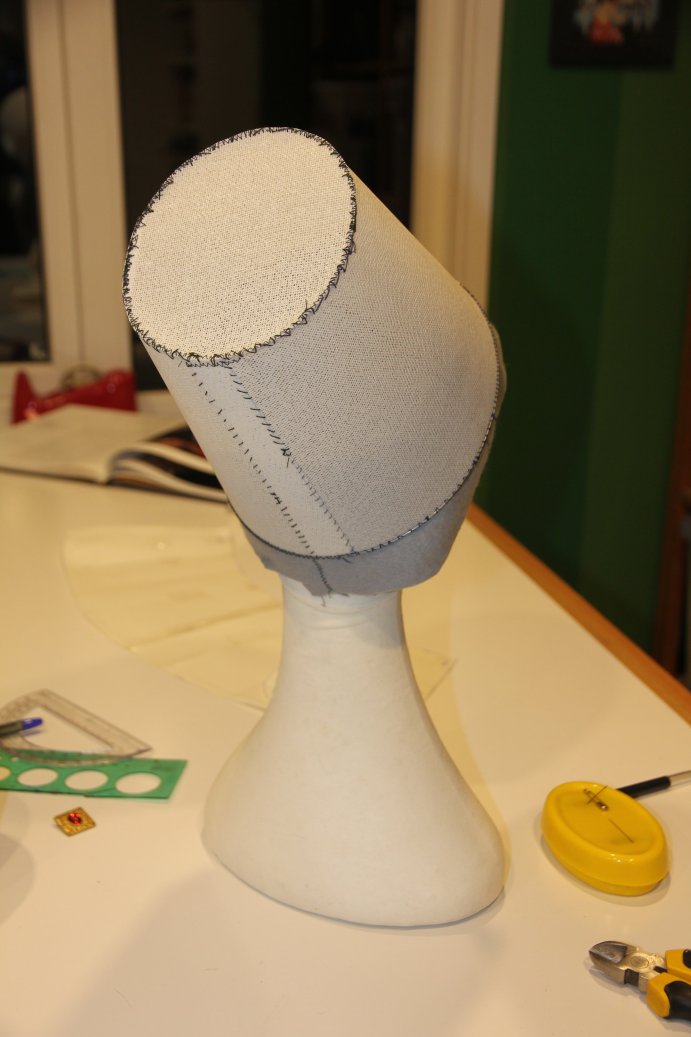
First step was to pattern the hat. I padded up the headform to the right size, then patterned the shape using light card. Once I was happy with the proportions, I cut it out in millinery canvas with a centre back seam. I overlapped the seam and hand-sewed it with strong thread on both sides.
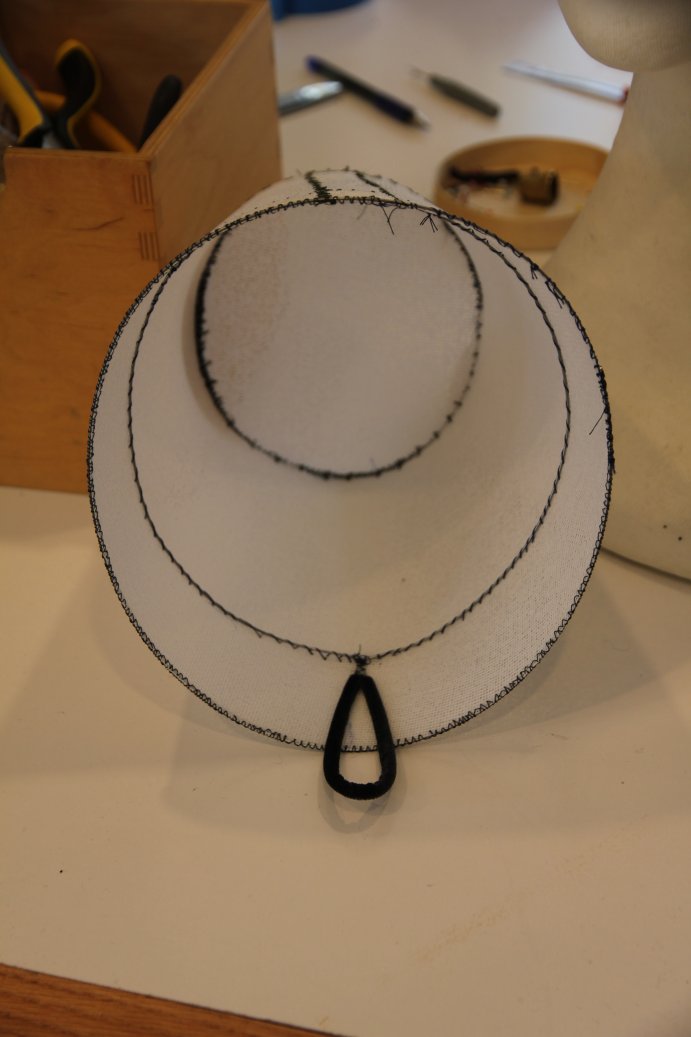
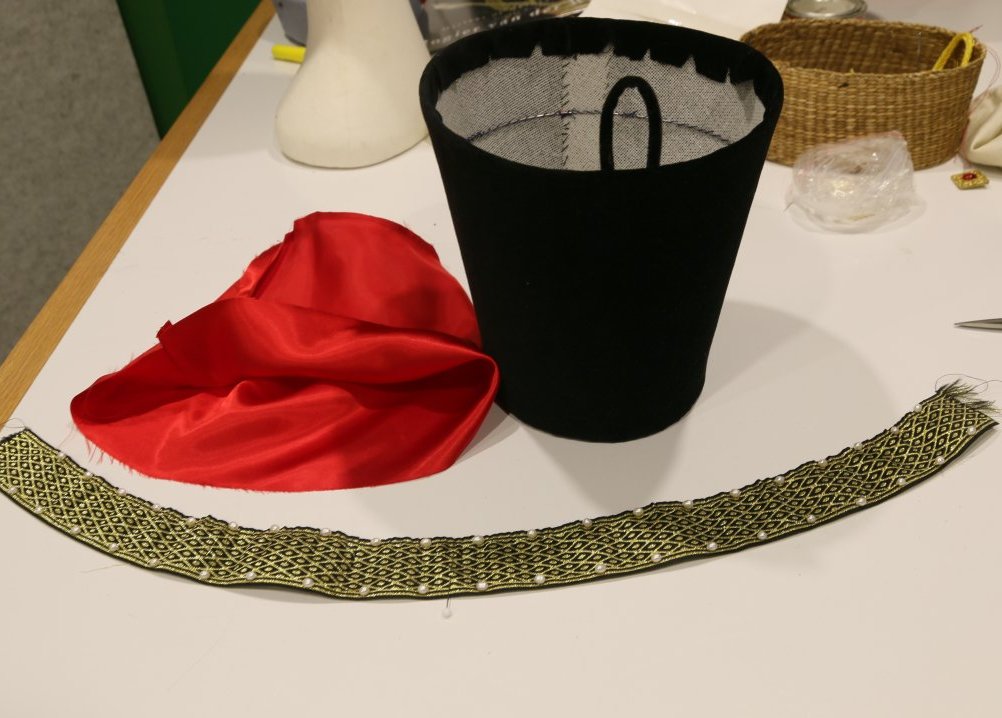
I formed millinery wire to the same dimensions as the tip and base and sewed this onto the canvas using a machine zig-zag, overlapping the ends. I formed another ring of wire with a loop, which I covered with black velvet ribbon. I sewed this into the inside of the canvas by hand. (see Afterthoughts below)
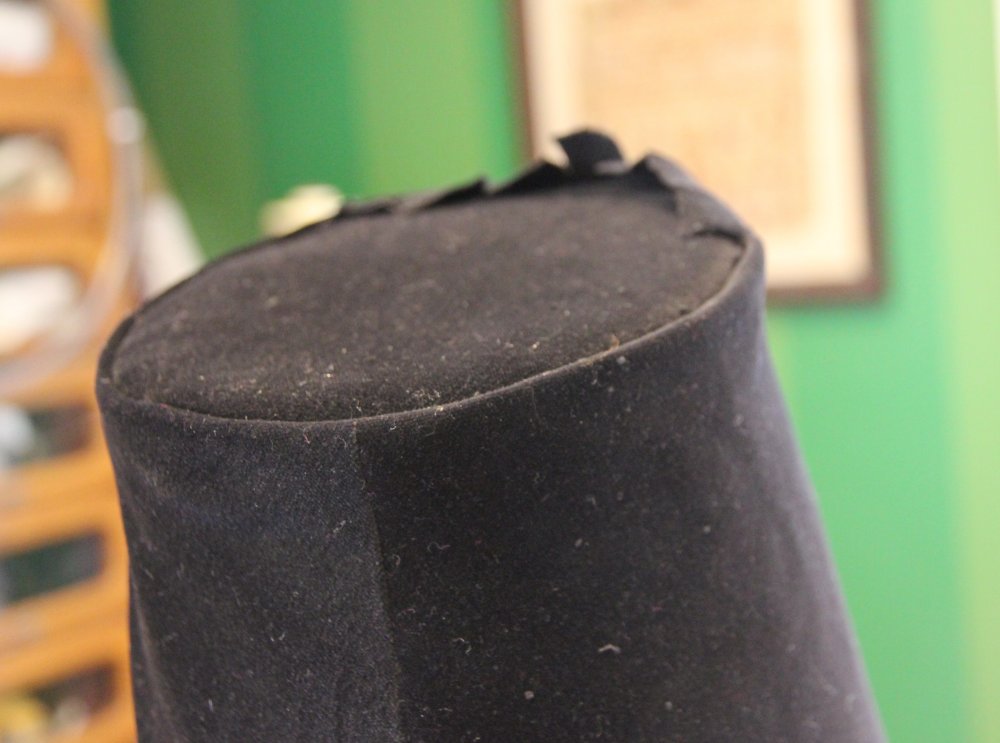
I padded the tip of the henin by basting on some wool batting. I cut out the black velveteen using the same pattern, with seam allowances added. I clipped the edge of the tip, pinned it to the tip and basted it around the crown.
I pinned the crown together and put it on the canvas base to check, then sewed, turned and and pressed the seam. I pulled the cover on, then clipped the top, folding under and slip-stitching to the tip.


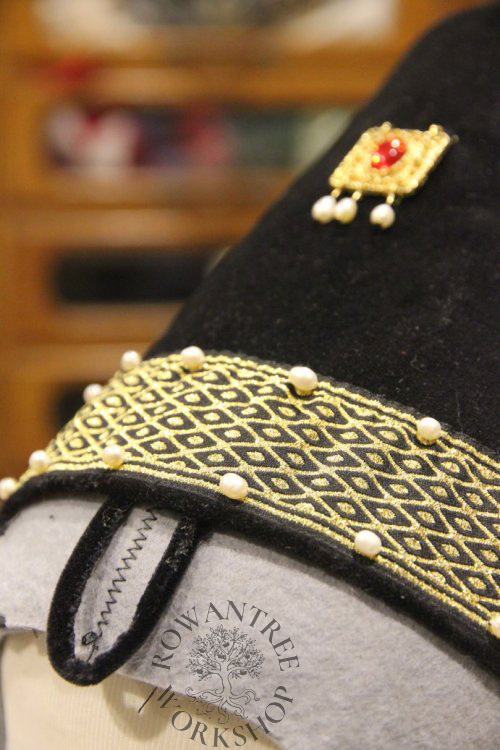
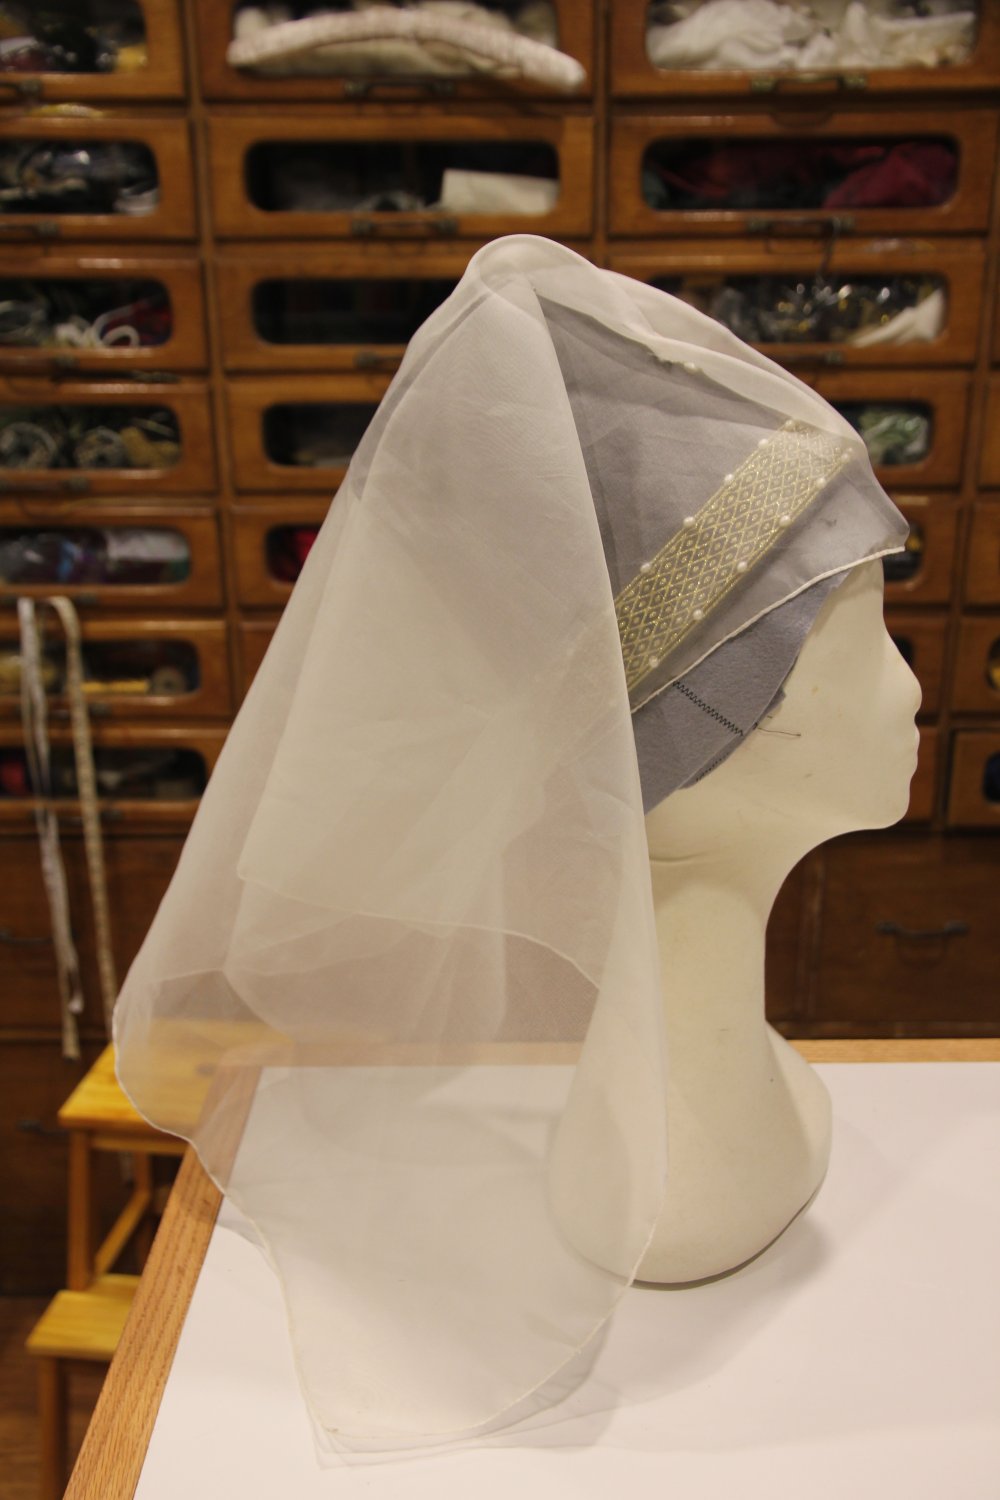
The trim needs to curve to lie smoothly around the base, so I machine sewed along one edge with a large stitch. I gathered it to match the curve on the pattern, steam pressed it and sewed on the pearls. I cut the loop off the back of an ornate button and drilled holes top and base, then made and added 3 pearl drops to make the central ‘jewel’.
I used the pattern to cut and sew a lining in red silk, then slip-stitched this into the henin.
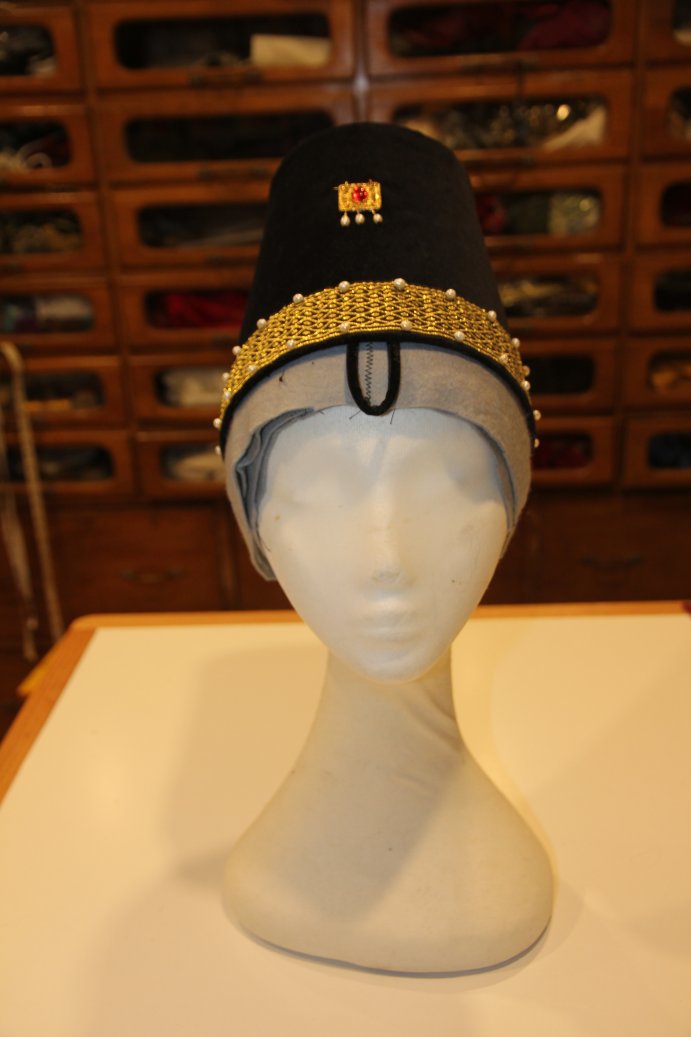
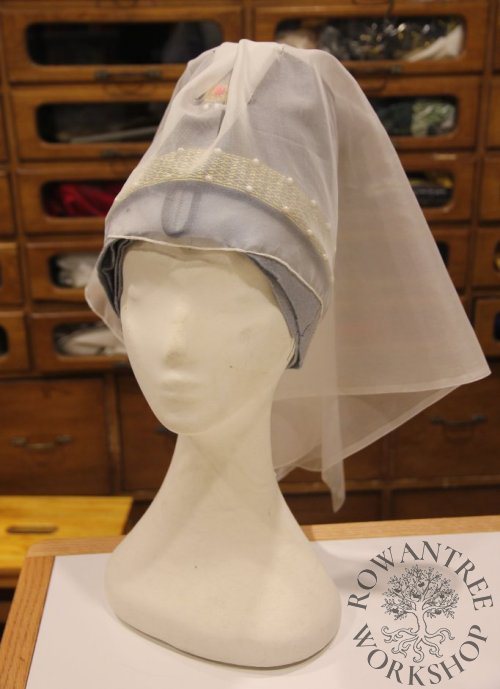
I cut a rectangular veil of fine silk, and sewed a fine rolled hem all around. I made some pearl headed pins, using natural pearls and brass pins, to pin on the veil. The henin can be worn with or without the veil.
Afterthoughts
At the time, I made this hat (and many others) using buckram, wire and wool mull – the modern method I had taught myself out of theatrical hat-making books, such as From the Neck Up (Dreher, 1981). These hats look excellent when first made, but do not stand up to heavy use – or poor packing.
If I was making this hat again, I would use 3mm felt with hide glue size for stiffening. Easier, faster, more historically supportable and less prone to damage.
And the Loop…
At the time, I interpreted this as being part of the hat. Now, I believe it is a separate element – a loop on the front of a black headband. There are many images of this band-with-loop worn by girls, without the other layers, so you can clearly see the relationship.
When covered in black velvet, the band acts as an excellent base for the henin and hold it onto the head with need for other fasteners.
Nine years later I made another henin – this one using my revised research and techniques.