

A ‘bycocket of maintenance’ in 14th century style.
Richard d’Allier was the winner of my hat prize for Canterbury Faire 2018 requested a red velvet Cap of Maintenance, but made in the form of a bycocket rather than the more usual shape.

Research and Design
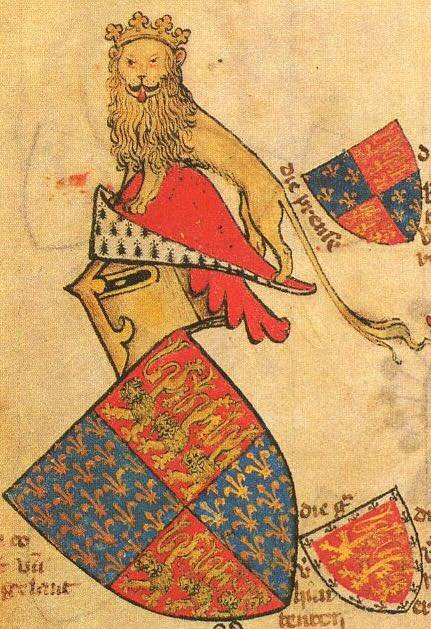
Bycockets (or chapel à bec) were a common form of outdoor headwear for lower-middle class men in the 14th and early 15th century across England, France and Italy. There are a few rare examples worn by women in Italian frescos, worn while travelling. They come in many colours, including red and white.

Source: British Library

Source: British Library

The cap of maintenance is a ceremonial cap of crimson velvet lined with ermine, worn as a sign of nobility or special honour (Wikipedia). The earliest examples seem to be 15th century and look like a bycocket in reverse, with split tails. The example on the York arms looks like a regular bycocket, but this is apparently not actually correct….
Source: Facebook


Source: Wikipedia
Construction
I believe that the smooth round top, lack of seamlines mean that bycockets were made of felt, moulded to shape. Many show a contrast brim, so they may have been lined in full or part. However, Richard wanted red velvet, to go with the Cap of Maintenance idea, so that meant it would be sewn.
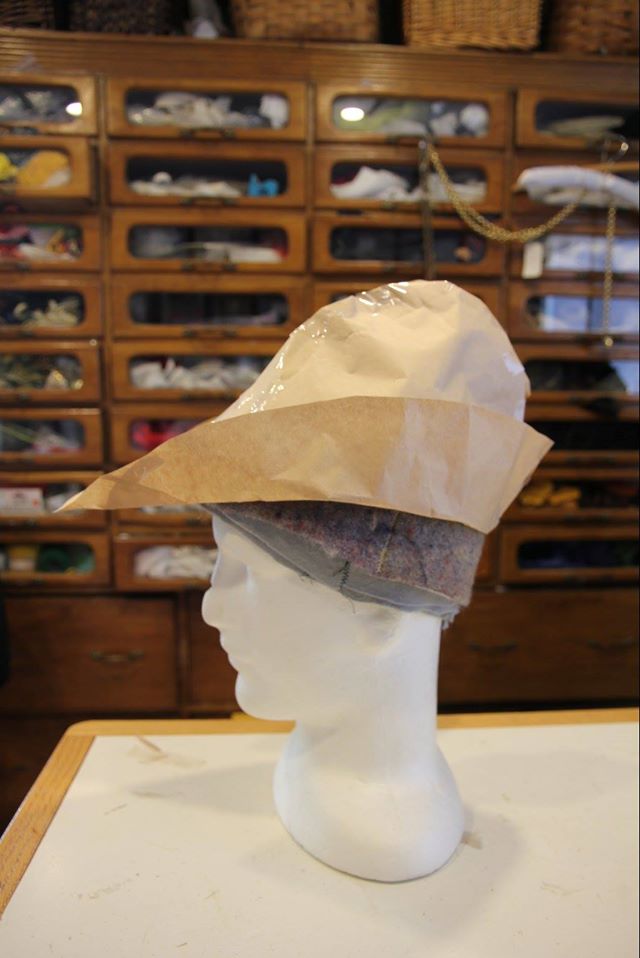
I padded up my headform to the right size, then patterned the bycocket in paper. I checked with Richard that he was happy with the proportions, then cut out the red velvet and light hair canvas (velvet alone would just crumple). I basted the two layers together around the edge and along the brim fold line.

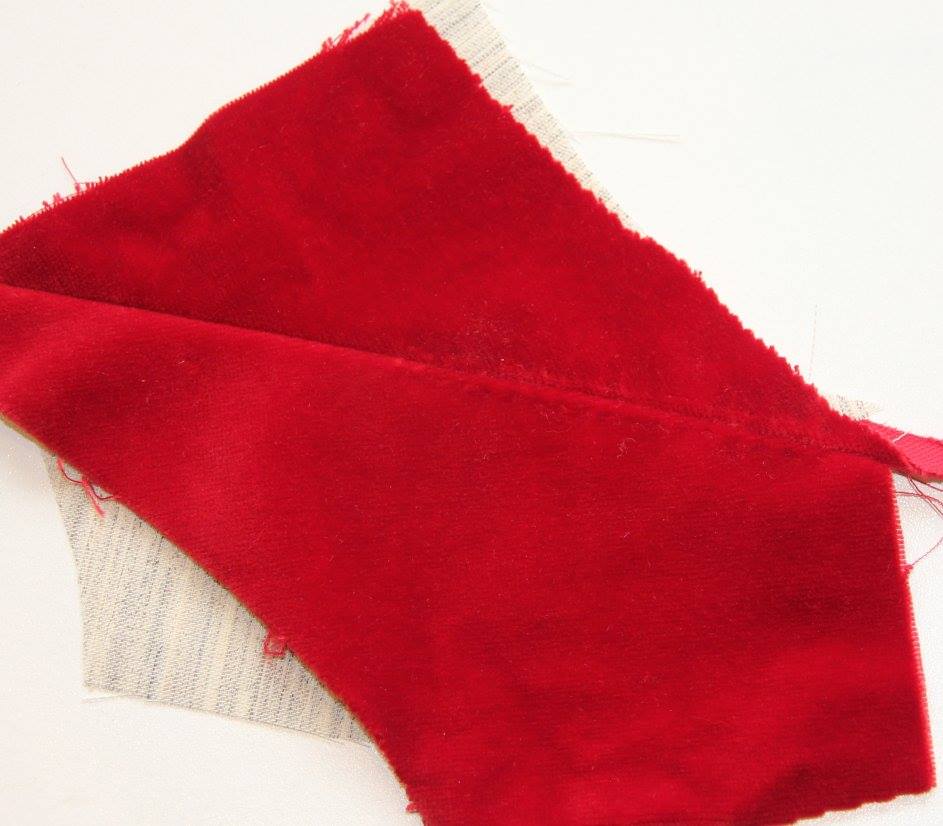
I did a test to see what worked best to flatten the central seam – pick-stitching gives a flatter result, but was too obvious. Catch-stitch gave a smoother look.
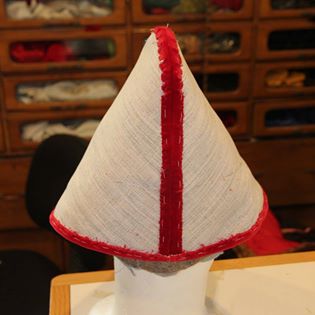
I sewed the sides together, clipped, and pressed the seam (using a pressing ham), and then catch-stitched the seam allowance to the canvas. I basted a hem around the edge and catch-stitched to the canvas, then turned, pressed and turned up the brim.. I lined the hat in red linen, basting it to the canvas.


On to the fur, which is made as a separate piece and then sewn on. I checked my pattern for the brim and adjusted it to fit the sewn bycocket. I laid out the pattern on my rabbit skin, taking care to match the fur direction for piecing.
I cut the skin with a razorblade (taking care not to cut the fur), then joined the pieces with 3M Micropore tape (surgical tape) and a fine machine zigzag. But… although the fur direction matches, the fluffiness is way out! I spent a good half hour trying to make it work from the remaining pieces, but no luck.

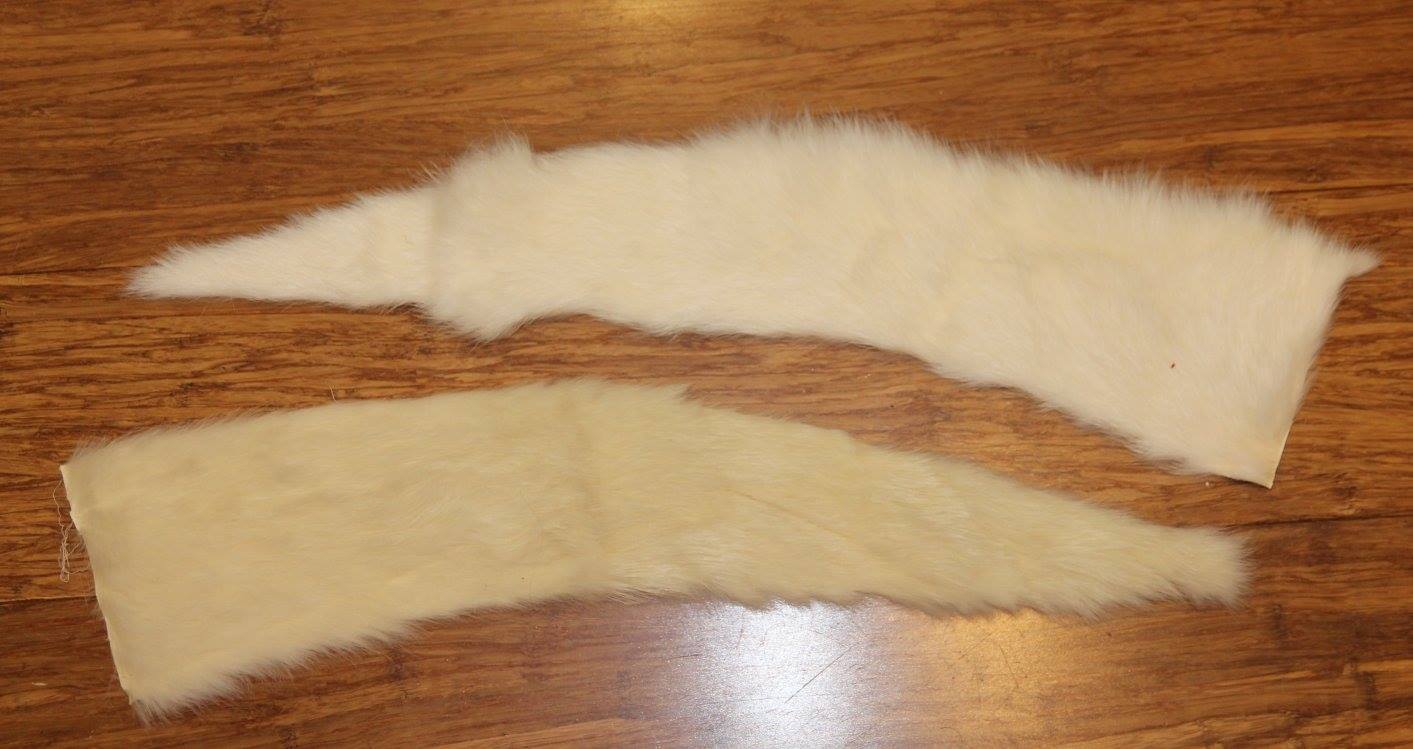
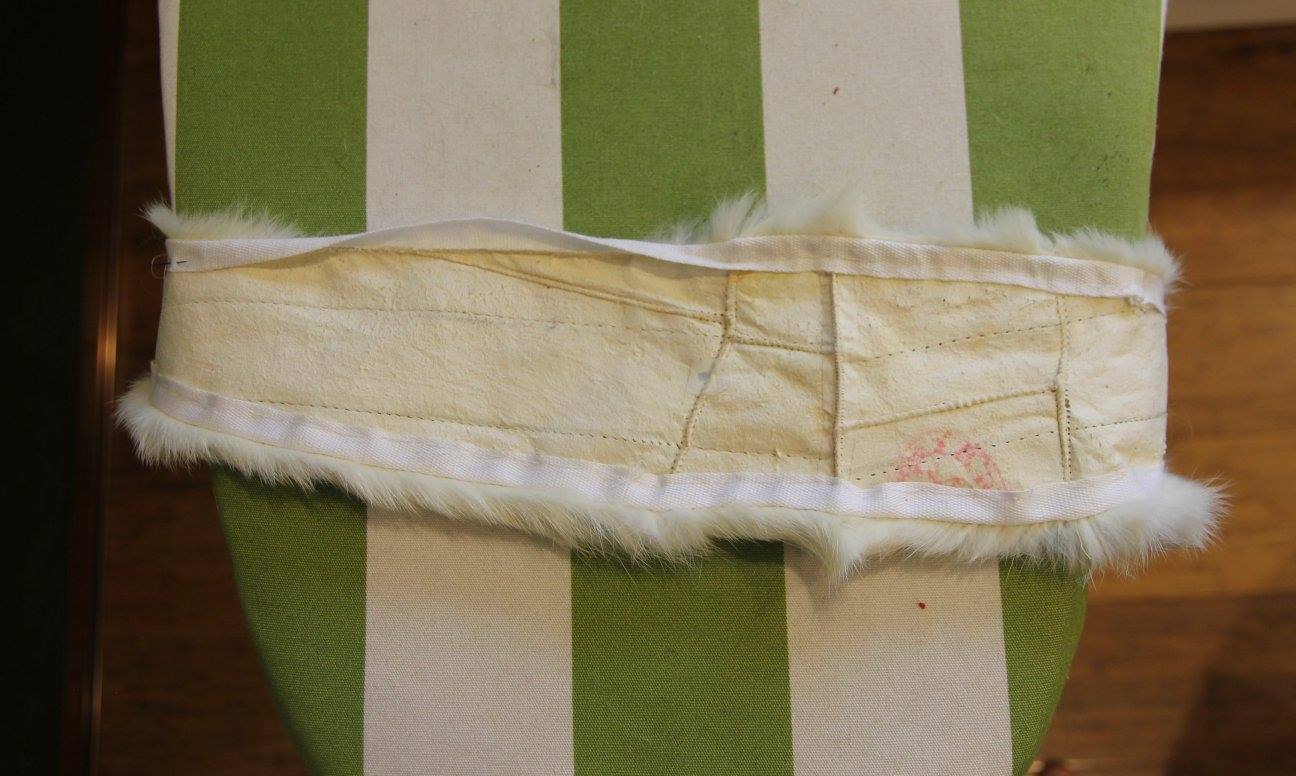
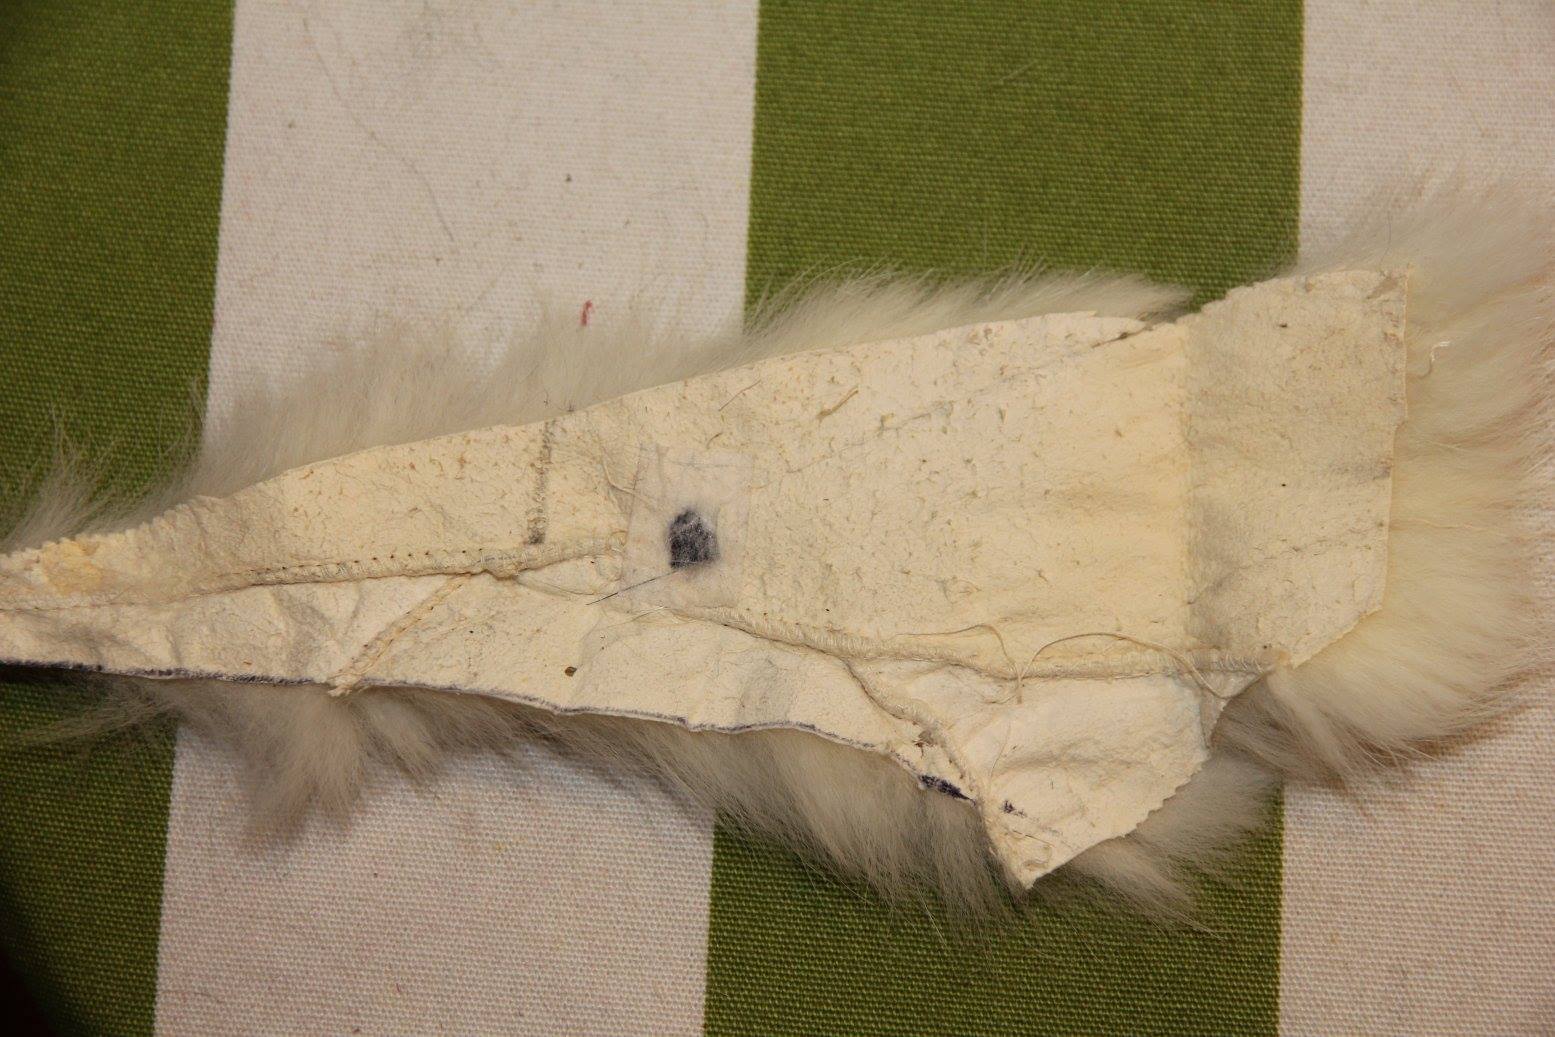
Plan B – back to the fur stash. Found a sleeve from a white mink coat which was large enough. Solution! Once the replacement was cut and sewn, I bound the edges – machine- sewing cotton tape along the edge of the fur side, then turned in and basted gently to the skin side.

To make the ‘ermine’, I did a test run on my Cunning Plan…
I cut very small strips of black rabbit fur, being careful not to damage the hairs. Then I cut tiny slits in the skin and inserted the black with tweezers (matching fur direction) and used Micropore tape to stick the end down firmly. I could have sewn it for extra security, but a hat brim is low use.
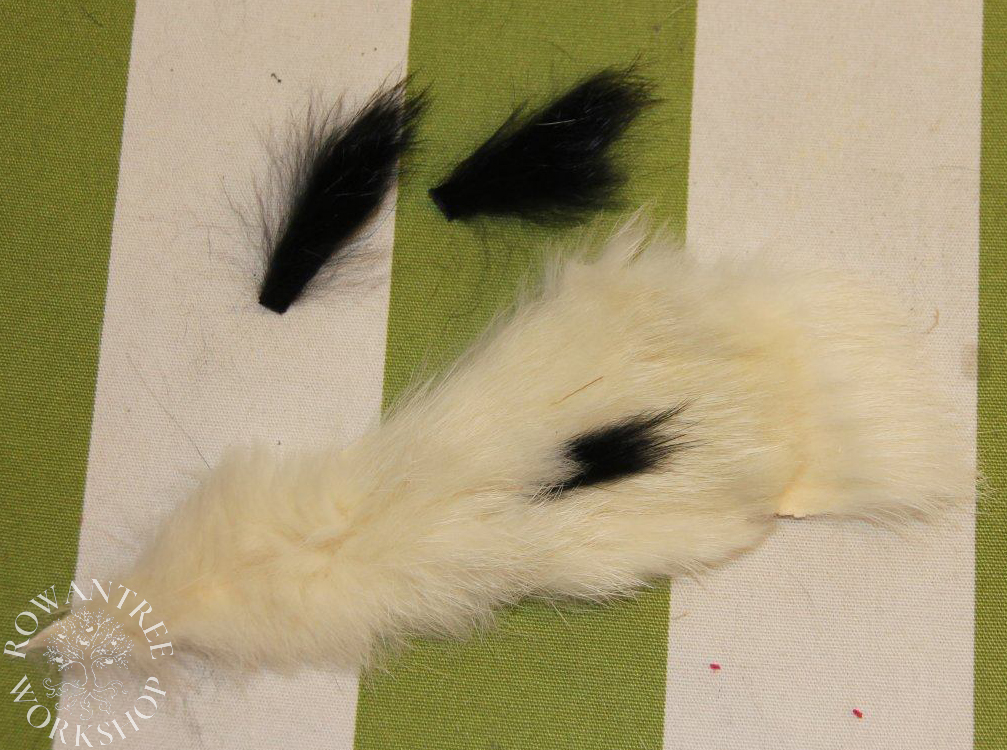
Test looks good, so I added ermine spots around the brim, then sewed the brim to the hat – the cotton tape makes this easy.
Bycocket complete!
Afterthoughts
I still think this would work better in moulded felt, but the shape still works well enough.
I am pleased with how this looks, but realised later that I really should have had the fur running down the brim, not along the length. I made the same mistake with the other cap of maintenance I made a few months later.
Next time…