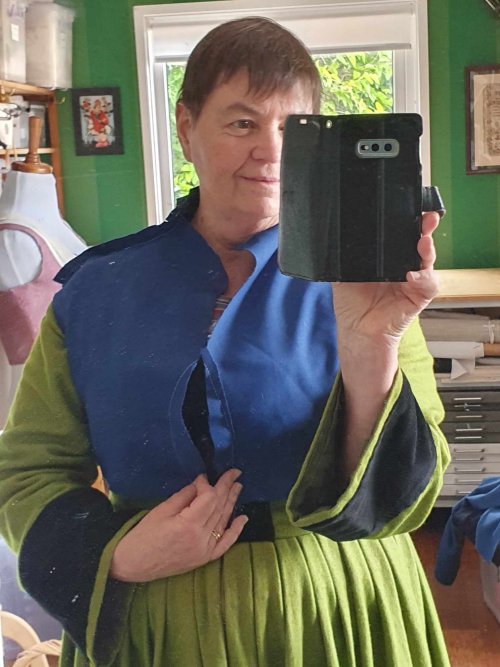
This short vest-style Goller is suitable for a German middle class woman, and was fashionable through much of the 16th century. For such a small garment, it adds a lot of warmth!
I first made this style many years ago and while my previous version was still in good shape, it longer fit.
It was high time I made a new one, and I had an event on next weekend where it would be really useful…
Research
The word Goller is used to refer to many items of clothing, for both men and women. Textiler Haurat (Zander-Seidel 1990) identifies this style as the ‘sleeveless jacket’ or ‘jacket-like’ type, and notes that, unlike the common cape style, this vest style stayed in fashion for women from the 1520s into the 1570s.
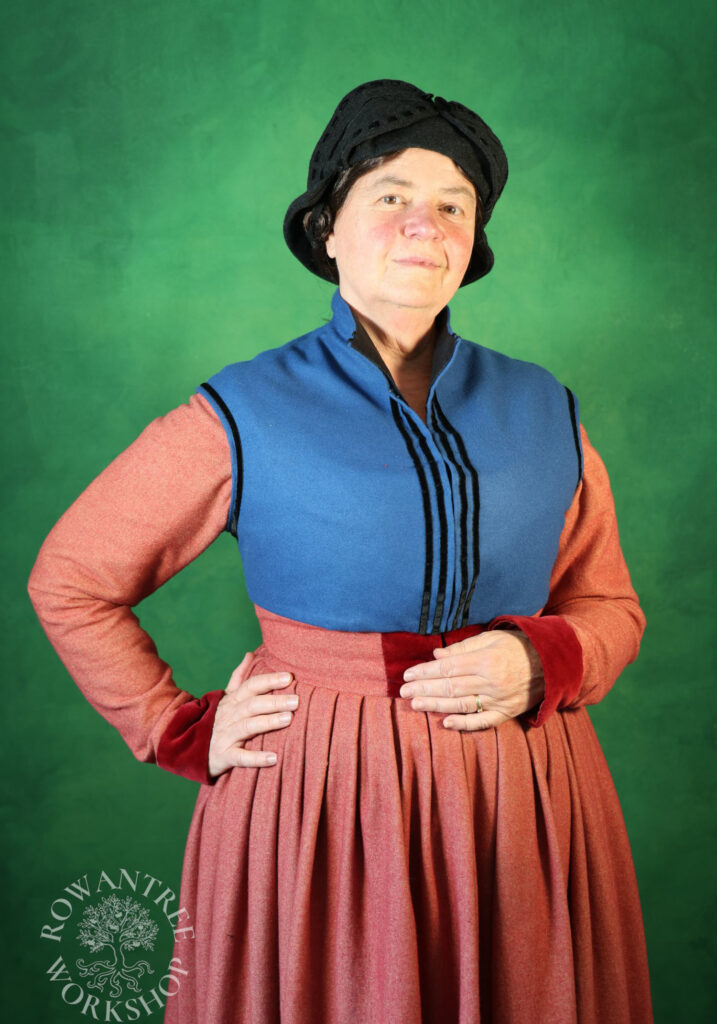
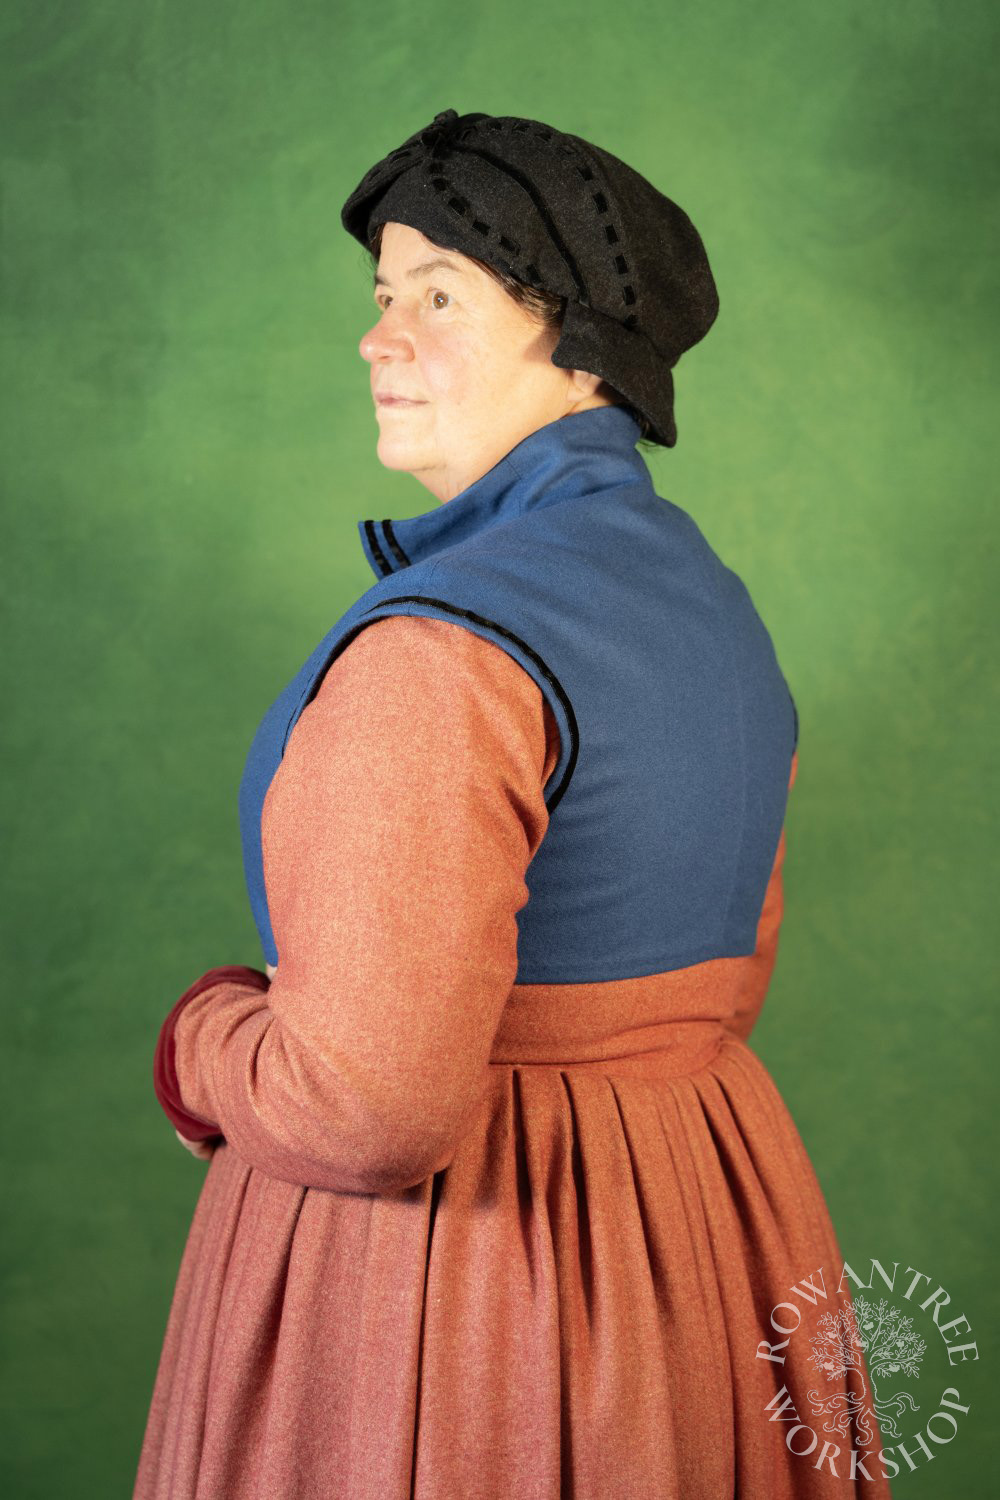
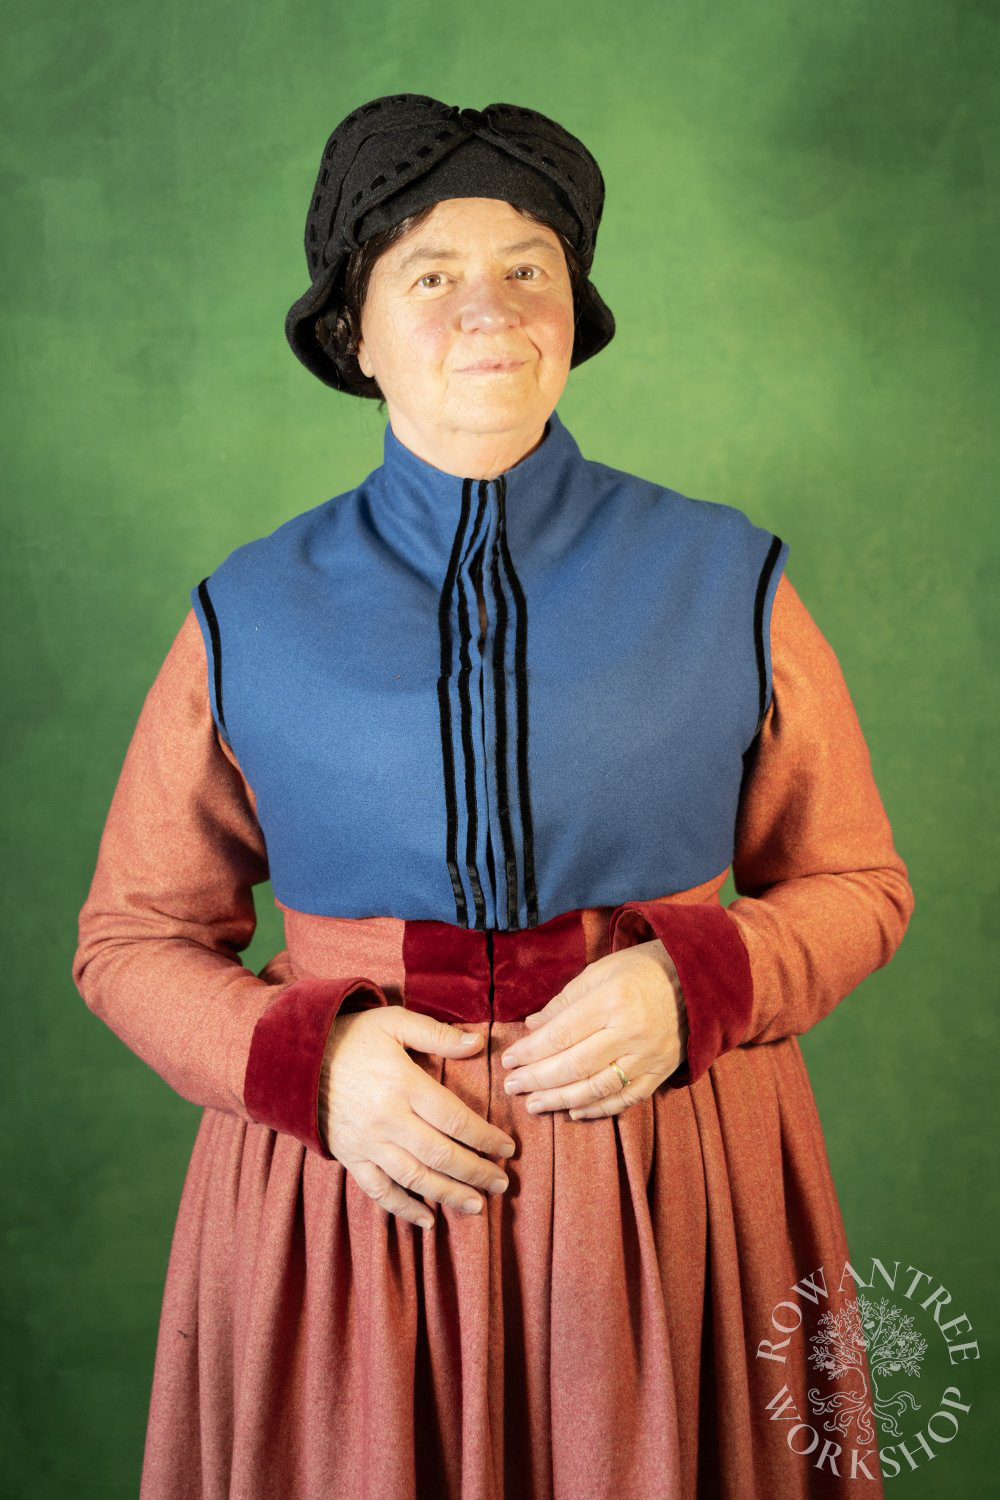
This style is like a jacket or bolero. It has a front opening with a small gestalt collar (or no collar) and stops just under the bust, well above the waist. There are no sleeves, although some examples extend to a small sleeve cap.
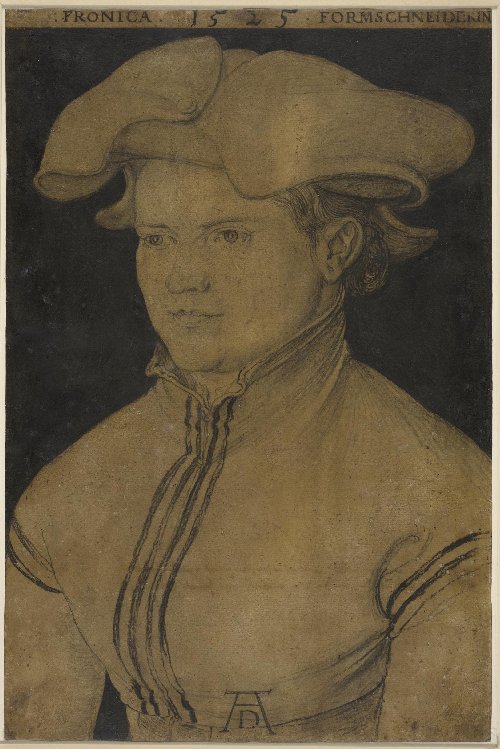
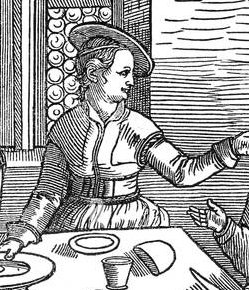

My main inspiration for this garment is the charcoal portrait of Veronica Andreä by Dürer, with its fine decorative stripes at the front opening and armholes. The woodcut by Georg Pencz shows a middle class woman in a similar Goller, with a decorative guard along the edge and base. The Goller in the Beham woodcut has no decoration.
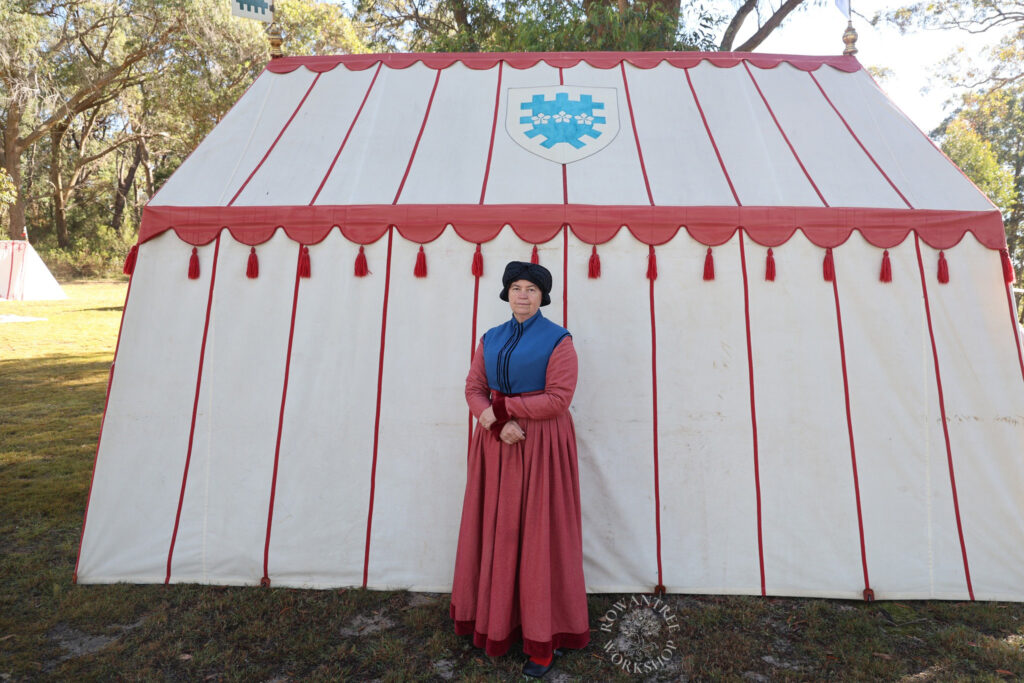
Looking through my examples of this style, I also noticed that many were worn with the Schlappe cap, which makes sense – both are warm! So it will go perfectly with my new Schlappe!
Construction
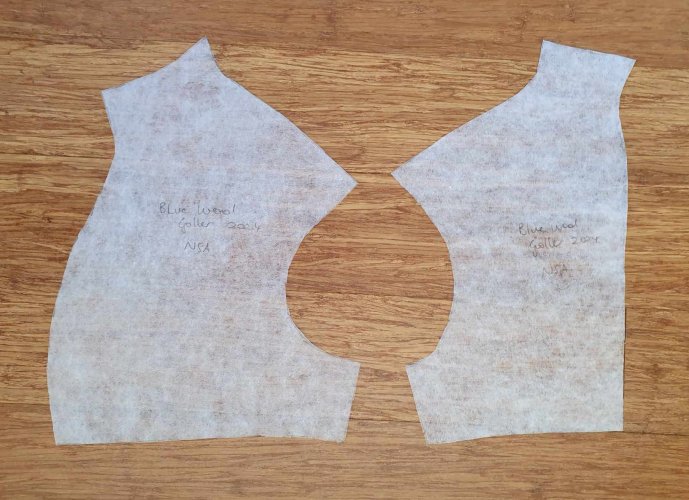
First, the pattern. I put on all my layers ( (smock, underdress, gown) and tried on my Red Gollar to see what would need changing – the back was still a reasonable fit, but I needed to change the front shape considerably.
I measured the change, then made a mockup in heavy scrap fabric (also blue) and tried it on over all the layers to ensure the right shape. I needed to add even more at the front – easily done by sewing on another strip (no need to make a whole new mockup!). Once I was happy with the mockup, I cut my pattern.
The blue wool was very fine, and I debated interlining it in canvas or a heavy linen. But in the end I decided just to go with the wool, and to use a stiff silk lining to add more body.
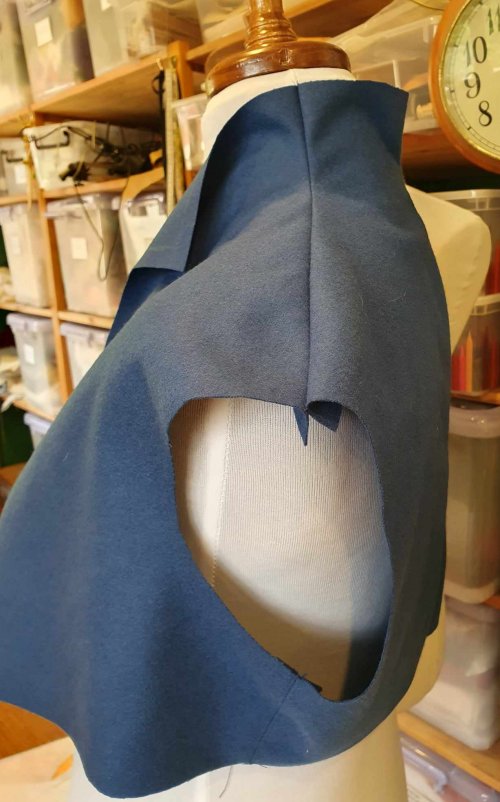
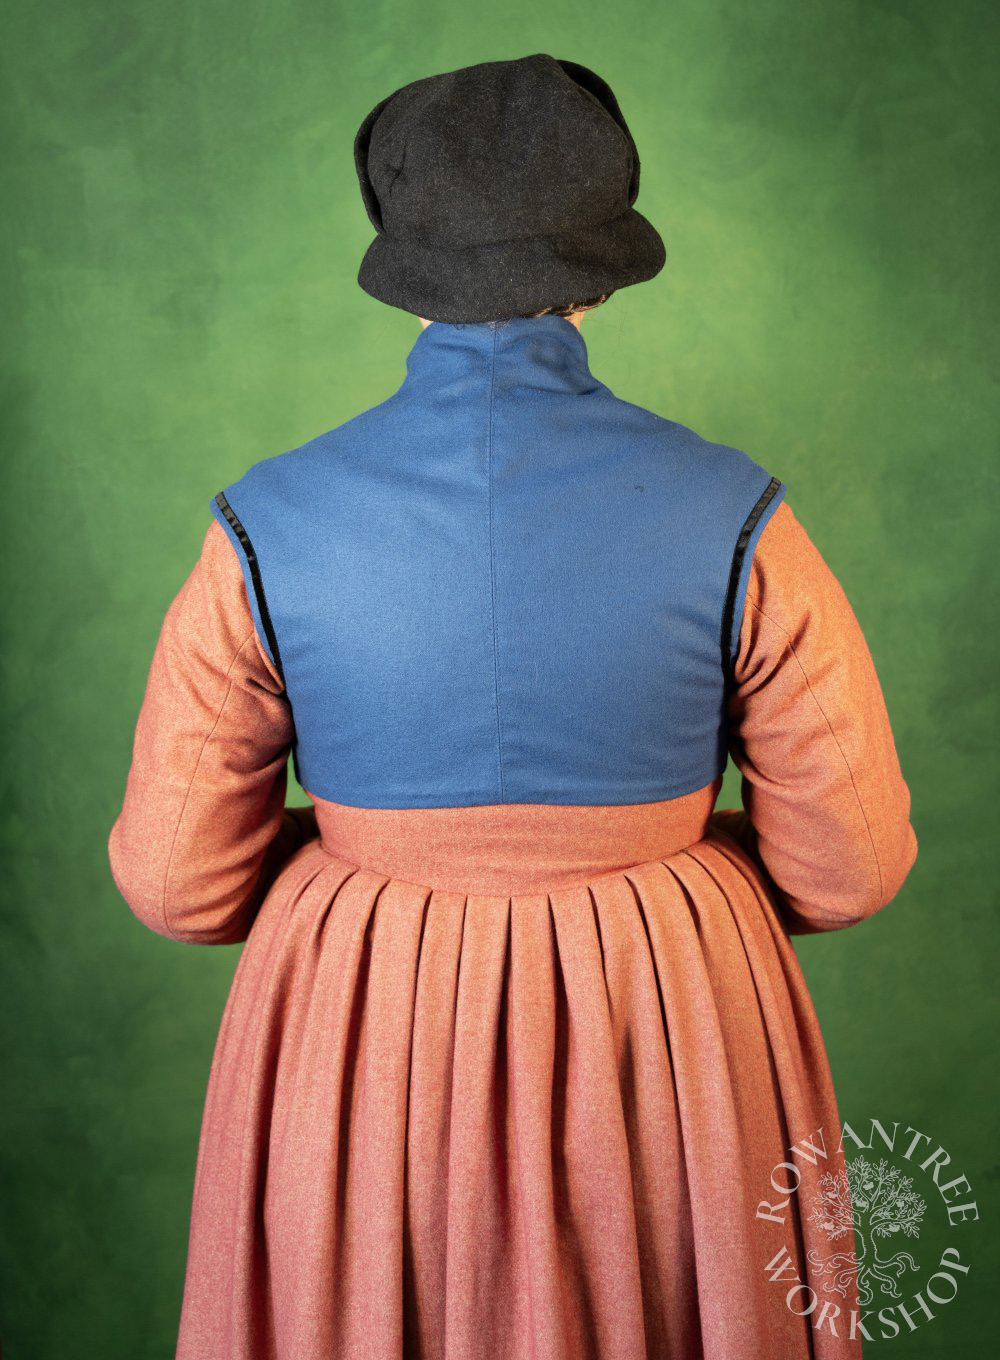
I sewed the back seam, clipped the curves, then pressed it open. I repeated this for the shoulder and side seams, then tried the Goller on my dress form – looks promising, with the collar sitting well. I pickstitched the seams to hold them open and add a little support, then repeated this for the shoulder and side seams.
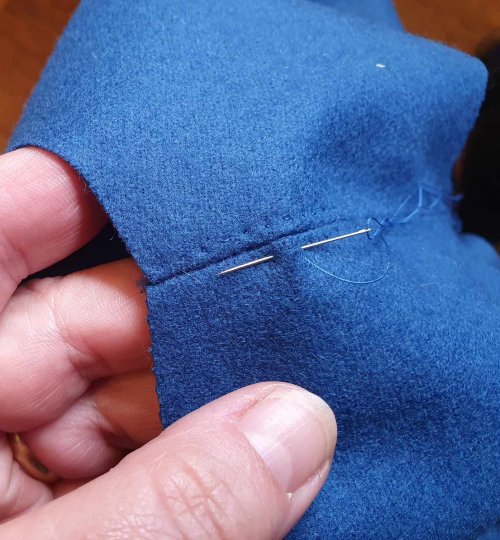
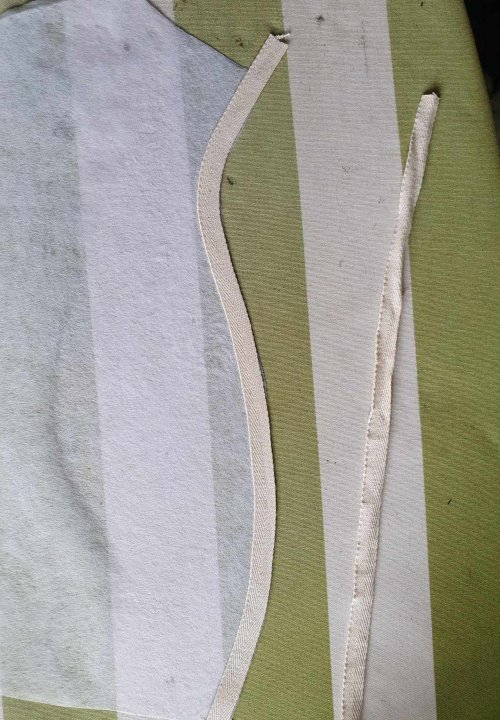
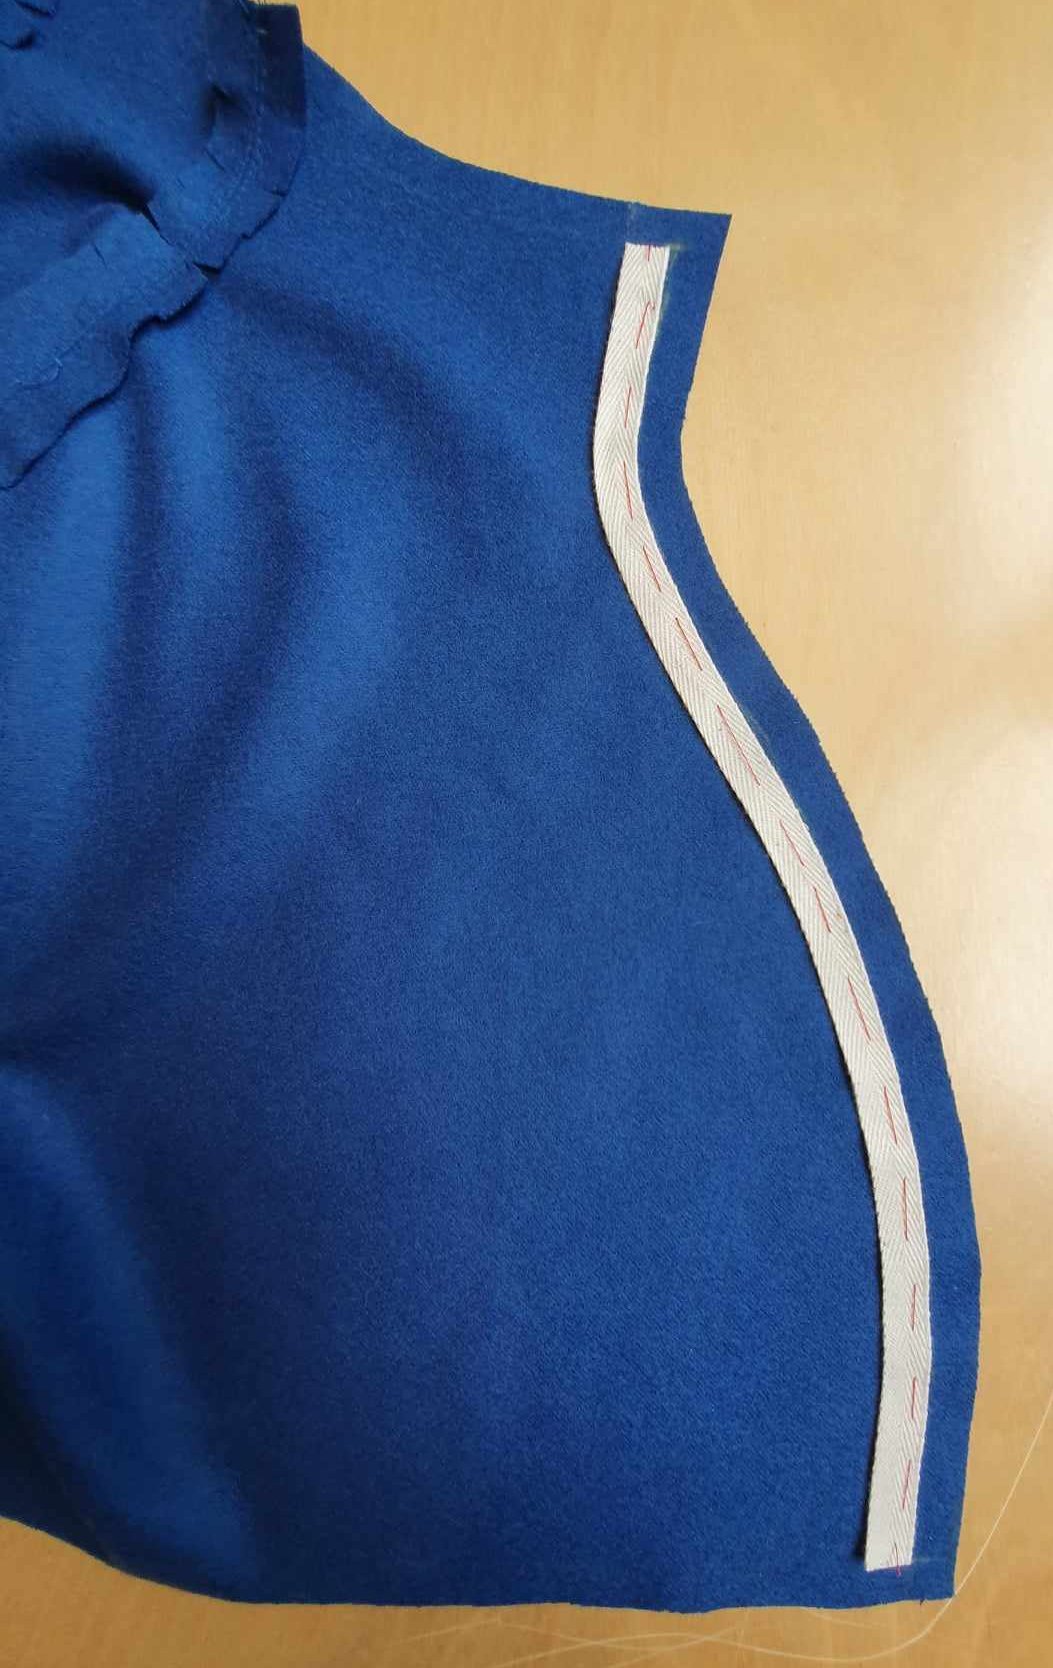
To add body to the front seam and support for the hooks and eyes, I steam-shaped two strips of pre-shrunk twill tape, using the pattern as a guide. Usually I would sew these to the canvas, but here I basted them to the wool along the front hemline.
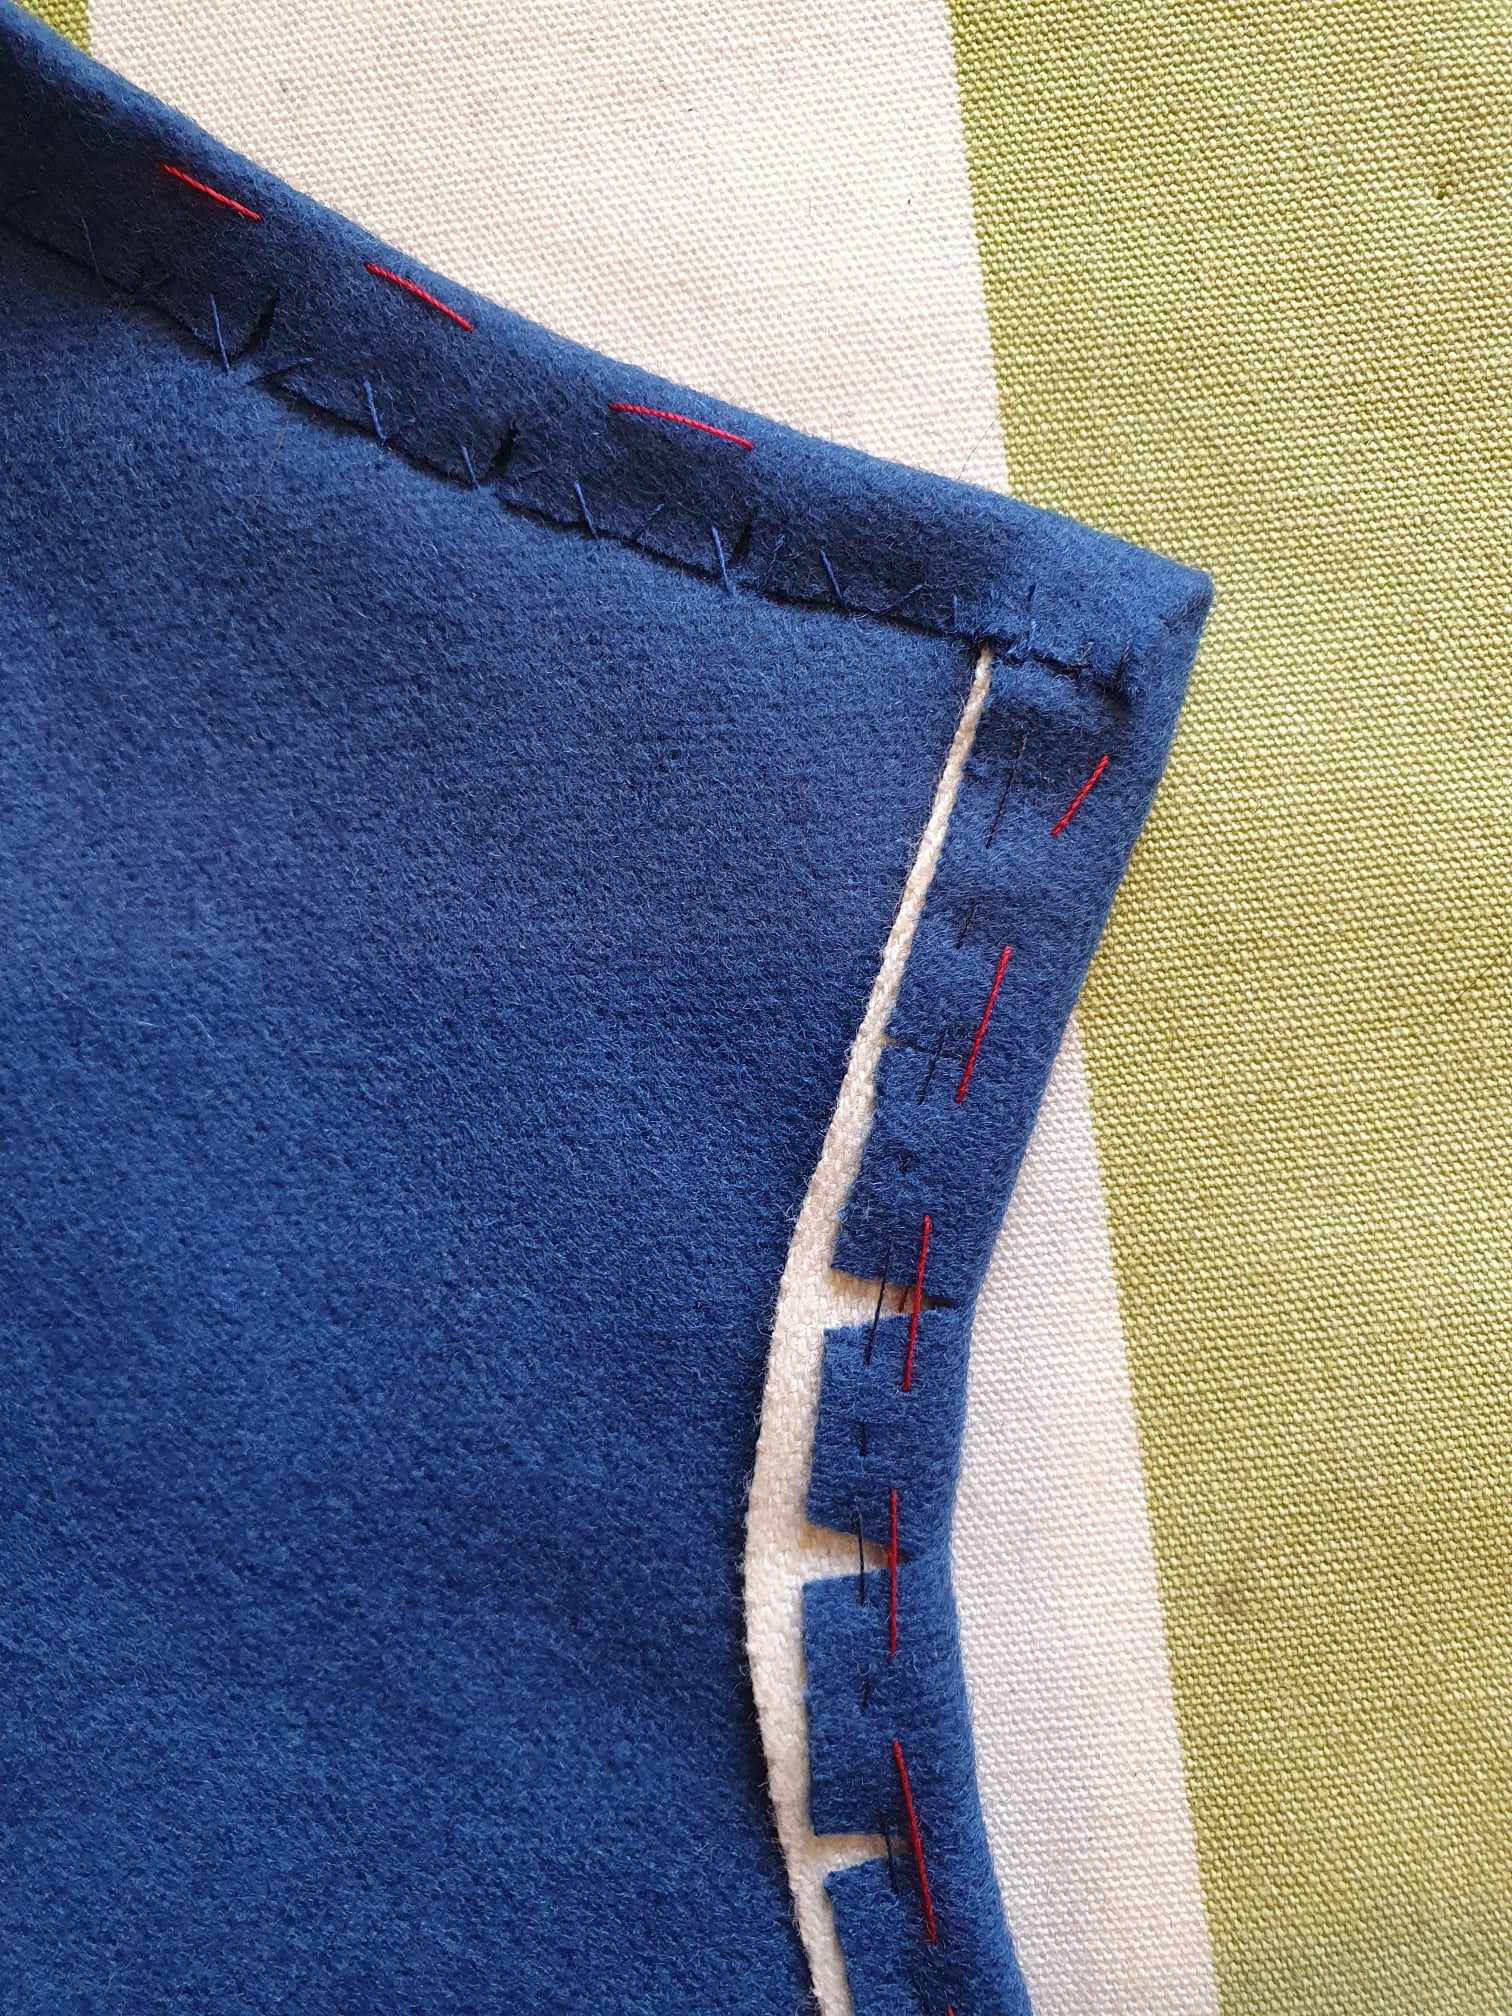
Next, finishing the edges. Usually, I would press over the edge of the canvas and catch-stitch to this. With no interlining, I turned, clipped and basted the edge and then catch-stitched it to the wool with matching blue silk thread, trying not to go through the fabric.
By this point, I was regretting my decision not to interline…
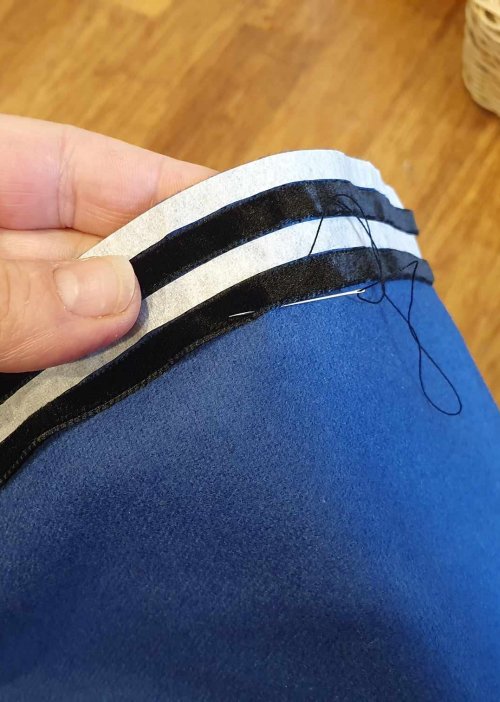
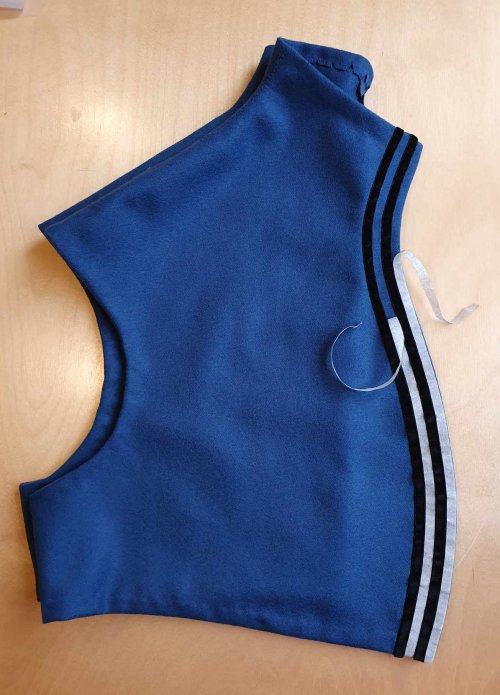
With the edges finished, I could add the decoration. I had a piece of 5mm black velvet ribbon which looked perfect and was able to buy some more to match – although not quite enough for double rings at the armscye. Ah well.
Spacing trim can be tricky, so I used the masking tape trick I figured out when making my Green Linen many years ago. 5mm masking tape made it easy to keep an even space from the edge, and then from the first row of ribbon. I slip-stitched the velvet ribbon with silk thread to reduce drag.
On to the lining, cut in black silk taffeta.
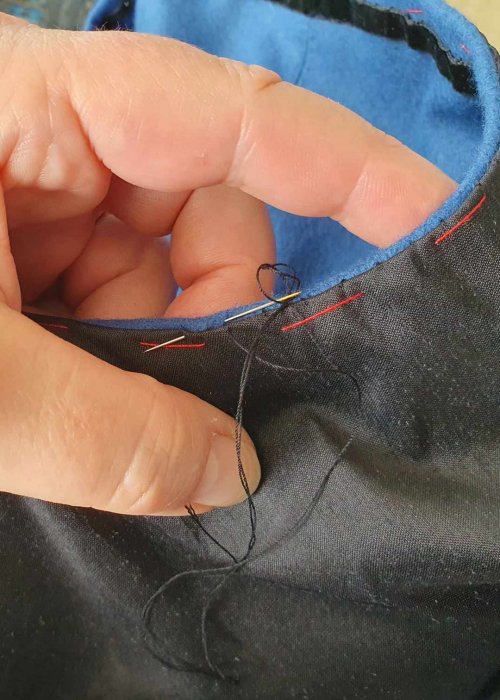
I sewed the back seam of the lining, clipped and pressed, and basted this onto the back of the Gollar. I pinned and basted in the fronts, then trimmed, clipped and basted again. At this stage I could pack it all up for travel.
As we travelled, I slip-stitched this around the base, collar and armscyes but leaving the fronts basted. By this stage I was sewing on the plane, so I could not try it on to check the positions for the hooks and eyes. So I guessed… Once these were on, I could finish slip-stitching the silk and remove all the basting. Done!
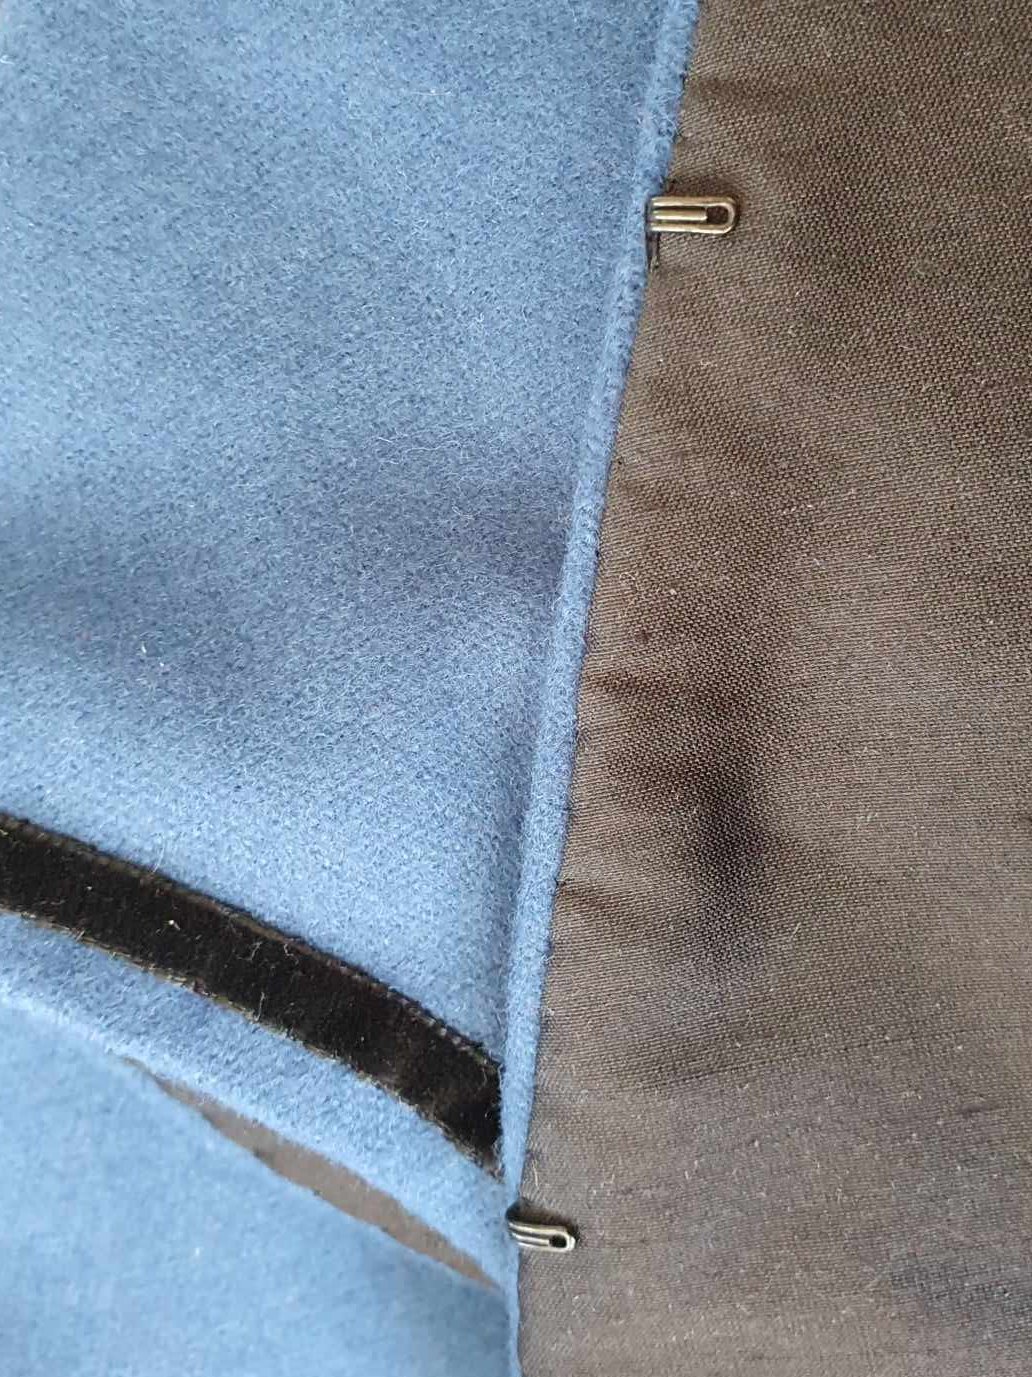
I did get to wear it at the event, and found (of course) that the hooks and eyes were in the wrong places. After the event, I tried everything on again, moved the fastenings and re-sewed the front of the lining.
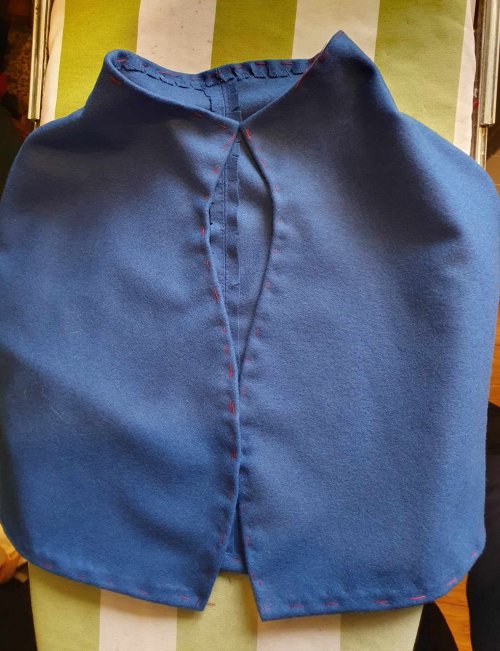
There are more wrinkles around the neck than I would like – again, the intlining would have helped. I console myself with the thought that Dürer’s portrait of Veronica Andreä also shows some wrinkles….
Afterthoughts
The silk lining – great decision. It is lovely – slips easily over the wool of my gowns, feels nice on my neck and adds to the warmth. I’ve often lined sleeves in silk for this reason, but not usually the garment body.
Interlining – poor decision. If I was making this again, I would add the interlining. This would add body to the Goller, give a smoother shape, and make the construction much easier at several steps.
Despite this, it has proved a really useful addition to my wardrobe and adds a surprising amount of warmth for something that packs so small!