

An early 16th century velvet hat for a Portuguese noblewoman.

Joana de Barios won my Hat Prize at Canterbury Faire 2023, and requested a noblewoman’s Portuguese hat, based on the those depicted in the St Auta altarpiece – but without the prominent coronet.
Velvet and silk – I love working with such lush materials, despite their challenges. Basting at every step is the key…
Research and Design
The magnificent Altarpiece of St Auta includes many images of women in noble dress. Most of them wear crowns depicting their status as martyrs (the virgins who accompanied St Ursula), which does rather obscure the details of how these hats are structured!
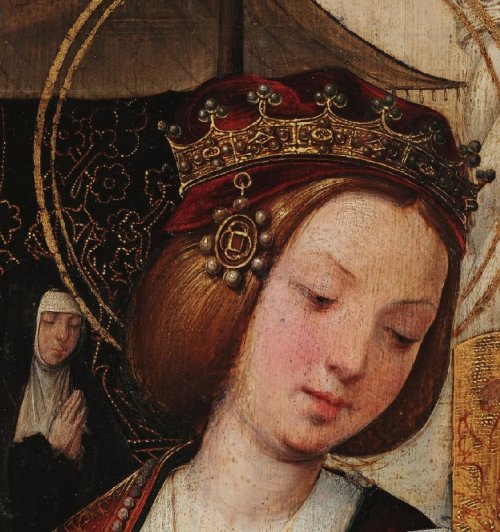
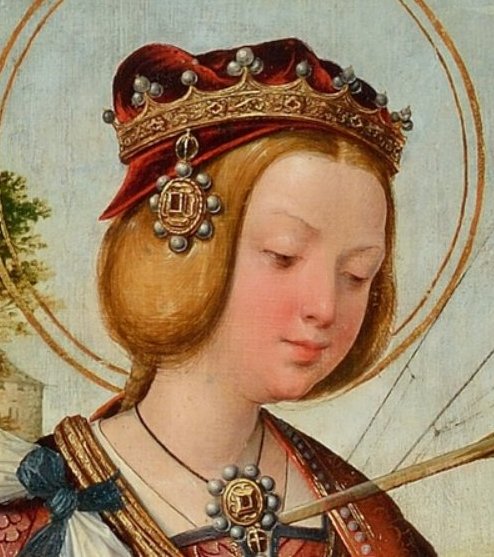

Unknown Portuguese Master, St Auta Altarpiece c1520-25. Source: Google Arts
But some details are clear: the velvet hats have a soft crown with rounded points and a lowered brim, narrow at the brow and deeper at the back, with a back split. The gorra are worn directly over the hair, with no undercap. All have a dependent jewel to one side, and one is also decorated with knots of ribbon (presumably silk) with gold aglets.
There is some similarity in style to the German Barett worn at the same time, but the soft crown and lowered brim are a distinctive feature of this Portuguese fashion.
Hispanic Costume (Anderson, 1979) calls this type of hat a ‘bonnet‘ or ‘gorra‘, and notes that the most common fabric is velvet, and that crimson the most popular colour, along with black and green. Joana particularly liked the example in red velvet, with blue silk bows and gold aglets.
Construction
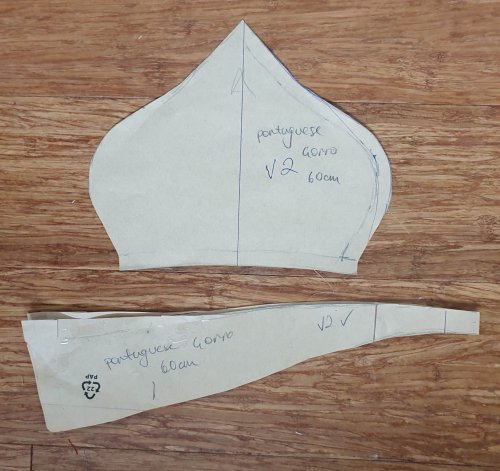
As always, the first step was to pad up my headform to the right size. My usual Barett pattern has a 4 piece crown, so I started with this shape and rounded off the corners. For the brim, I started with a straight strip, cut narrow at the front and wider at the back, where it parts in a V shape.
I made a mockup in heavy fabric to see how it looked: the right idea, but the crown was too tall, corners still too sharp, and the brim needed more shaping at the top. Version 2 looked much better!


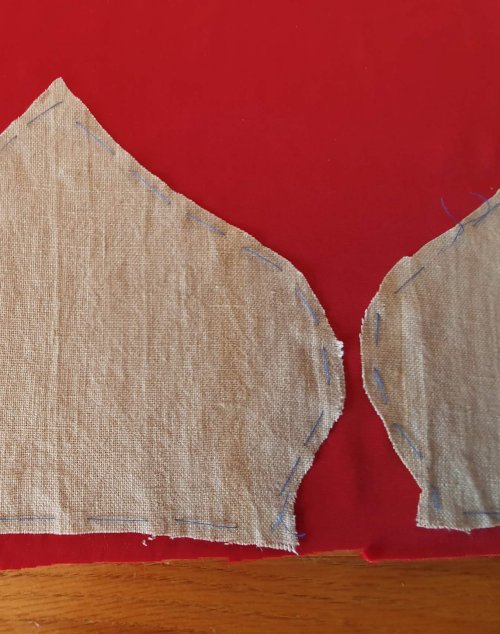
The silk velvet was much too soft to use alone, so I worked some test pieces to see how much support it needed. I decided on a soft, heavy raw linen for the crown and some lovely stiff hand-woven linen canvas I had been gifted recently for the brim.
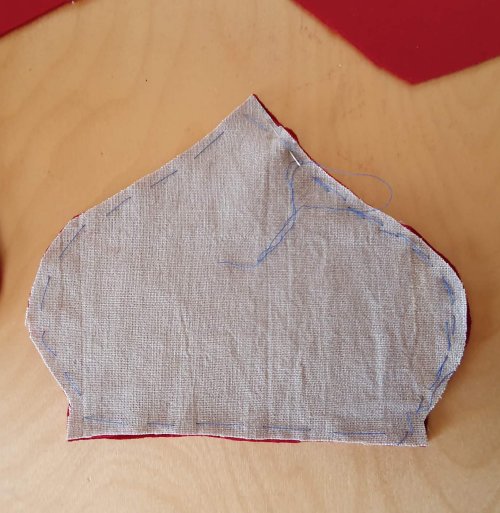
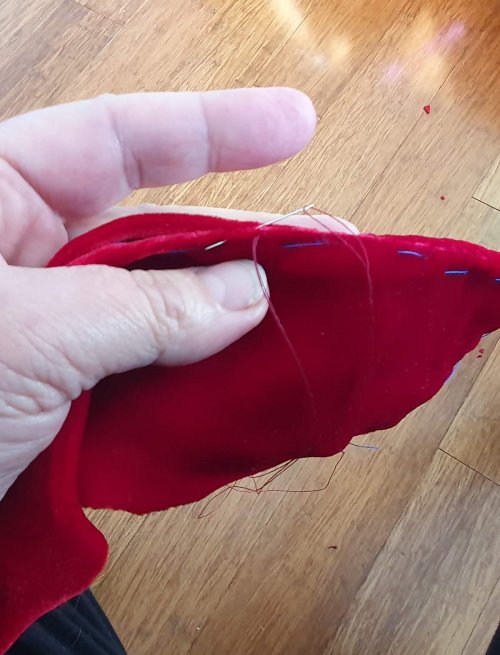
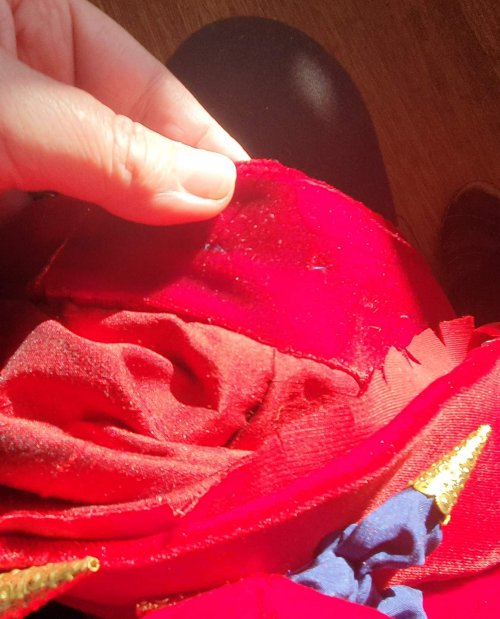
Because silk velvet is fluid and tricky to cut and sew, I basted the the linen interfacing pieces to the velvet first and then cut them out. Then I basted the sections together before sewing – first in pairs, then joining these sets together.
1cm seam allowances are easy to sew but are too bulky, so I trimmed the linen back, especially over the rounded section. Then I carefully clipped the velvet over the curve, trimmed a little more and catch-stitched the seam allowances into the linen. The seams now lie flat and also support the corner bulges.
With all sections joined, I basted the brim in place, clipping lightly, then catch-stitched it to the linen.
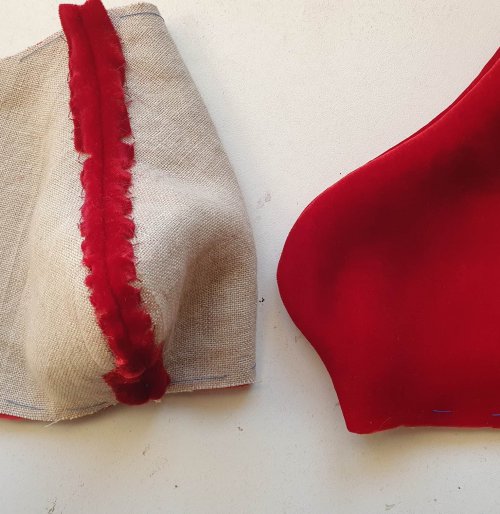
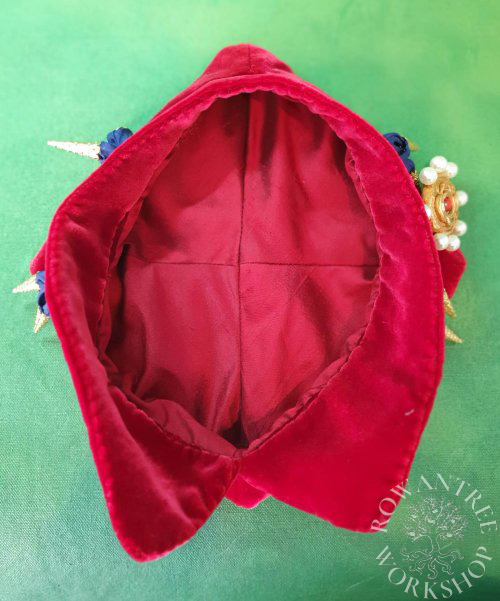
For the lining, I sewed the silk pieces together, clipping the seams and pressing flat. I inserted the lining into the crown, then trimmed the edge to leave a small allowance. I clipped, turned and basted it, then slip-stitched the lining in place to complete the crown.


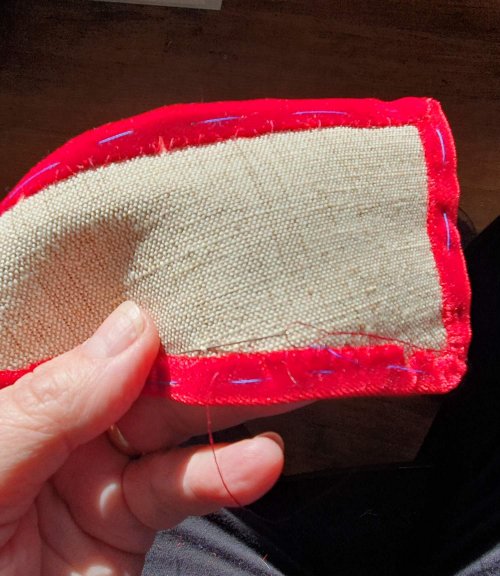
For the brim, I cut the crown out in linen canvas and basted this to the velvet before cutting it out, with seam allowance all around. Then I cut a matching piece for the brim lining, also in velvet.
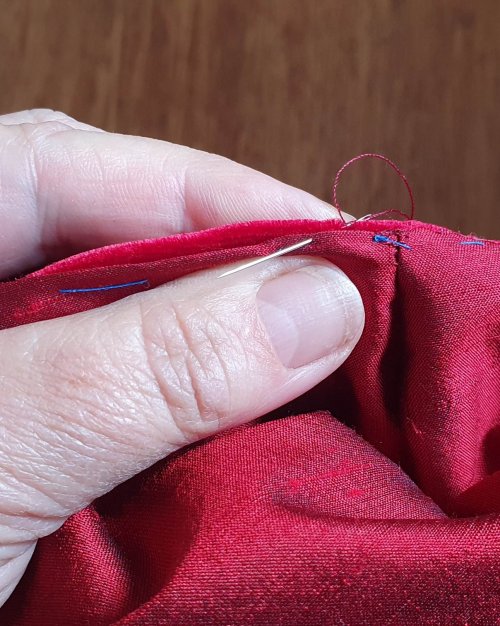
Because the brim is curved, it needs more fabric on the outside and less on the lining. I curved it into shape and pinned the back to check the velvet was not too tight, easing the basting where necessary. I turned the seam allowance over the edge all around, clipping as needed, basted it and then catch-stitched it to the canvas.

Although I could add the blue knots once the hat was complete, it is neater to fix them before completing the lining – but I need the brim in place to check spacing…
After some dithering, I basted just the top and sides of the lining velvet to the inside of the brim, curving it to shape (the lining needs to be smaller than the outer layer to avoid wrinkles) and then slip-stitched the lining to the cover, leaving the bottom edge open.
I sewed the brim to the crown using whipstitch and put it back onto the headform.

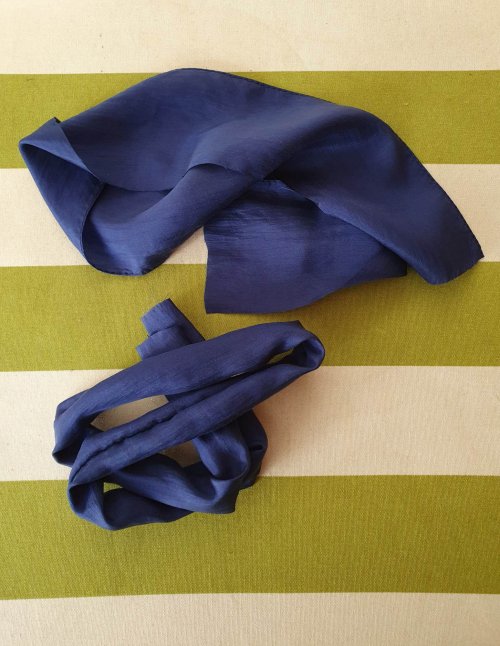
To make the knots, I cut a long strip of blue silk, sewed it into a tube and turned it. I did a test knot (half bow) to see how much I needed for each one, then made up enough silk strips for 6 knots.
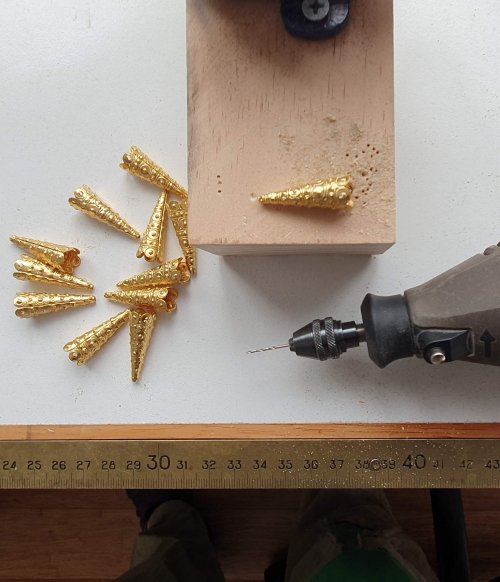
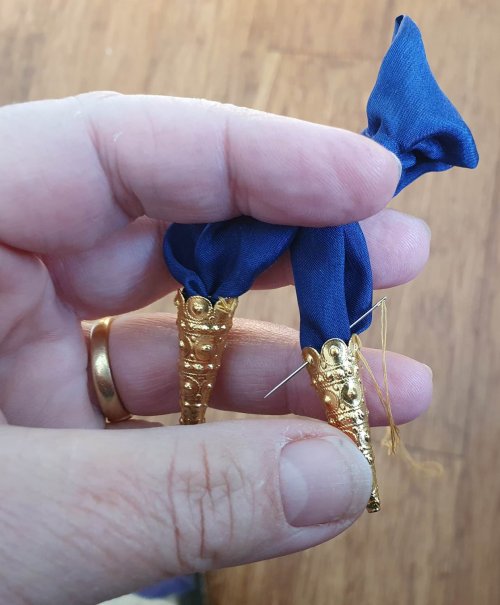
The fancy aglets on the knots were clearly decorative rather than functional. Livings (2018) identified similar contemporary aglets as being sewn, rather than riveted to their ribbon or lace. My aglets did not have holes, so I drilled 3 fine holes in each and sewed them to the ends of the blue silk knots.
To get the right look, I put the hat back on the headform and tested the location of the knots and the hanging jewel (using a pendant frame as stand-in).
Once happy with the placement, I sewed the completed knots to the brim from the inside of the brim – three on each side. With the knots in place, I basted the lower edge of the velvet lining, then slip-stitched it in place.


On the the ‘jewel’ – such a feature of these hats.
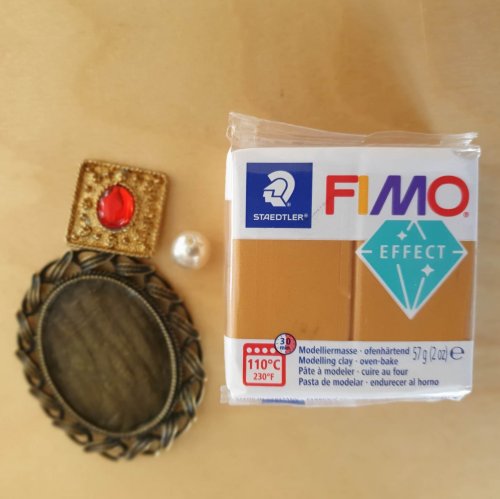
I planned to make up a costume jewel using a small metal pendant frame, a button (glass in gilded pewter base), some fake pearls and gold Fimo. My first step was to test that the add-ons would take the heat needed to set the Fimo, so I baked these items separately for 30 minutes at 110C. Nothing melted, so they should be safe to use…
I cut the border off the small frame and trimmed down the button with side-cutters. Then I covered the frame in Fimo, built up the front, then pressed in the faux pearls and baked it. It looked a little drab, so I painted it with gold size, dried to tacky and dusted with gold powder.


… And then noticed that one of the faux pearls had a fault – ah well, too late! I still love how it came out- really looks like the examples in the painting.
I sewed the finished ‘jewel’ onto the brim between the knots, to hang below. And it’s done!


Joana was very happy with it, and says she plans to make an outfit to go with the hat, based on the same painting. I look forward to seeing it worn in context.