

A blocked felt hat, suitable for late 16th century middle class style.
My friend Owen had given me a brown hat of his to try and re-block into a middle class Elizabethan hat. Sadly it had been soaked in felt stiffener and was not going to shift – so I made him a new one.

Research & Design
Felt hats in several styles were common wear for all classes in the late 16th century. The round-topped hat seems to be the most common style for the middle and lower classes, and was popular with nobility too, often covered in pleated silk or velvet.
Typical Tudor notes that felt hats for the middle class were made of wool, rabbit fur or a mixture (Malcolm Davies & Mikhaila, 2022). In Germany, hats were often
For men of the middle class, contemporary art shows round-topped hats in several styles: the crowns might be straight-sided or angled; the brims either flat or curved up, often just at the sides. The outer edges appear to be simply cut, rather than bound with an edging ribbon.

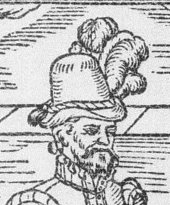
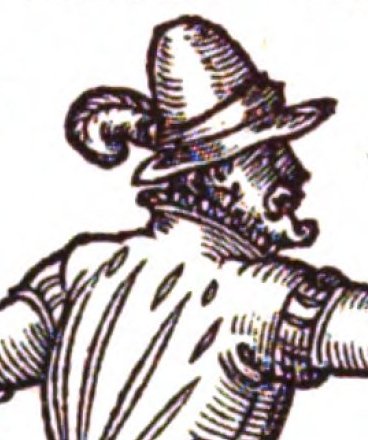
Middle class hats were decorated with a hat band, which took several forms: plain, twisted, woven or braided. For a fancier hat, a panache of curled feathers on one side was a common decoration.
After looking at my research, Owen asked for a dark blue hat with curled brim, decorated with a hatband and feather. I had a dark blue felt hood – a bit smaller than ideal, but should be workable.
Construction
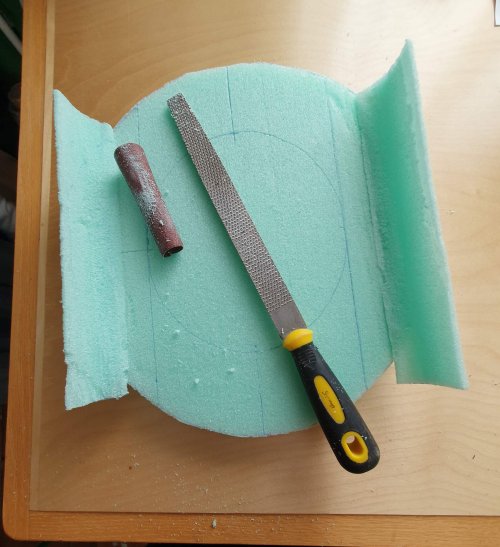
First step was to make the custom hat block using XPS foam. I decided to make the block in two parts – crown and brim – so that I could mix and match in future. Card templates for the base, front and side elevations make it easier to get the crown the right shape.
For the curled brim, I started with a flat sheet and built up the sides with offcuts. Once the glue was dried I shaped the side curves and shaved down the front and back to continue the curve. I needed to fill some gaps and tried a wood filler. Bad choice – it was harder than the foam, making it difficult to smooth off.
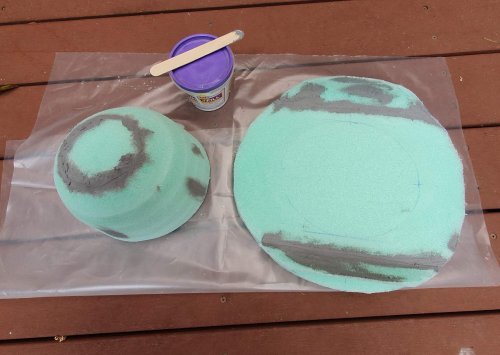
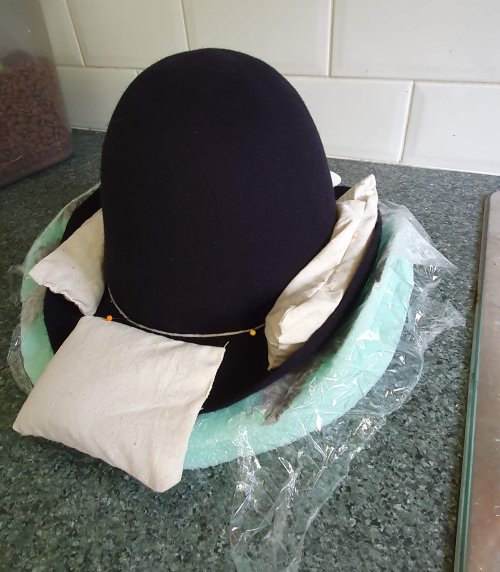
Once I was happy with the blocks, I taped the two sections together, then covered the block in plastic wrap (makes it easy to remove the felt). I put the felt hood into hot water, wrung it out thoroughly and pulled it over the block. It was a bit small for the task, so I had to really stretch the felt hard to cover the crown and brim.
I tied a string at the base of the crown, and pinned it in, then used small sandbags to shape the brim. The hat dried on the form for a day, then eased off the form and dried another day, to be sure.


Once dry, I trimmed the edges to a smooth line. Because I stretched the felt so hard, it’s now too thin to stand up to regular use. After checking the hat fit Owen, I stiffened it with hide glue, using a 1:20 ratio by volume to soak well into the felt.
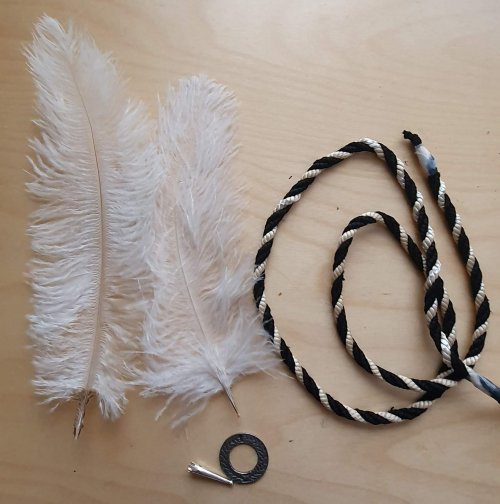
On to the decoration. After trying the look of various appropriate options, we decided on a heavy cord twist and feather. My feathers were a bit thin, so I doubled up for a thicker plume and used a decorative aglet to hold the shafts together. The holes make it easy to sew to the band.

I made the hatband to size, sewed on the panach and slipped it into the hat – friction will keep it in place, and it is easy to replace if needs be in future.
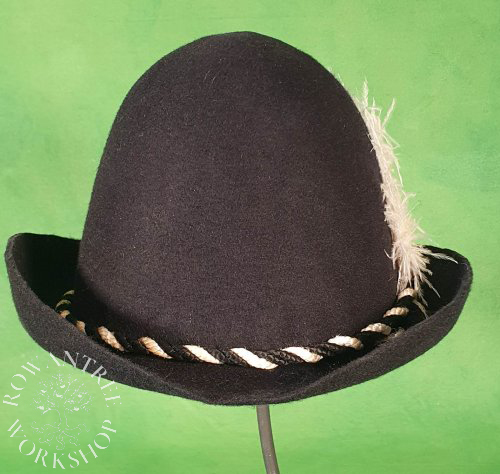

Owen was well pleased with the hat – it fit well and completed his look.
