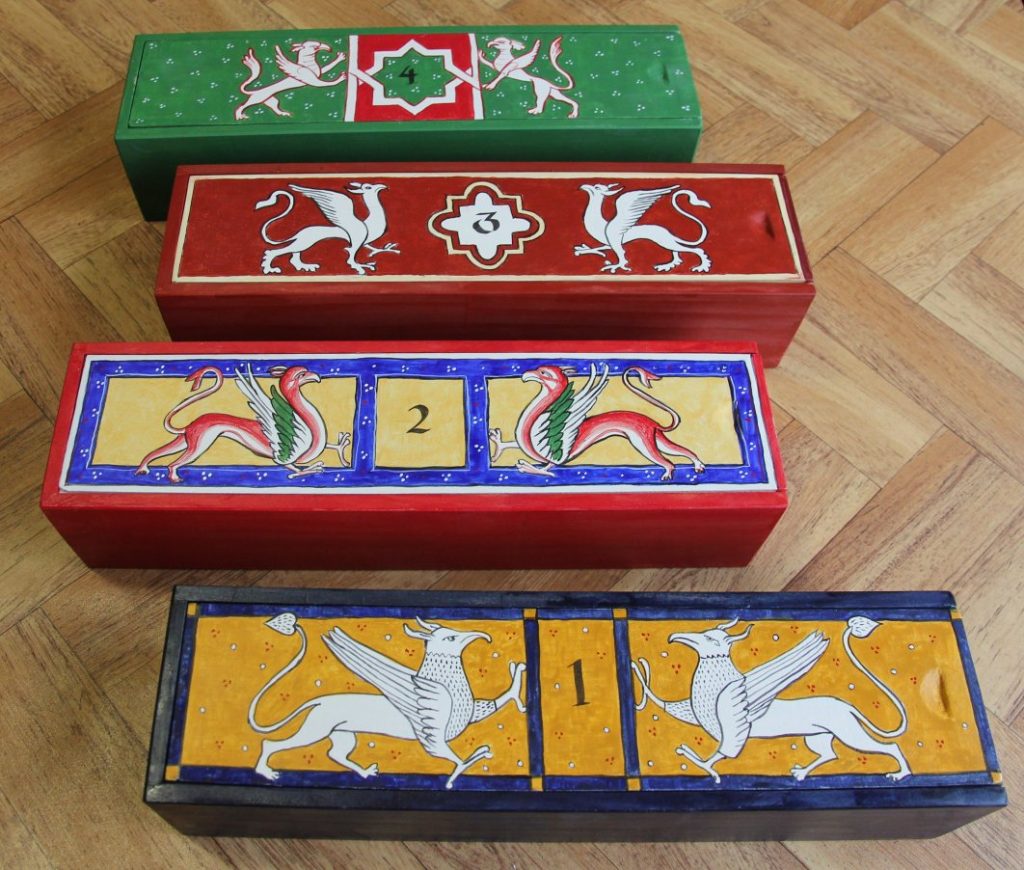
The term ‘tempera‘ comes from Latin distemperare – “to mix thoroughly” and refers to a range of different paints. Egg Tempera refers to tempering or mixing pigment with egg, to form a bright, long-lasting paint.
This painting technique has been in use since Egyptian times. It was the main form of painting for wooden panels and some furniture in the Byzantine, medieval and early renaissance periods. Byzantine icons were painted in egg tempera, as were paintings by Michelangelo and some manuscripts, and even linen banners.
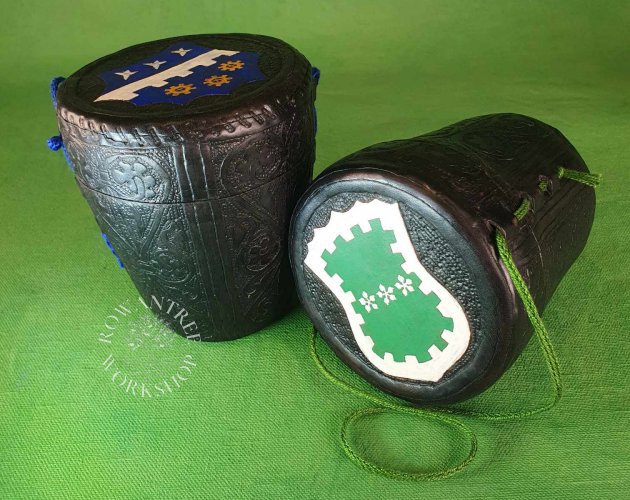
Egg tempera was also used to paint oak-tanned leather, such as leather casework, decorative leather wall panels and knife sheaths.

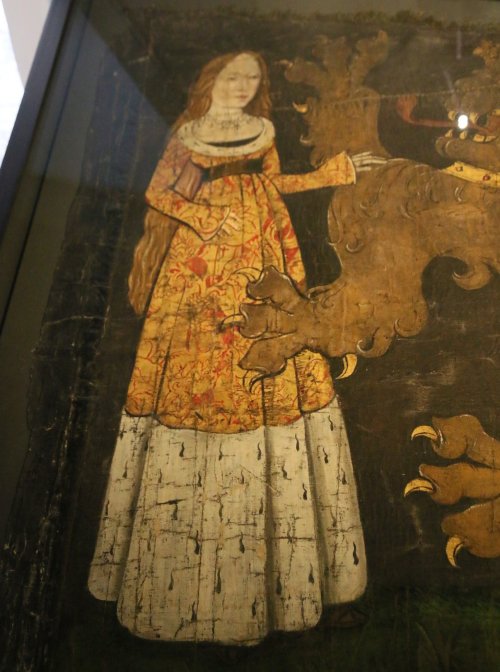
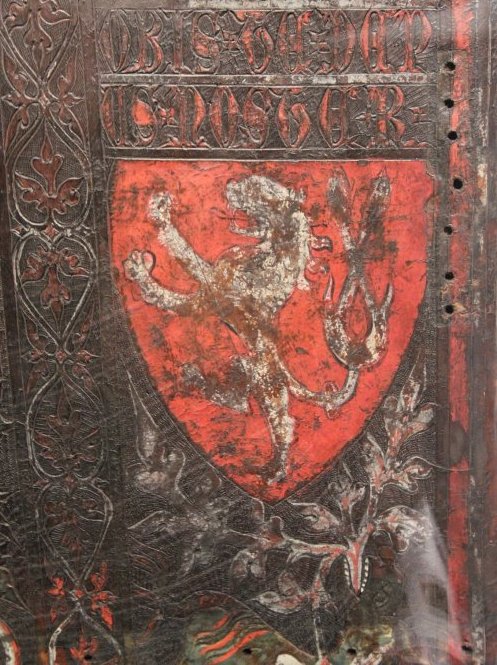
Oil paint (pigments tempered with linseed or other oil), originated in the Middle East, but was known as early as the late 12th century in Norway, where it were used alone or in combination with egg tempera for painting altar frontals (Plahter, 2004). In his early 15th century treatise Il Libro d’Arte, Cennini speaks of teaching “to work with oil on panel, as the German are much given to do” (Cennini 1993), but his default painting method was still egg tempera. Oil painting gradually replaced egg tempera in Europe, but egg tempera continued in some specialised areas, such as icon painting.
Egg tempera is fast drying, and once cured (after 6-12 months) is completely waterproof. Because it dries so quickly, shading is not modelled in the wet paint, but built up in thin layers of colour. The paintings stay brilliant through the centuries, and do not need to be varnished.
The Ground
Egg tempera needs an absorbent surface to bond with. If you are painting onto vellum, paper or leather, you do not need to prepare the ground (you can skip down to the section on Egg Tempera).
If you are painting on wood, you must first prepare a gesso ground. Canvas is also usually given a gesso ground, to provide a smooth surface.
Modern gesso mediums are made with a synthetic binder, which does not work well with egg tempera.
Medieval gesso is made of fine ground gypsum (calcium sulphate) or chalk (calcium carbonate) mixed with animal glue and water, and is built up in layers to provide a smooth even surface. Gesso can also be used to mould designs in high relief, such as frames or ornaments, which are then painted or gilded.
Tools and materials
- Wood panel or other item, well seasoned, dry and smooth
- Hide glue or rabbit skin glue pellets (sold for woodworking, also called pearl hide glue)
- Ground chalk whiting (calcium carbonate) or gypsum (calcium sulphate)
- Several glass jars with tight fitting lids
- Waterbath (a bowl of hot water will do fine)
- Broad paintbrushes (eg 2cm – plus finer ones if your piece has details)
- Sandpaper – medium and fine grades and sanding block.
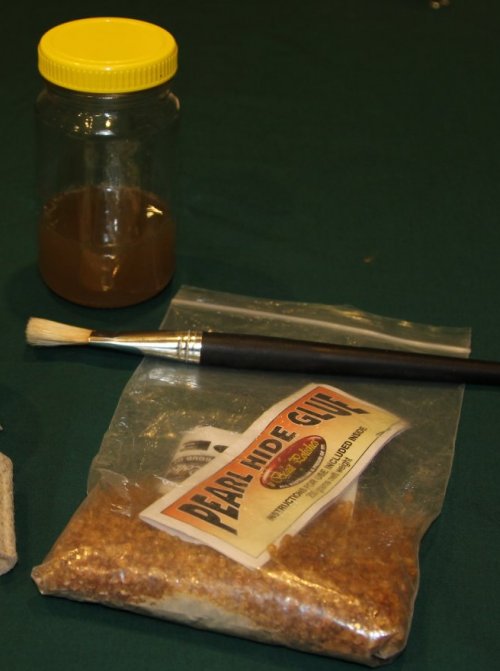
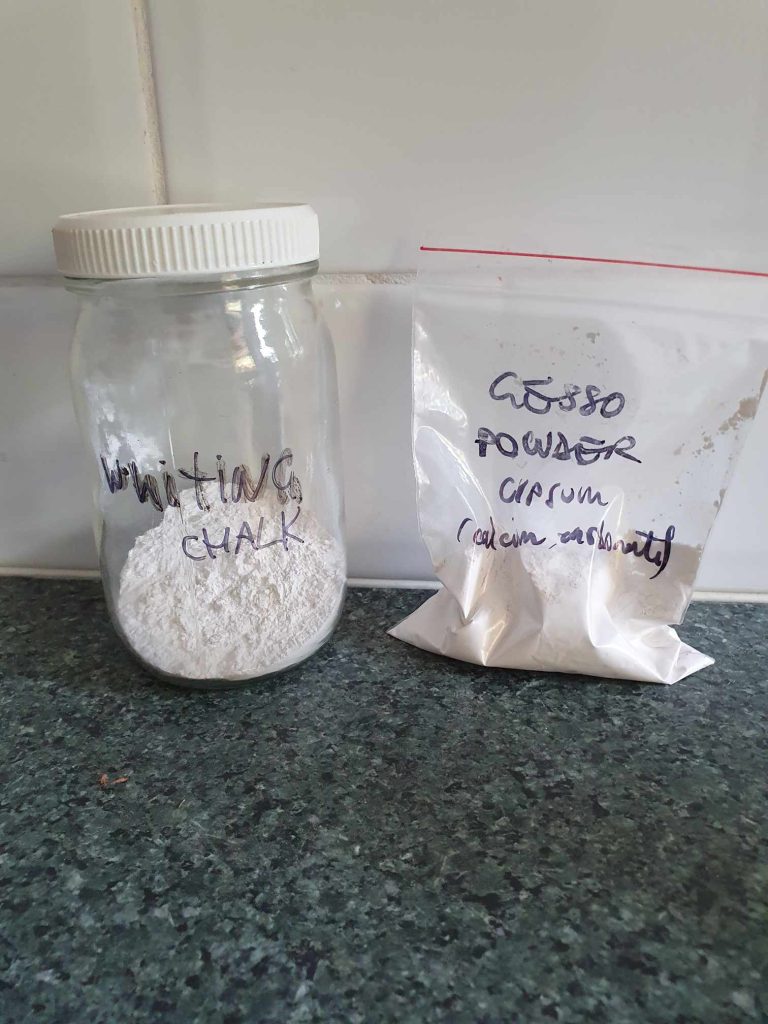
Liquid hide glue
You need to make a glue gel weak enough to break up when disturbed (about the consistency of applesauce when cold). The strength of the glue varies by brand, so you may need to experiment a little to get the right proportions.
I measure by volume becuase it’s hard to weigh things reliably at this small scale, but for the type of glue I use, 1 teaspoon (5ml) of glue pellets weigh 3.75g.
- In your small jar, mix 1 part glue pellets with 15-20 parts cold water (eg 1 teaspoon pellets in 80 ml water)
- Soak for half an hour or more, until the pellets are translucent (like frog spawn)
- Put the jar into a hot water bath and stir to dissolve completely (do NOT heat over 80C – it will wreck the glue).
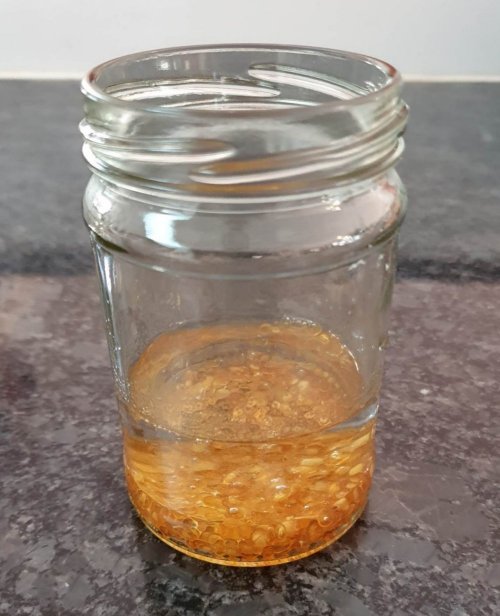
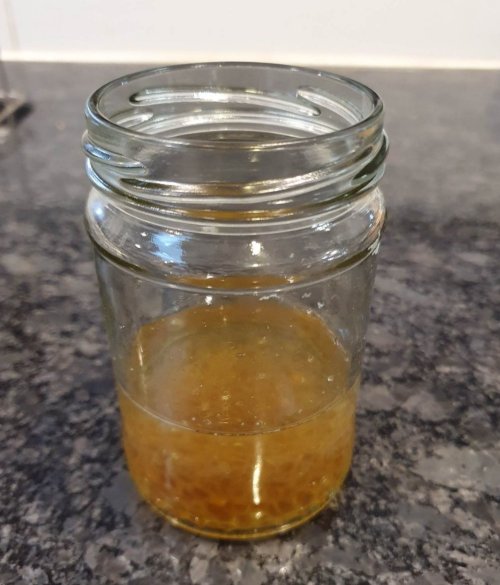
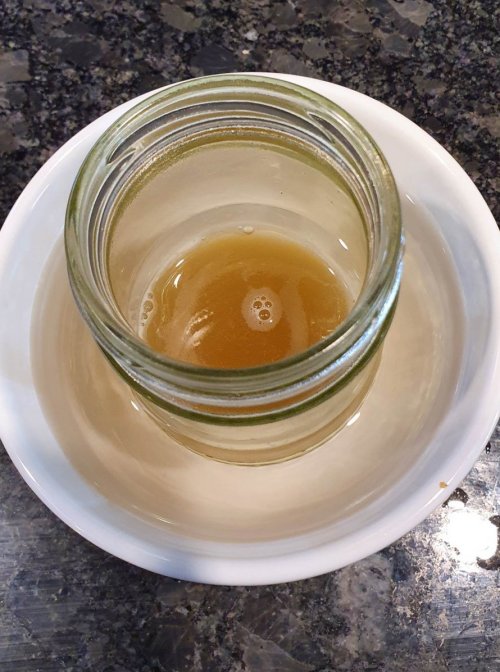
Use immediately to make the grip coat and gesso, as described below. You can reheat (over hot water) when needed for a day or two.
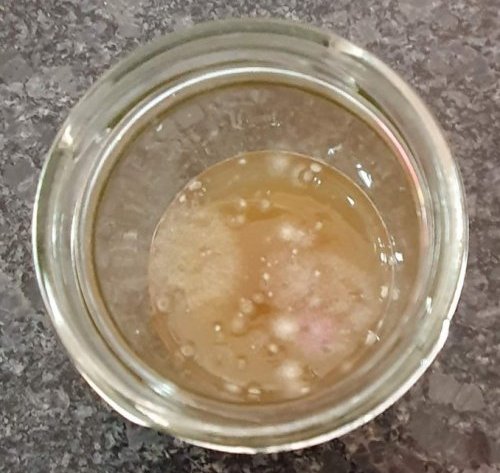
Note: The glue will not keep well, so only make up enough for your immediate use – it will go mouldy in a few days, just like an agar plate. And smell bad too!
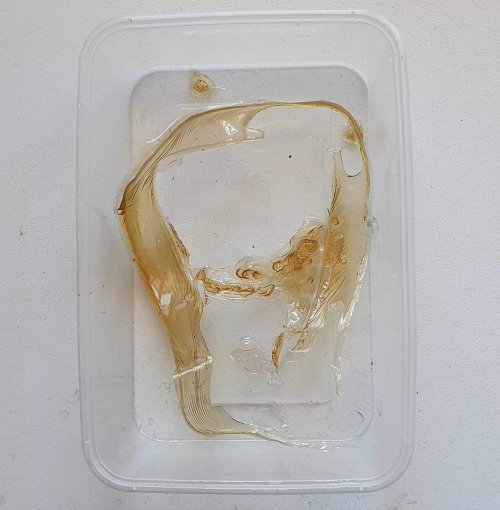
If you have made too much, pour into a shallow plastic container and let it dry, then cut up and re-use. (The glue will stick to a glass or ceramic container.)
Grip coat
The first layer of gesso is very weak, and helps bind the later layers of gesso to the wood.
Not being so strong, it is just as if you were fasting, and ate a handful of sweetmeats, and drank a glass of good wine, which is an inducement for you to eat your dinner. So it is with size: it is a means of giving the wood a taste for receiving the coats of size and gesso.
Cennini, Chapter CX
Ratio: 9 parts warm liquid glue to 1 part whiting by volume
- Put the warm liquid glue in a jar
- Mix whiting gently into the warm liquid glue
- Brush on a thin layer to the wood and let it dry.
You can store leftover grip-coat in a covered jar for a few days – cool completely first to avoid condensation. Reheat as needed. Or you can turn it into gesso at the next step…
Gesso
Once the grip coat is dry, you can start building up the gesso layers. You need at least 4 layers, and 10 is better!
Note: You need to keep the gesso warm while you are using it. Once it sets hard, it cannot be re-warmed, so just mix what you need for one session.
Ratio: 1 part warm liquid glue to 1 part whiting by volume
- Put warm liquid glue in a jar
- Gently drop in the whiting and let it sink and soak for about 15 minutes (in a water bath if you are using a small volume)
- Stir gently – avoid adding air bubbles
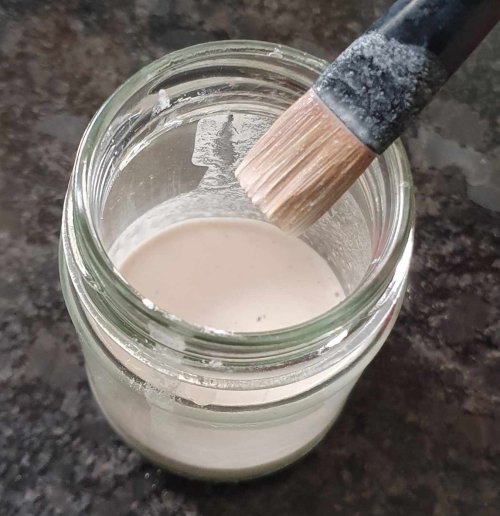
- It will look like single cream in the jar, and a bit watery on the brush
- Re-warm if needed, stir again and brush over the grip coat, let dry
- Sand off any lumps, re-warm the gesso if needed, stir and add another coat
- Repeat the sanding and painting until you have 4-10 layers
- The more coats, the faster the next coat will dry – you may need to reheat the water-bath, and/or dilute the gesso a little for the later coats to stay smooth
- Once you are done, throw out the rest of the gesso
- Dry thoroughly (at least overnight, longer if possible)
- Sand with fine sandpaper around a sanding block to a smooth ivory finish, or use a cabinet scraper to get a mirror flat surface.
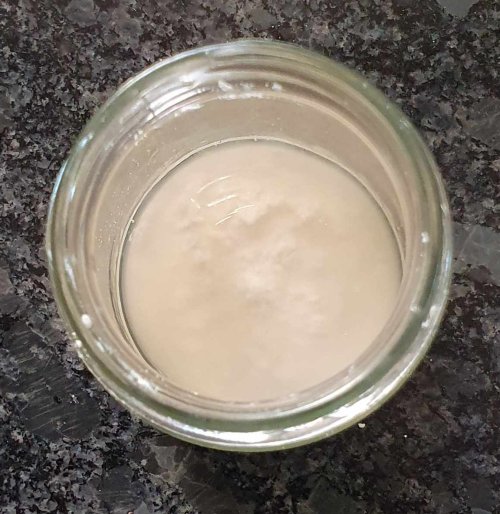
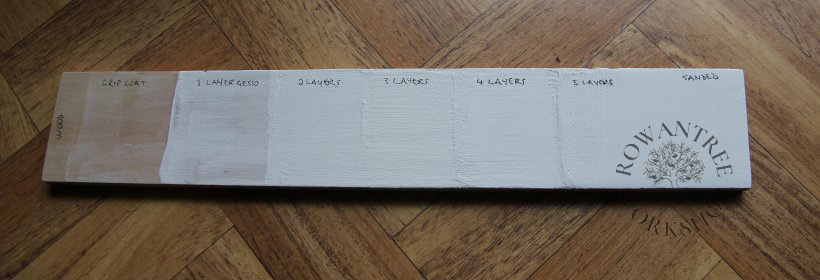
You can see how the layers build up – this sample has 5 layers of gesso over the grip coat:
Egg Tempera
Egg tempera is a mix of egg yolk, water and finely ground pigment.
Historically, many of the pigments were poisonous, such as red, white and yellow lead, orpiment (arsenic), and verdigris (copper). Others were fugitive (faded in light) or were made of expensive semiprecious stones, such as ultramarine (lapis lazuli) and malachite. Some pigments remain in use today, such as Raw and Burnt Sienna, Raw and Burnt Umber and Vine Black.
Where possible, I use medieval pigments, but many of the toxic ones are (not surprisingly) no longer available. The most common medieval white was Lead White – a soft, permanent white which is highly toxic. Zinc White has been used as a safe modern replacement for decades, but has not proved stable in the longer term. Try and select modern pigments that reflect the medieval palette.
Pigments are available from specialist art suppliers (I buy mine from Endangered Heritage). They can be expensive, but you need very little to paint small objects.
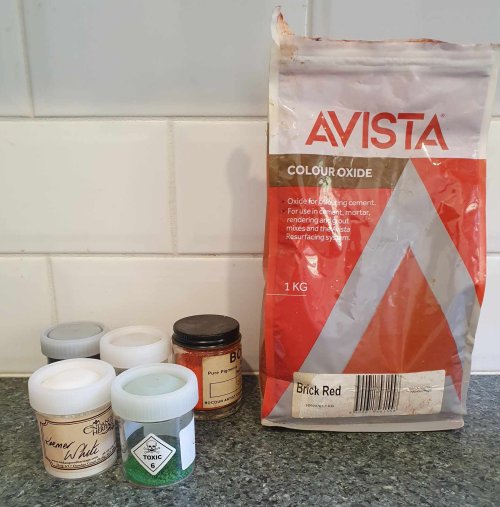
If you want to paint something large like furniture, there are some other options. I have found that the pigments used for colouring concrete work surprisingly well! The range of colours is limited to earth pigments, but they are very finely ground and very cheap.
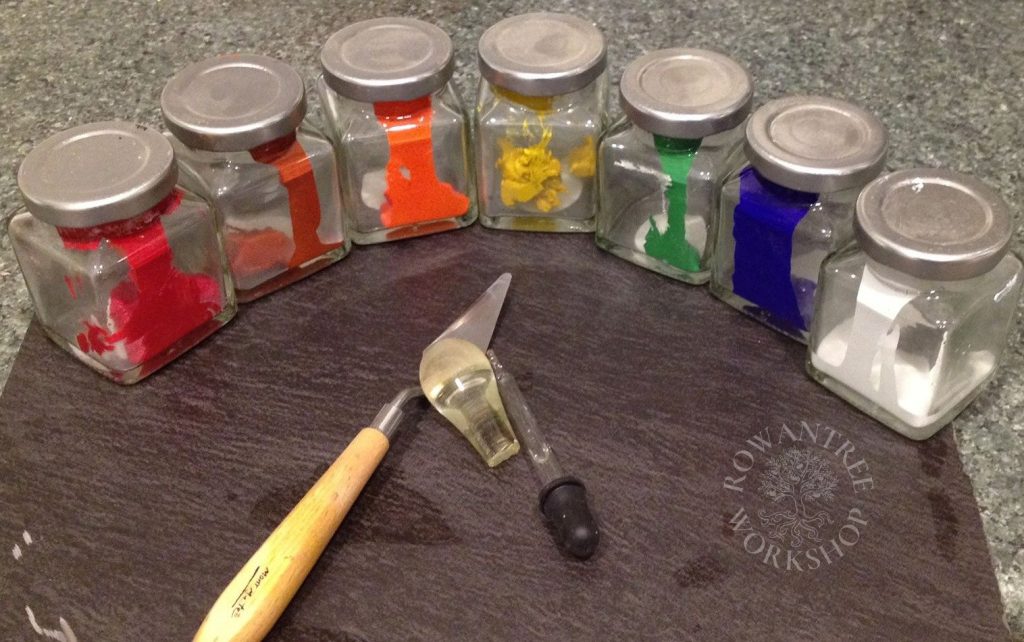
Pigment paste
You can mix the finely ground pigments directly with the egg binder, but a better approach is to premix into a paste, which dissolves more readily in the egg binder. These pastes keep well and speed up the mixing when you actually want to paint.
The ideal tool for grinding paints is a glass muller, but since they are already ground, you can get away without it.
- Fine ground pigments
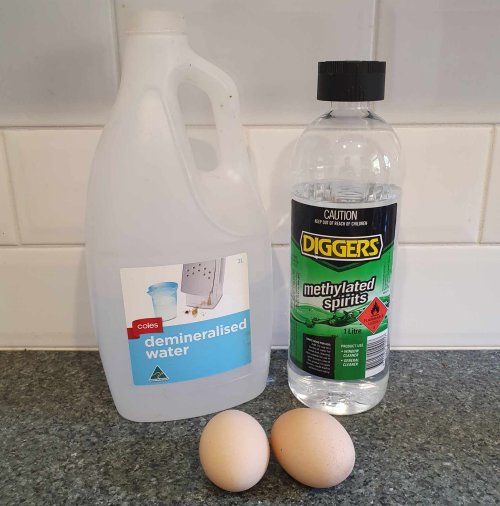
- Distilled water
- Methylated spirits
- Eyedropper
- Slab for grinding – ground glass slab or non-slip ceramic tile
- Palette knife
- Pestle or glass muller
- Dust mask (for noxious pigments, such as cadmium).
- Put 1 teaspoon of ground pigment on the slab – this will make enough paste to cover several panels
- Form a well in the pigment, add a few drops of metho, and enough distilled water (with an eyedropper) to mix to a soft paste using the palette knife
- Grind using the pestle to form a smooth paste (not liquid), adding water as needed
- Scrape off the slab and store in an airtight jar, ready for use.
The pigment paste will keep indefinitely. If it dries out, add a few drops of water to rehydrate.
Making the tempera
Once you have your pigment paste, you can turn it into paint with the addition of egg yolk and distilled water. The white is not used (even for white paint) – use it for cooking or make glair for laying gold.
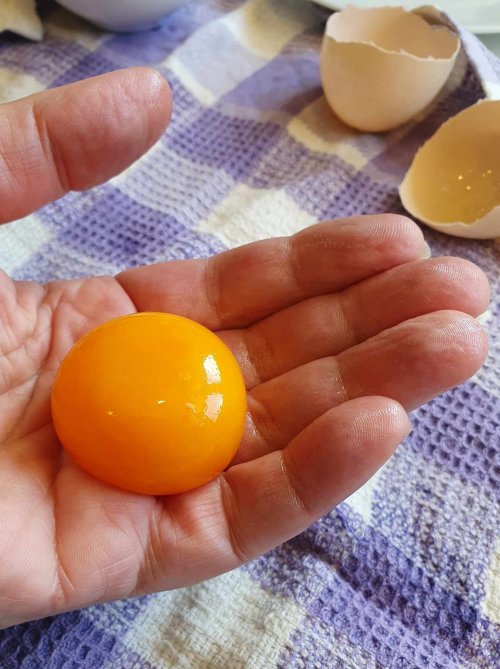
Break the egg carefully and separate the white into a bowl (for another use). Roll the yolk sac from hand to hand (wiping off each time) or on a towel, until it has a dry skin. Pierce carefully and drain the yolk into another bowl. (This process ensures there is no white in the mix, which would change the consitency and dry with a hard gloss.)
Measure the yolk onto a small jar. Add the same volume of distilled water, cover and shake hard to emulsify.
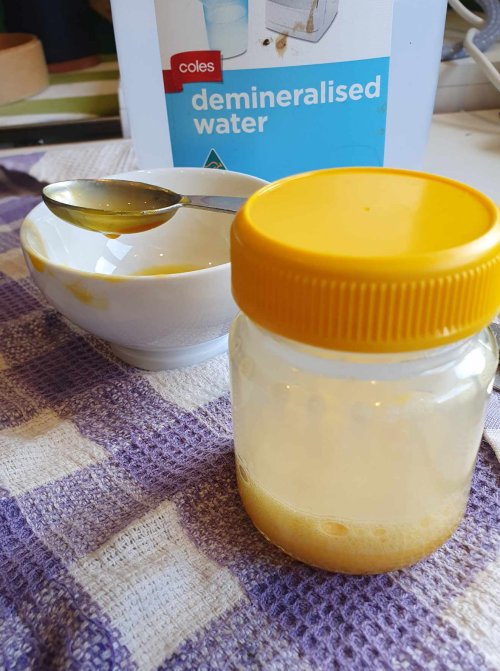
Place a little pigment paste on your palette or dish, add the same volume of egg binder and mix well.
Test your paint on a sample of your ground – it should flow smoothly. Too much egg will dry glossy; too little will dry chalky. If your paint starts to thicken up in use, a little more water and/or egg medium.
Once mixed, the egg tempera will keep a couple of days in the fridge.
Note: I found that paint-pots and brushes must be protected from our cat, who figured out the ‘egg’ part, but not the ‘cadmium’ part!
Paint technique
Because egg tempera is translucent, any under-drawing drawing needs to be very faint – or part of the final design. In period, fine charcoal was used to draw the design, any excess removed with a feather, then the lines reinforced with dilute pigment in gum medium (watercolour) or diluted ink. Areas to be gilded were incised into the gesso with a sharp point to create a defined edge.
Egg tempera is best applied as a series of thin layers – it dries as soon as it hits the ground (gesso, leather etc). On a gesso ground, all areas need to be painted – the gesso is not waterproof without the paint. So even the white areas need a layer of white pigment over the top.
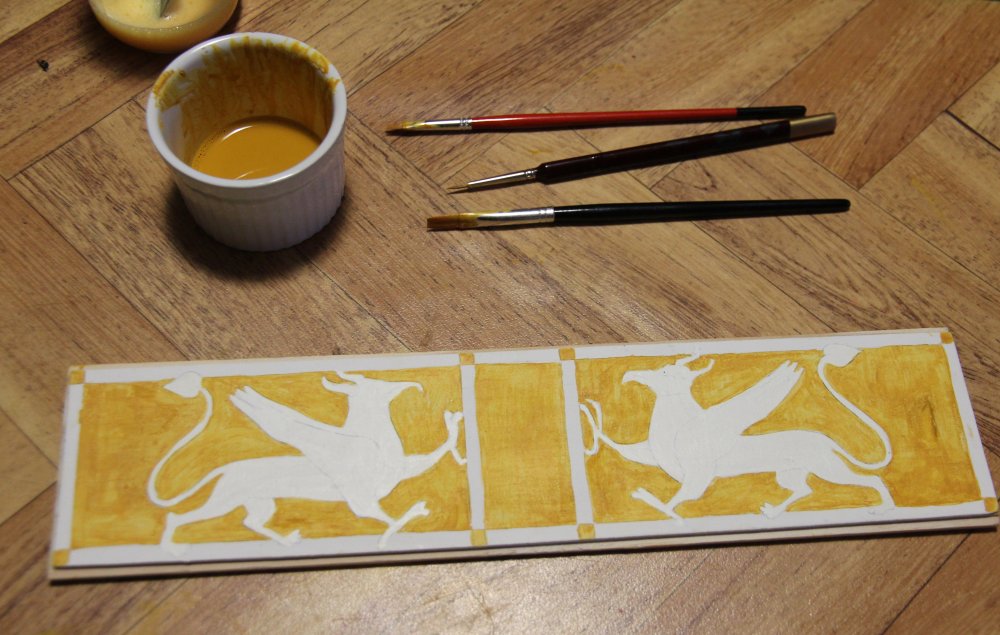
Use filberts or flat brushes for larger areas and small round or fine brushes for detail.
Shading can be built using cross-hatching, or layers – each layer sets quickly, so you can paint over the top without much delay. Finally, add the outlining and any highlights, then let your piece dry.
If the painted item is something you are handling, allow a week for the paint to dry – in fact, it takes 6-12 months for the paint to fully cure!
Examples of projects using egg tempera – Scribes boxes and Leather casework.
