

My first attempt at leather casework – a medieval penner with tooled heraldic design.
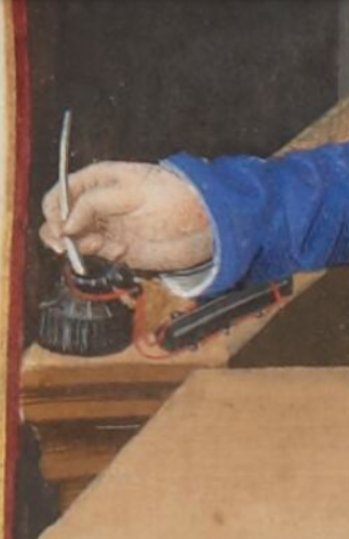
Cases made of stiff leather were common in the middle ages and renaissance for holding, protecting and carrying all kinds of items, from pens to crowns. Leather ‘penners’ were used to hold the tools of the medieval scribe – quill pens and penknives, usually strung together with an inkwell and slung over the belt.

I had looked at illuminations depicting penners for years and always wanted to make one to hold my own pens. The incentive came when I was asked to contribute a penner and purse to a group project – a surprise gift for my friend Hugh. Time to actually make one!
Research and Design
The vast majority of the many images of penners and extant example in museums are of black leather although there are a few exceptions. Images in artwork do not always show decoration, but the extant examples are usually tooled – embossed, incised and/or stamped.

Source: Gallica

Source: Musei Civici di Venezia
Later penners tend to be rectangular in cross section, but earlier ones have both rectangular and cylindrical forms. In keeping with the 14th century theme, I decide to make a penner in cylindrical form.
In common with other examples of casework, the cap of the penner is held on with cords through slots worked in the leather. These are usually coloured and often red. In the case of penners, the other end of the cord is often attached to an inkwell, as can be seen in these examples.
Construction
At the time, I had no information on how penners were constructed, but I had seen cases in museums, and knew there were two layers, with an overlapping cap, strung on cords.
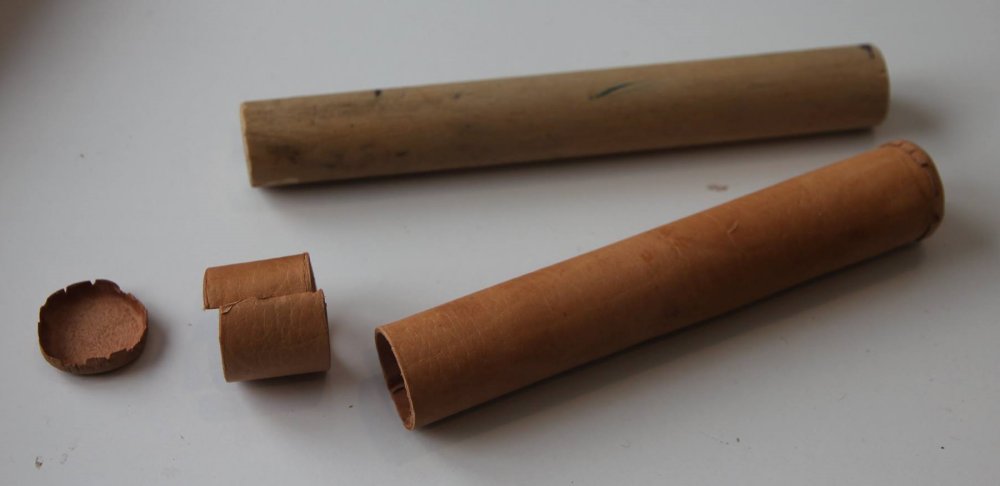
Based on the length of my own quill pens, I cut a length of dowel to act as the former or mould. I cut a piece of 1.5mm leather to size with some overlap, then skived the flesh side of both edges to form an overlap. I cut top and base caps with a 5mm margin and skived the edges.
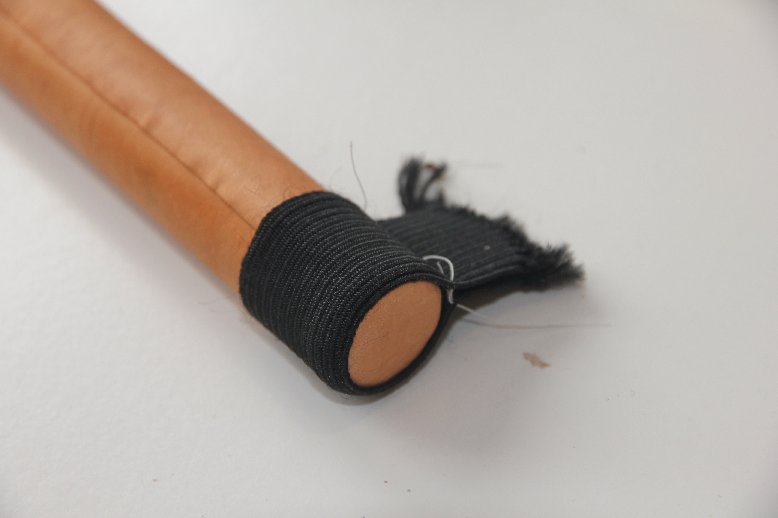
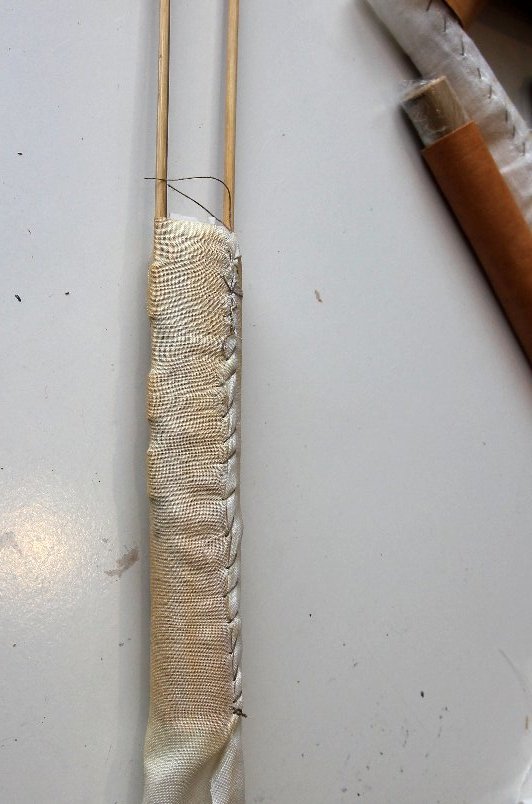
I wet the leather and rested it (mellowing it helps the moisture equalise), then formed it over the dowel, wrapping it in linen to keep the shape. Once dry, I formed the end-caps over the lining and held them on with elastic to dry. I cut the cap from the lining body, then put the lining back on the dowel.
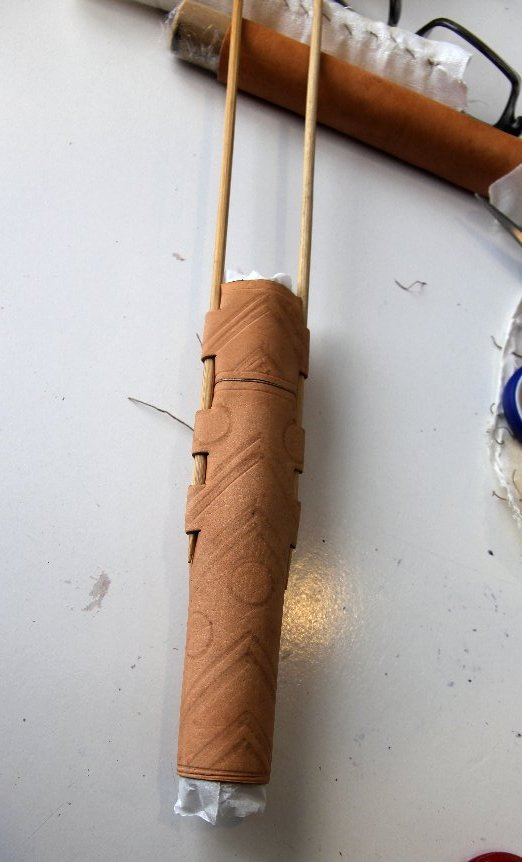
Penners and other cases were often decorated, so I designed the decoration based on Hugh’s heraldry. I cut the outer layer from the same leather, with a similar skived overlap, then tooled the leather with the design using a blunted awl. I used a fine chisel to cut slots for the suspension loops, held these open with skewers and bound the lot in linen to dry.

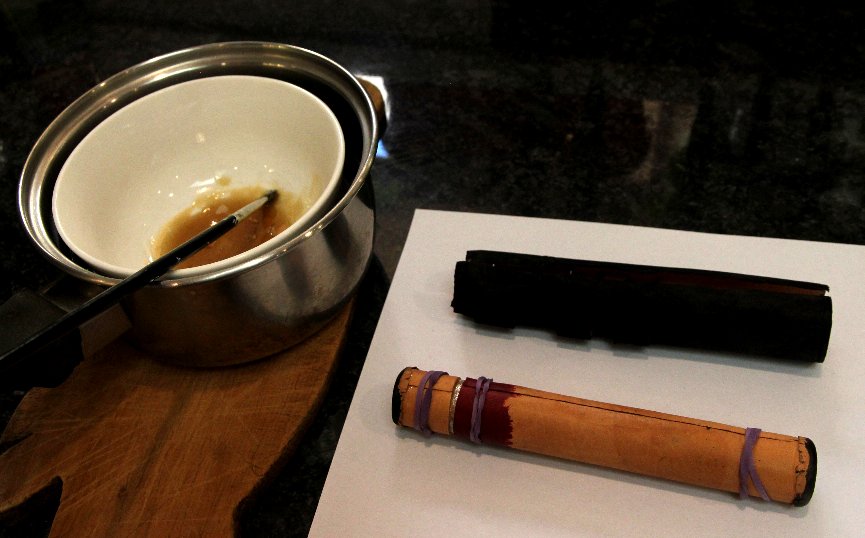
Once dry, I cut the cap on the outer layer, leaving an overlap, then dyed the top of the lining red and the outer layer black, with commercial leather dye. To close the skived joints and join the layers, I used hide glue pellets mixed 1:1 with water, soaked well and then warmed over hot water.

To finish the leather, I used a commercial black shoe cream and buffed well. For the hanging cord, I made a fingerloop braid in red silk (round braid of 5 bowes), then threaded this through the slots and tied each end in a knot to form a small tassel.
The finished penner looked good, and the tooling added interest without being obvious.
Hugh was delighted with the penner (and indeed, all his other surprise gifts). Since he is not a scribe, he now uses this case to store bristles for his own leatherwork kit.

Afterthoughts
As a first attempt, I’m still pleased with this – and I still really like how it looks. But I have learned so much more about casework since then…
If I was making this again, I would make many changes:
- Use the flesh side out on the lining (a rookie error!)
- Sew both layers, rather than skive and glue (skiving the outer layer became more common from the 15th century, but rare in 14th century)
- Include end-caps in both layers, for extra strength
- Change the decoration to more abstract or figurative (rather than an all-over heraldic motif)
- Work the decoration while the leather is on the mould, once the seam has been sewn or glued.
My next piece of casework was a spectacles case, which made use of some of these lessons learned. And I’ve written up better ‘how to’ based on a needle-case.