

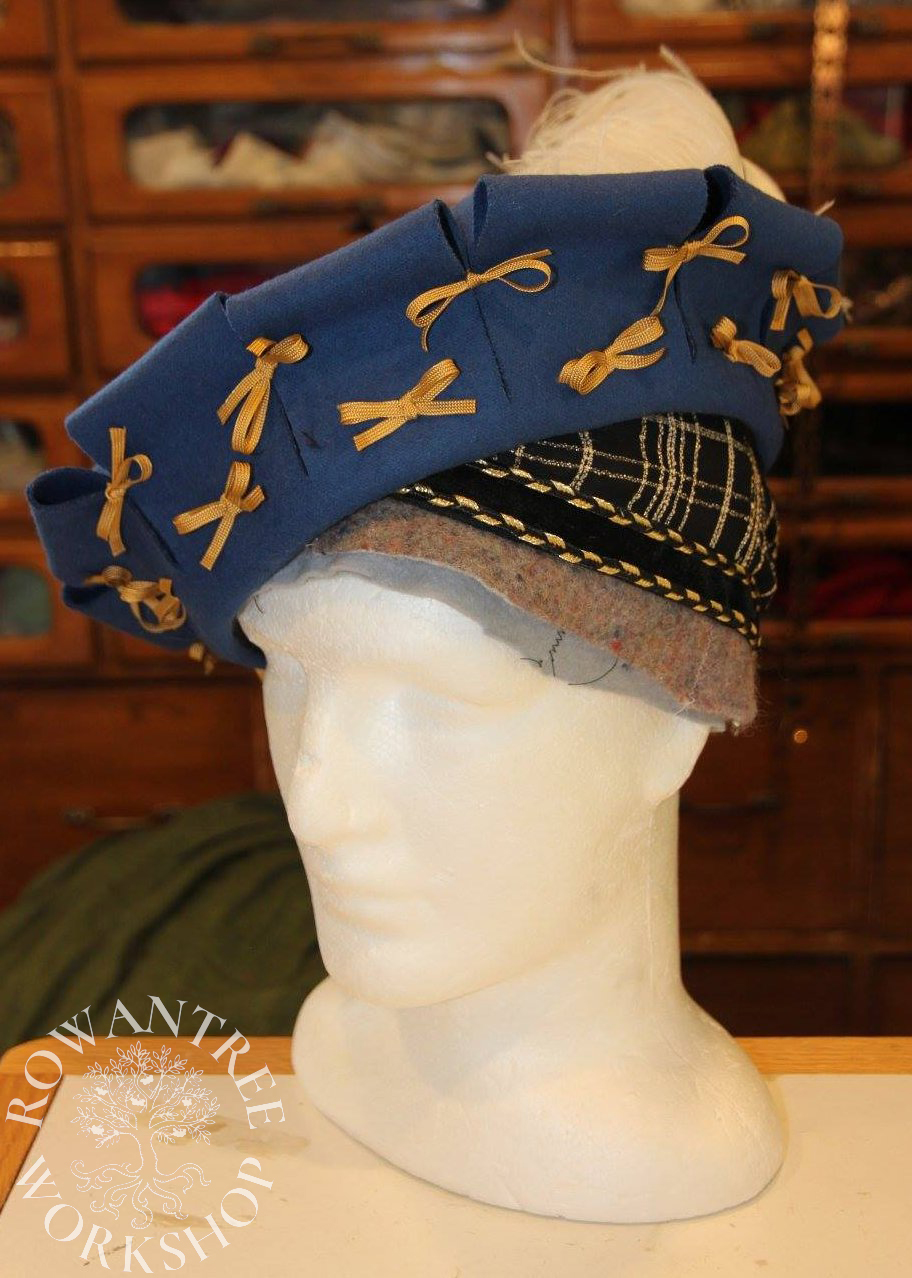
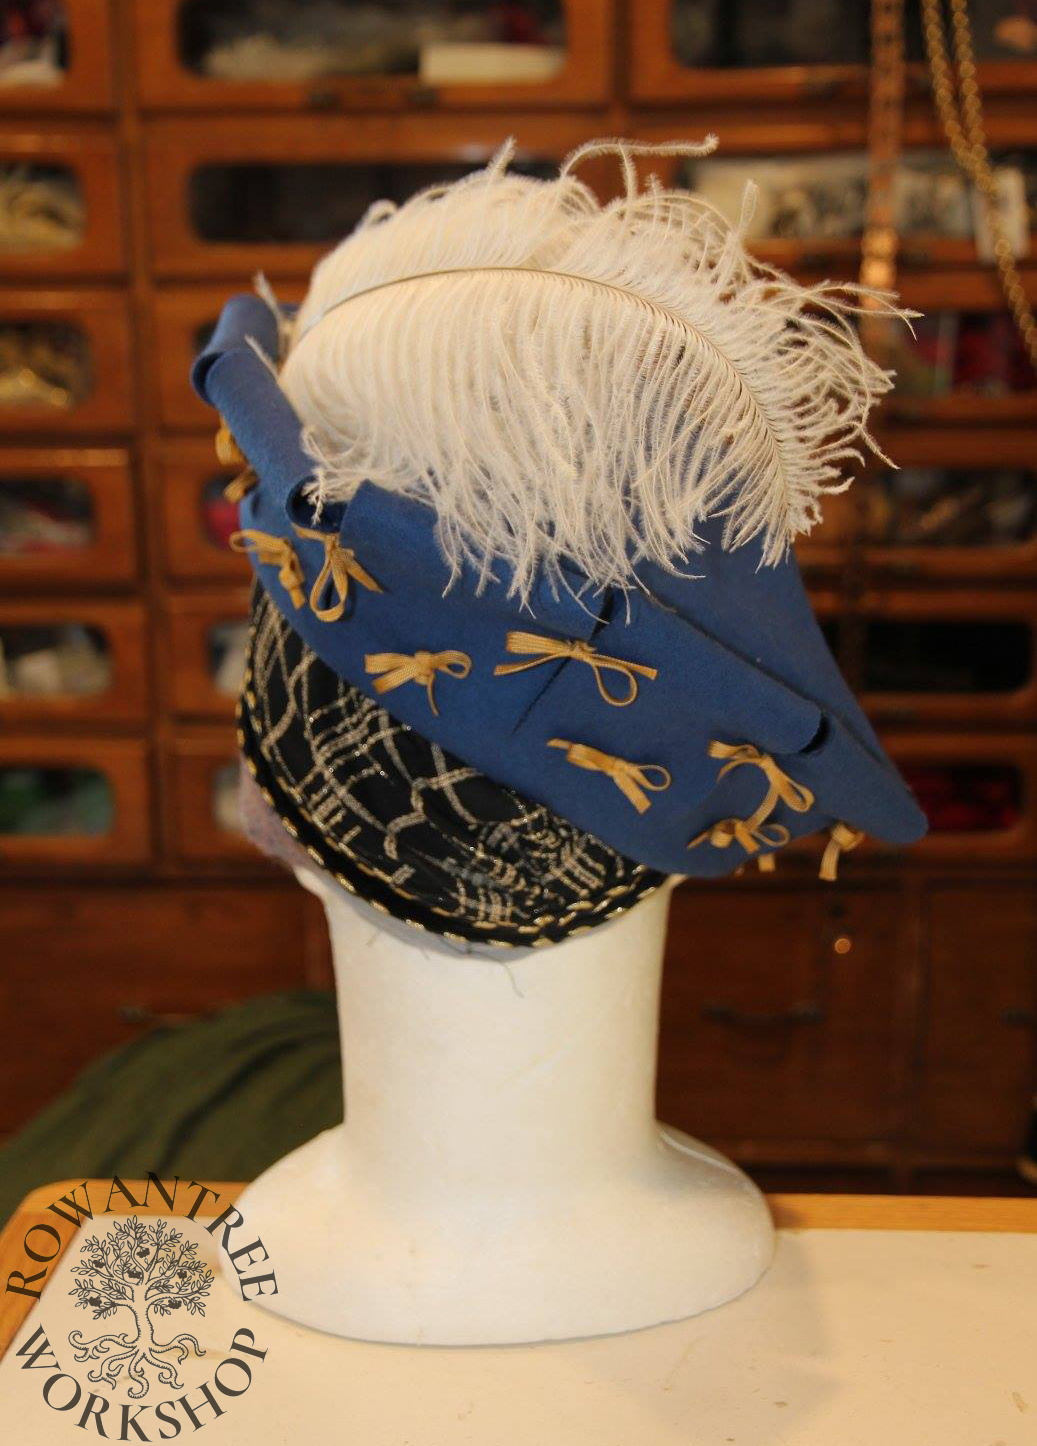
A 1510s German Nethaube and Dockenbarett in blue wool.
The winner of my Hat Prize asked for a Barett to go with his new early 16th century German outfit made of blue and grey wool, and asked that the hat be made of the same wool.
I have made many Baretten over the years, but thought it would be fun to try a different approach to the slashed brim.
This style of hat was worn by both men and women in the German states (and surrounding countries, including Italy) through the 16th century. It could be worn alone, or with a Haarhaube (hairnet).
Research and Design
The inspiration for this is the Portrait of Otto zu SolmsLaubach by Albrecht Dürer, which shows a Dockenbarett (slashed Barett) held together with bows, worn with a Netzhaube (hair net).
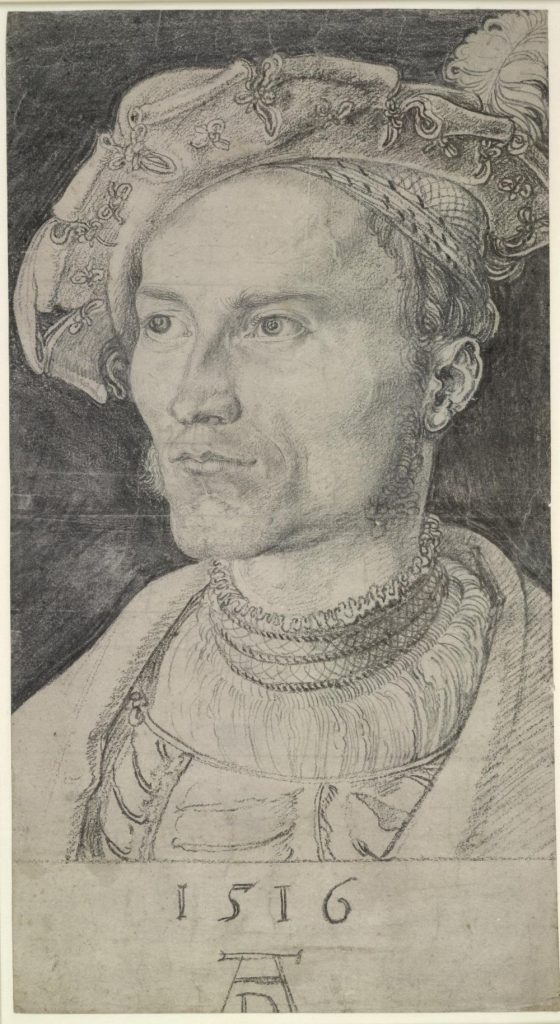
Source: British Museum
Source: Wikipedia

Source: Wikimedia
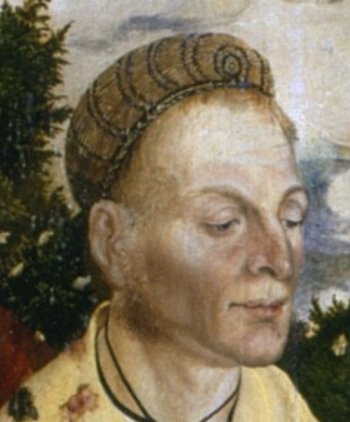
The painting by Cranach shows the shape of the Netzhaube, gathered together at front and back. The St Sebastian Altarpiece by Grein shows a similar combination of Netzhaube and slashed Barett with ribbon bows.
Construction
After padding up the headform to the right size, I started patterning the Netzhaube. I did not have the time (or skills) to make one from Sprang or netting, but some examples are clearly made of woven cloth. I had some black veiling woven with gold, which would work.
My first pattern attempt looked like a shower cap, but the final version worked well. I gathered the fabric tight at front and back, and sewed it into a black velvet band, with gold and black braided cord, as seen in the Dürer sketch.
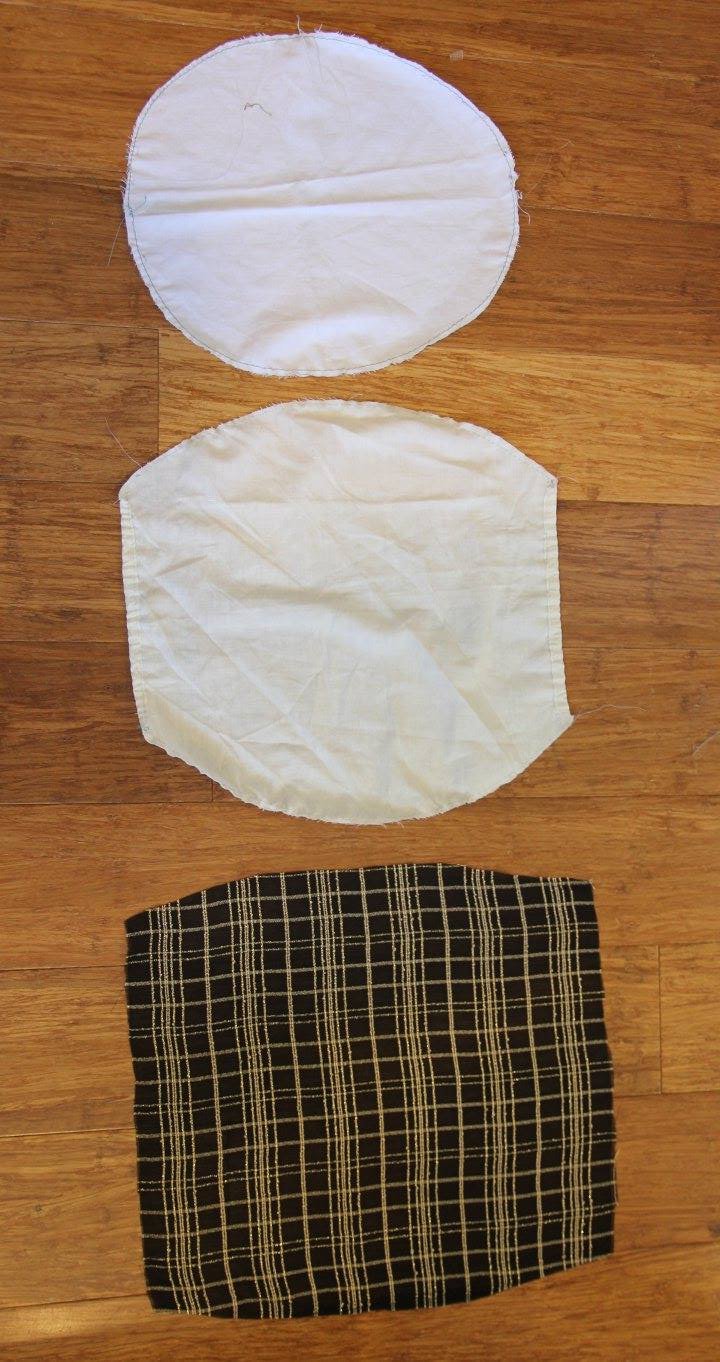


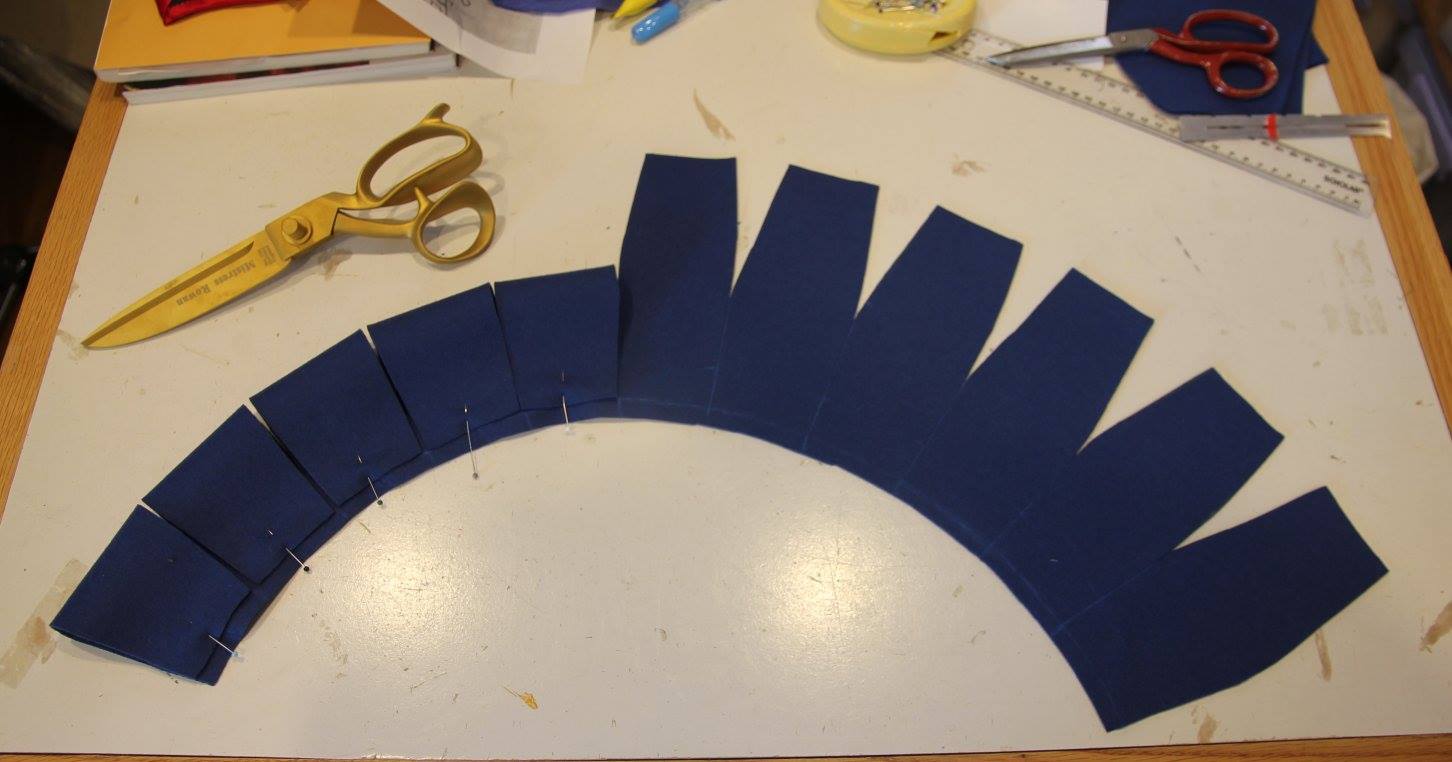
With the Netzhaube on the headform, I patterned up the hat. I made the crown using my usual 4 piece pattern – a common style for Baretten with higher crowns. The brim took a few tries – I tested it out using cheap felt until I had the shape and curve working well.
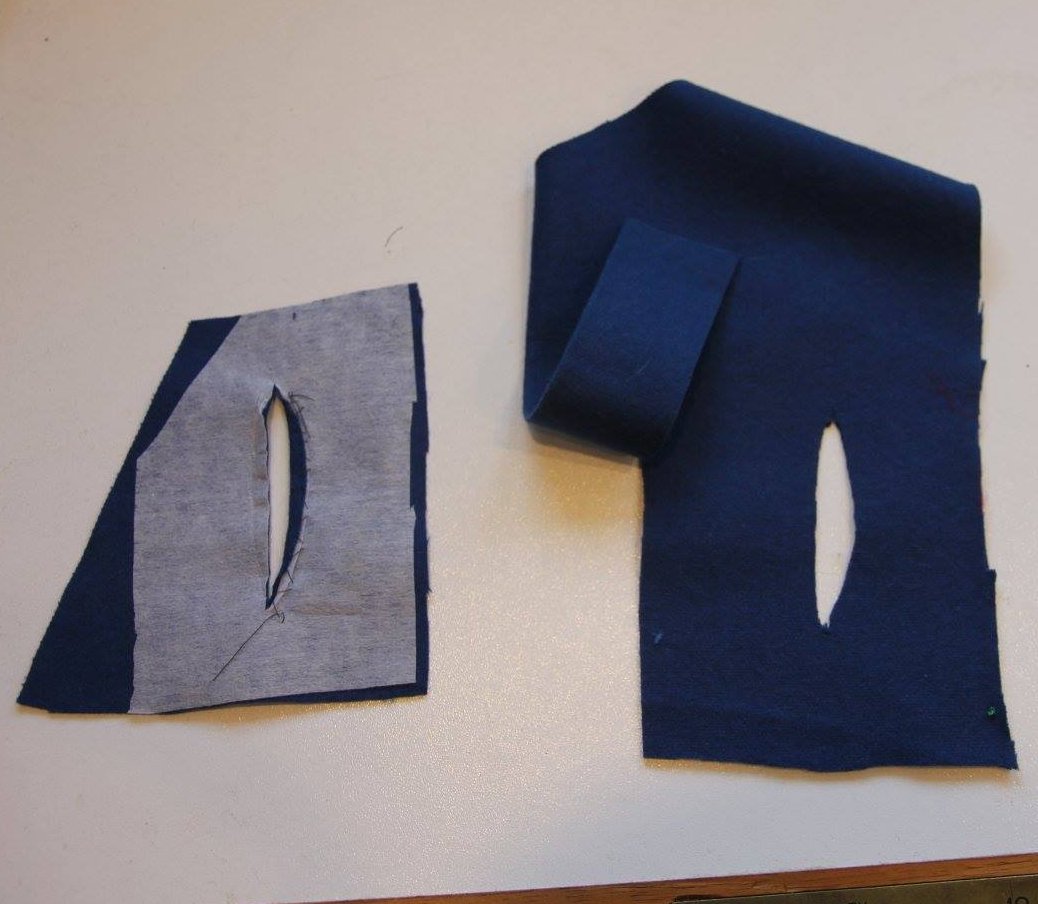
The next step was to test the blue wool I had been given; blue is not a common colour for Baretten, but there certainly are some examples. The main issue was hat the wool was just too thin for hatmaking, although well-fulled. I tried a few options for stiffening, including interfacing – nope. Then I tried sticking two layers of wool together with bondweb – yes!
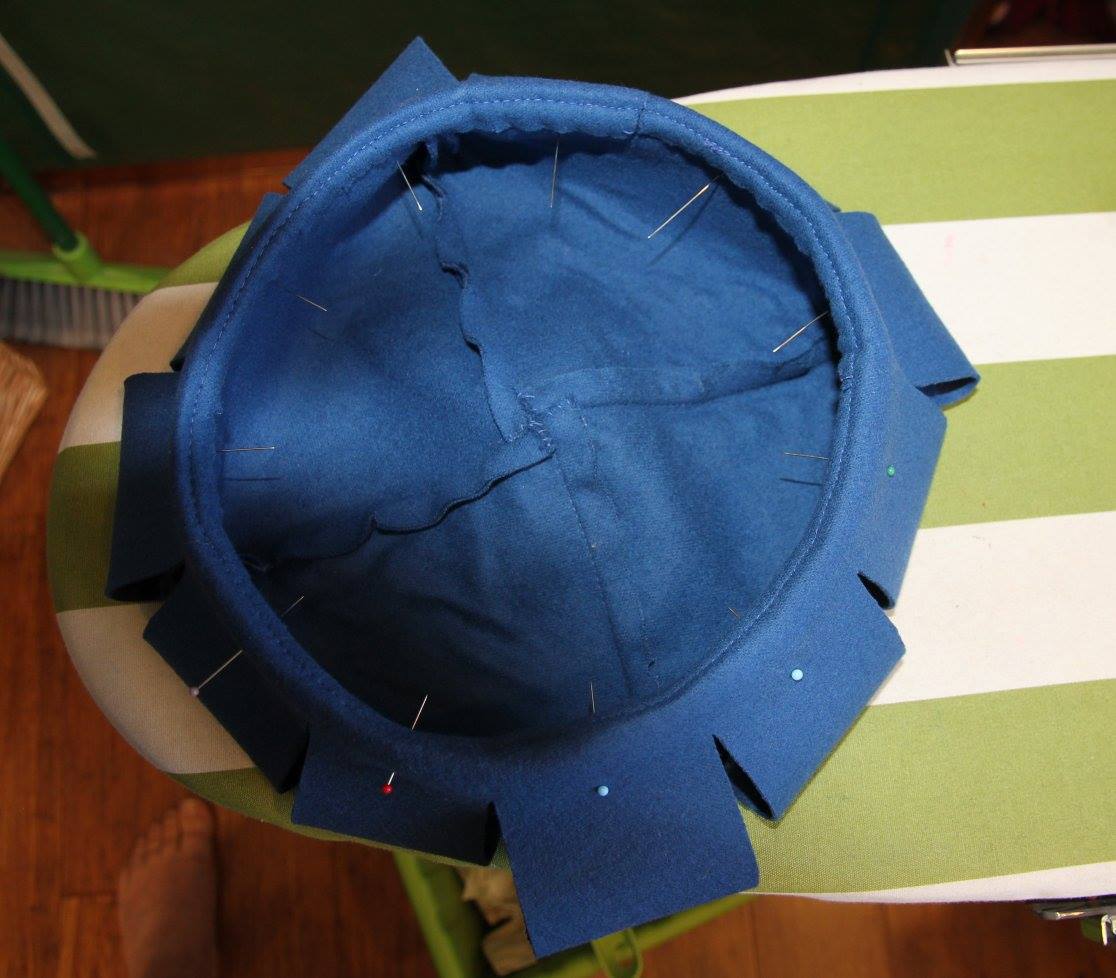
I stuck two layers of the blue wool together with bondweb and cut the hat pieces. I machine sewed the crown sections together and then sewed on the brim and pinned the tabs down.
With the hat assembled, I used a craft knife to cut slots in the brim and tabs, then threaded trough the woven braid ties. The original has cord ties, but all the gold cords I tried looked tacky. Silk would have been ideal, but rayon was the best available.
Finally, I finished the crown with a 4-piece lining in blue linen, added the essential ostrich feather, and sent it off to the recipient…


Afterthoughts
The technique of sticking the two layers together with bondweb worked surprisingly well, and is worth remembering for other projects where I need a thicker wool or felt.