

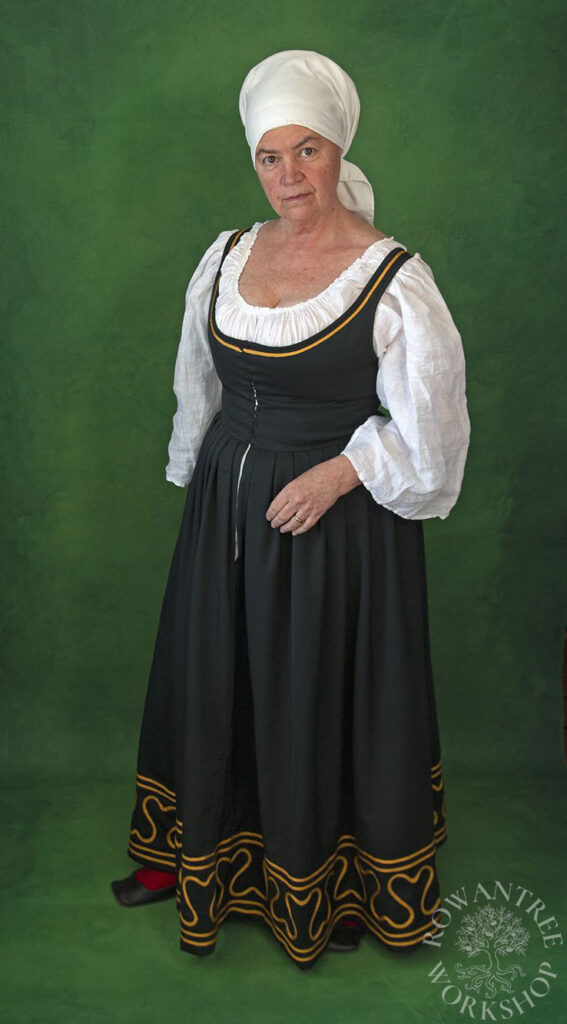
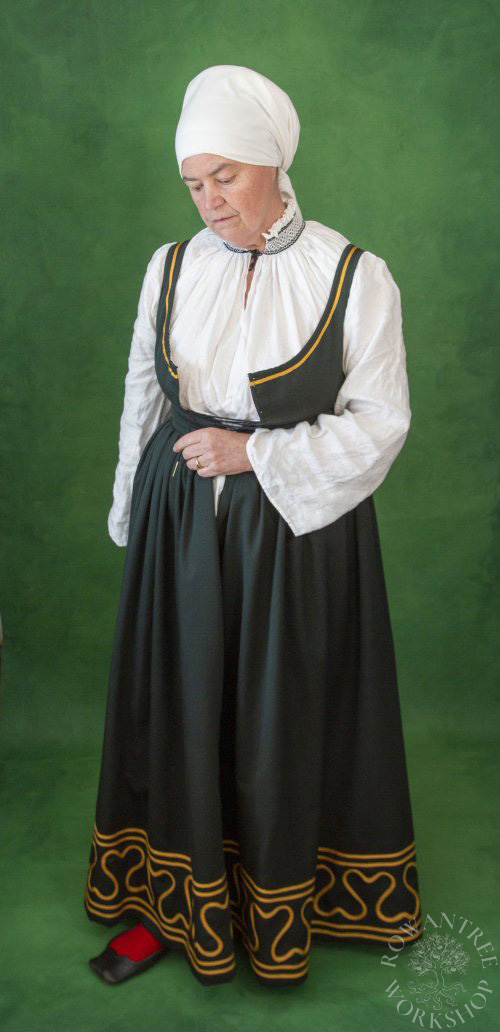
Another Unterrock (kirtle/underdress) suitable for a middle or upper-class woman in early 16th century Germany, providing support and shape under the Rock (gown), this one in dark green wool twill.
I was so pleased with my black worsted Unterrock, but it was surprisingly cool too wear. I needed a version in a fine but warmer wool for winter use. Luckily I had some suitable fabric in stash – several meters of a green wool twill. A little dark, but otherwise ideal.
Research & Design
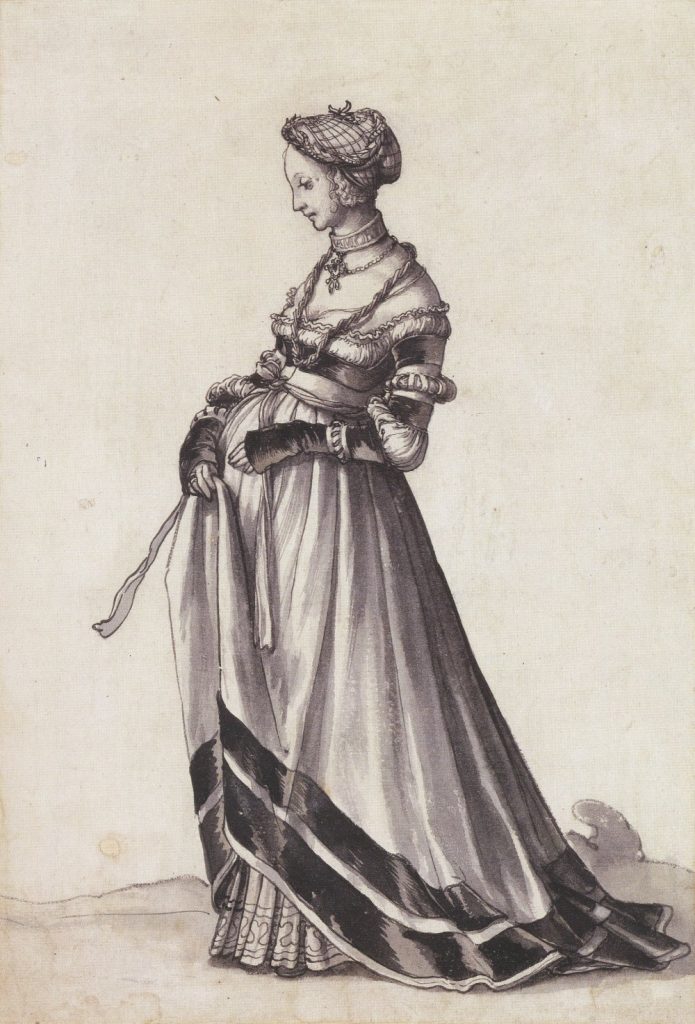
The general research for this was the same as for my black worsted Unterrock, but with a different hem ornamentation, inspired the underskirt on another Holbein costume study.


Source: British Museum
Although I had plenty of green wool, I was much taken with the efficiency of the wheel piece cutting, so I decided to take the same approach for cutting, although it does mean more seams to sew and fell.
Construction
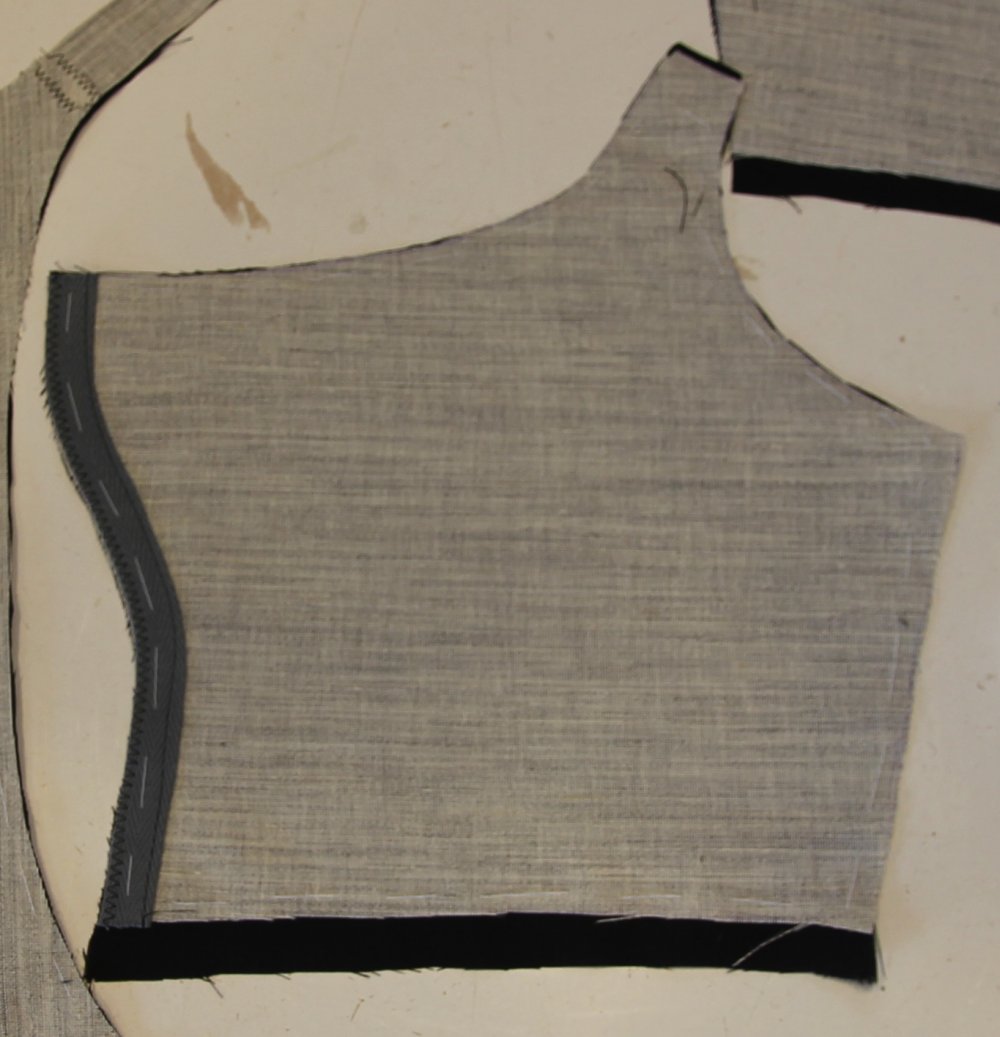
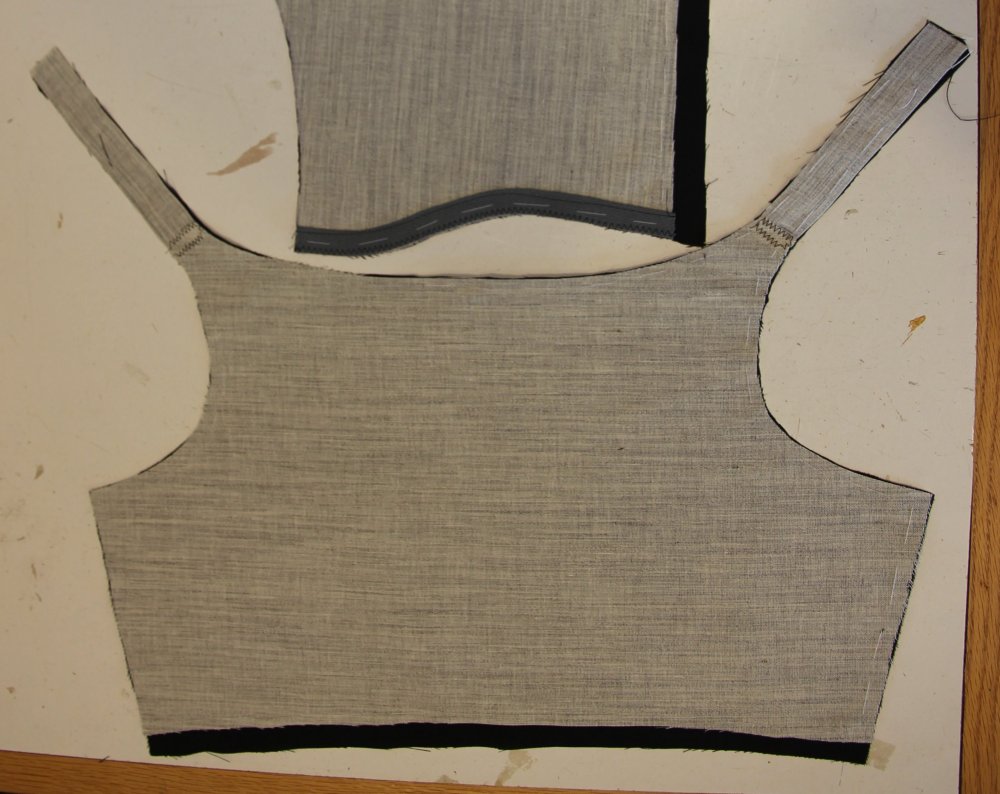
I used the same pattern for my worsted Unterrock, with a separate shoulder strap cut on the straight, as seen in Alcega’s bodice patterns. This is a much stronger and more stable construction than a simple shoulder seam, and puts the strain on the straight grain rather than the bias.
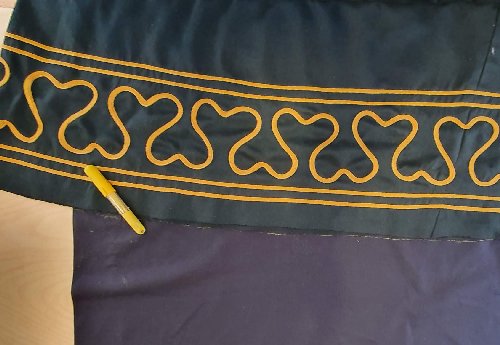
I followed the same cutting and construction process as for my worsted Unterrock, with the exception of the hem. I wanted a more elaborate decoration and decided to reprise the design I had used on an earlier petticoat, from my earlier years, based on the Holbein sketch. I had even kept the template!
Based on the template, I needed about 30m of braid to decorate the hem. Since I was making this entirely from stash, a rummage brought me a Fun Idea – a whole roll of Red Tape (as in the genuine article, given to me as a joke decades ago). The pink would look great against the dark green! I unwound it to check length, washed it and was ready to go, chortling to myself.
I figured I would need to sew the edges and gather to go around all the wiggly curves, so – test run.
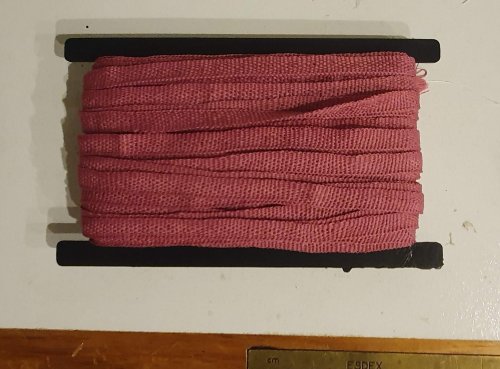

And…. that’s a big nope ![]() Well rats – my Cunning Idea foiled!
Well rats – my Cunning Idea foiled!
More rummaging, another large roll of something much more flexible – gold coloured rayon braid left over from the Pelican cloak. Much better – so off to wash and dry that before using it.
I usually hand sew decorations, but I decided that 60m of hand-sewing on the hem of an undergarment was not a good use of my time. I did hand-sew the braid around the neckline, although this will never be seen, since this is an Unterrock.
For the long lines, I used a trick I developed years ago, for my green linen, when I needed to apply a lot of velvet ribbon with perfect spacing, and have used a lot since – narrow masking tape. I laid down the tape, then machine-sewed the gold braid along each side of the masking tape line. After removing the tape, I sewed the other side of the braid down.


My nebuly template was straight and my hem curved. I measured both pattern and hem – if I compressed the top spacing by 5mm between each section, the design would match up at the back and follow the hem curve. I traced the pattern and then hand-basted the braid around the pattern – time consuming, but the best way to make sure the braid lay perfectly on the pattern.
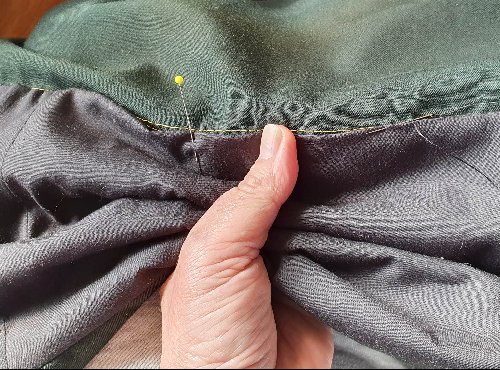
Once the braid was sewn on and basting removed, I used the hem as a pattern to cut the hem lining in linen from stash, deep enough to cover the decoration. Once the sections were cut, I laid them back on the hem to see what angle to trim the seams. Then I sewed the sections, sewed the strip to the hem, turned and pressed and then hand felled the lining.

Like my previous version, this Unterrock is really supportive and comfortable enough to wear all day. And it is warm enough to wear in winter, without adding too much bulk.
I wear it under my middle class Green Wool and Pink Wool, and it has also proved ideal under my upper class Green Velvet Cranach after I realised the wide straps on my linen Unterrock were too wide!


Afterthoughts
I still really like the idea of using the Red Tape for something in future – something with less curves…