

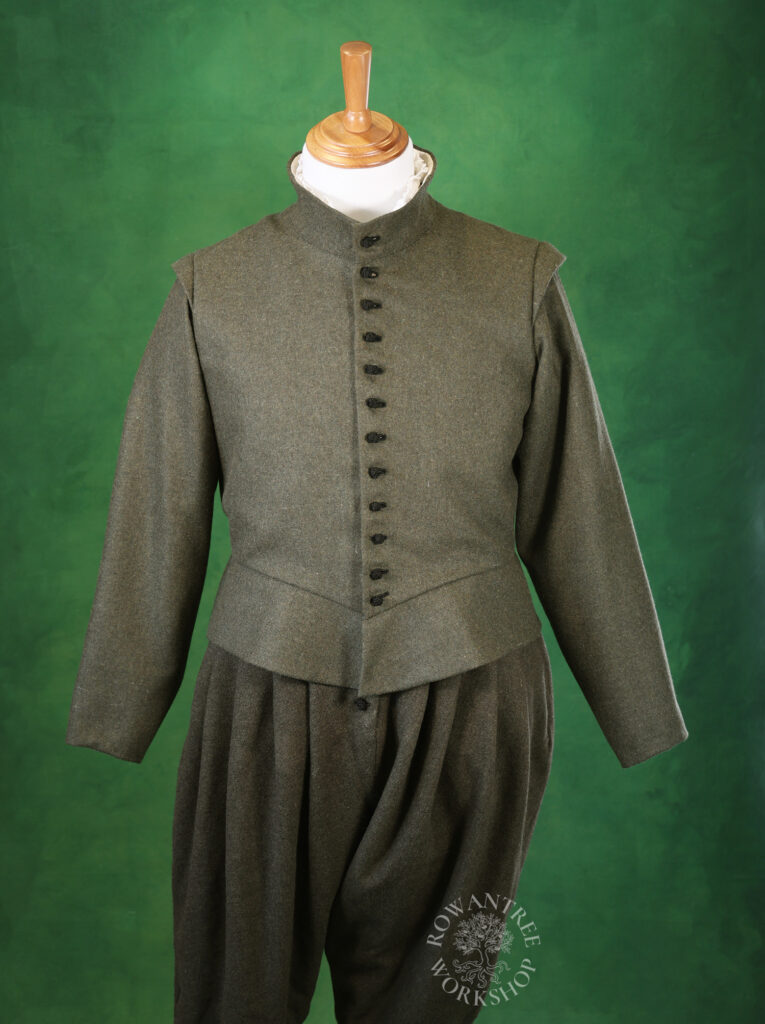
A simple doublet in olive green wool, to match the calzoni (Venetian style breeches) I made some 15 years ago. My husband has taken up archery and needed some more practical warmer clothes for the winter months. This style is suitable for a lower-middle class 16th century Italian man, or a noble man engaged in sport.
Some 15 years ago I made Nico a pair of Ventian style calzoni (breeches) in a lovely fine olive green wool, but did not have enough fabric to make a matching doublet. Instead (knowing no better at the time) I made him a black wool jerkin with tie on sleeves in the green wool. Once I learned more about the cut and contruction of 16th century men’s clothing and made him a nice wool suit, I wished I had bought more of the wool at the time, so I could make a proper doublet.
A few months ago I was thrilled to find a meter of the same wool on a market stall at an event – not the same dye lot, but close enough. Now I could finally complete the suit!
Research and Design
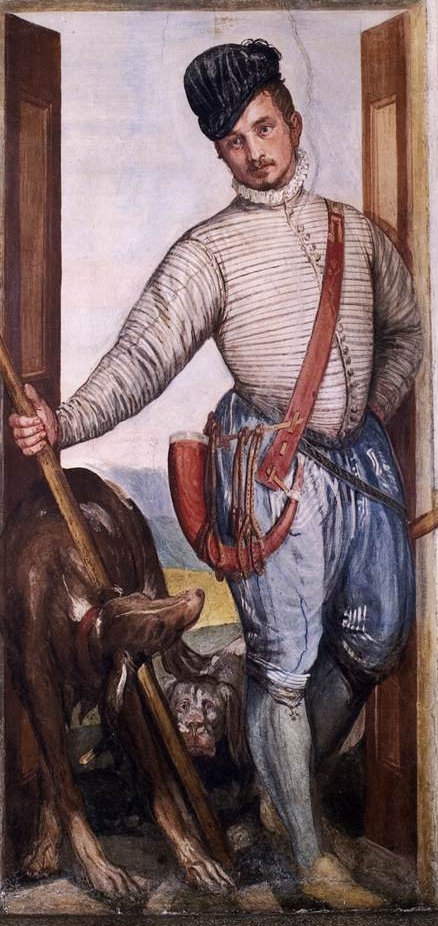
The giubbione is not based on any specific image or garment, but is inspired by several outfits worn by Italian huntsman in the later 16th century. Similar doublets and breeches were worn by servants and ordinary people, such as seen in the tapesry below, and also by the wealth for hunting or other sport. Similar doublets were across other European countries, although in some regions they were worn as the middle layer under a gown, cassock or Rock.
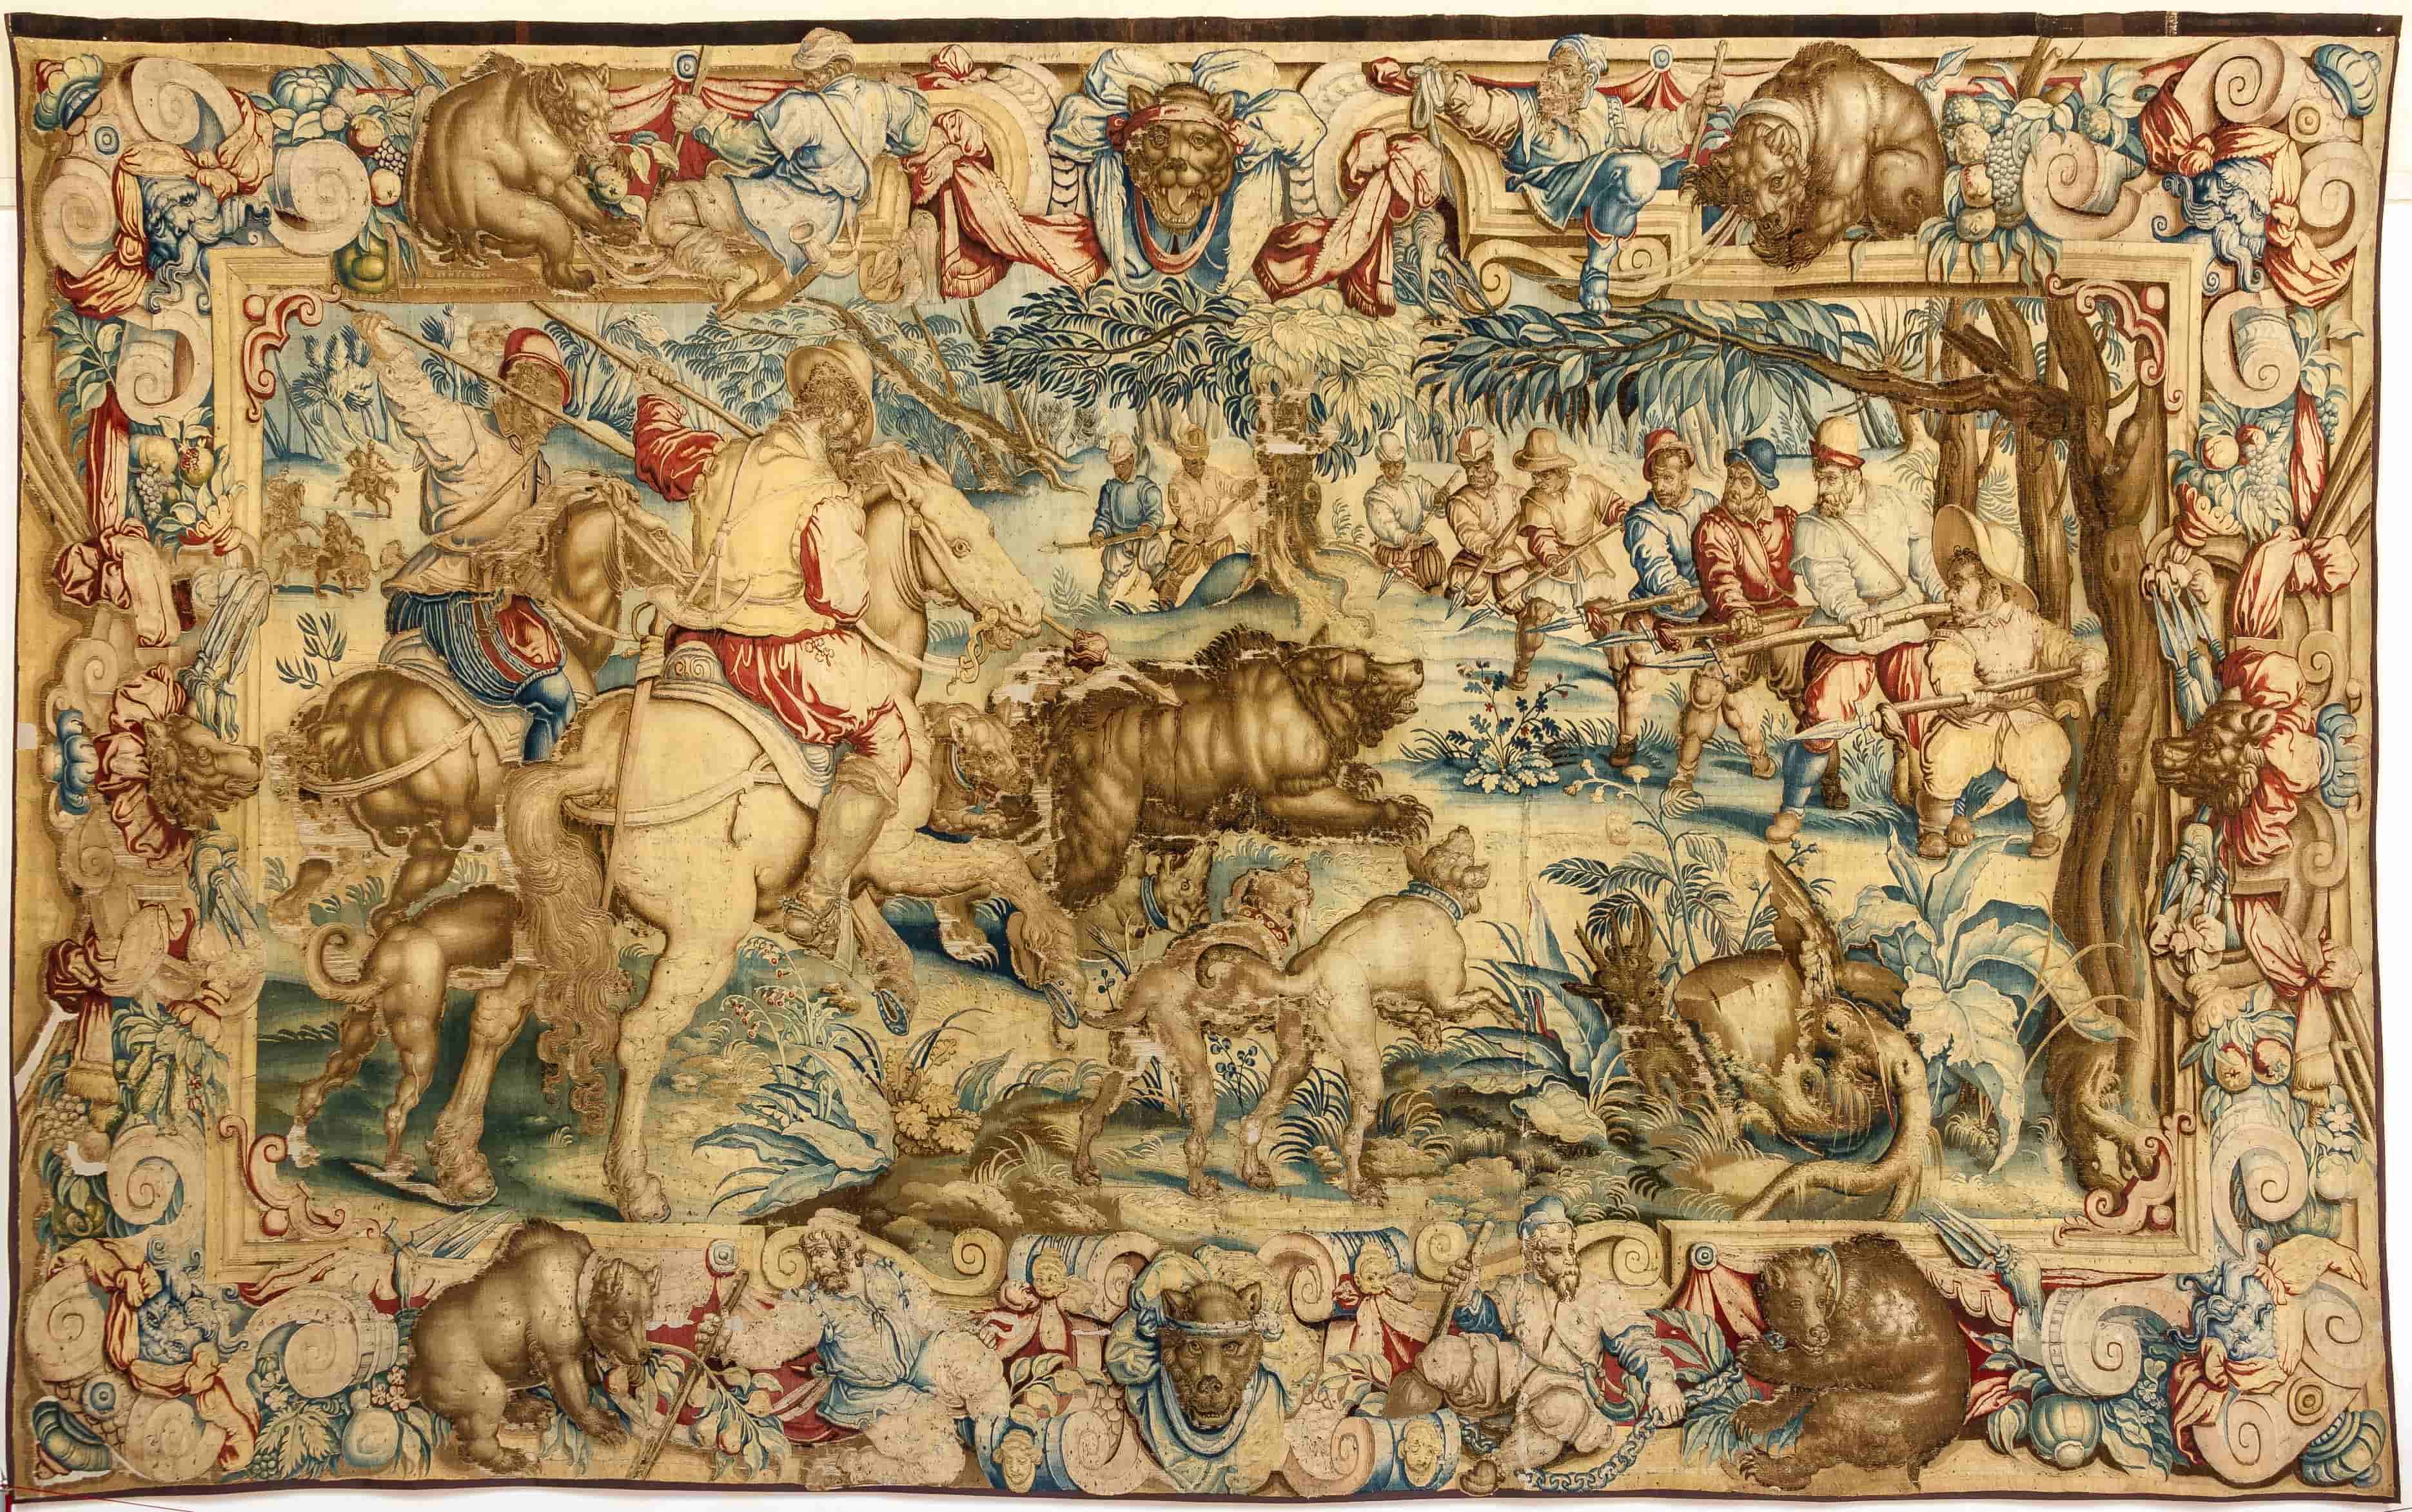
Source: PubHist
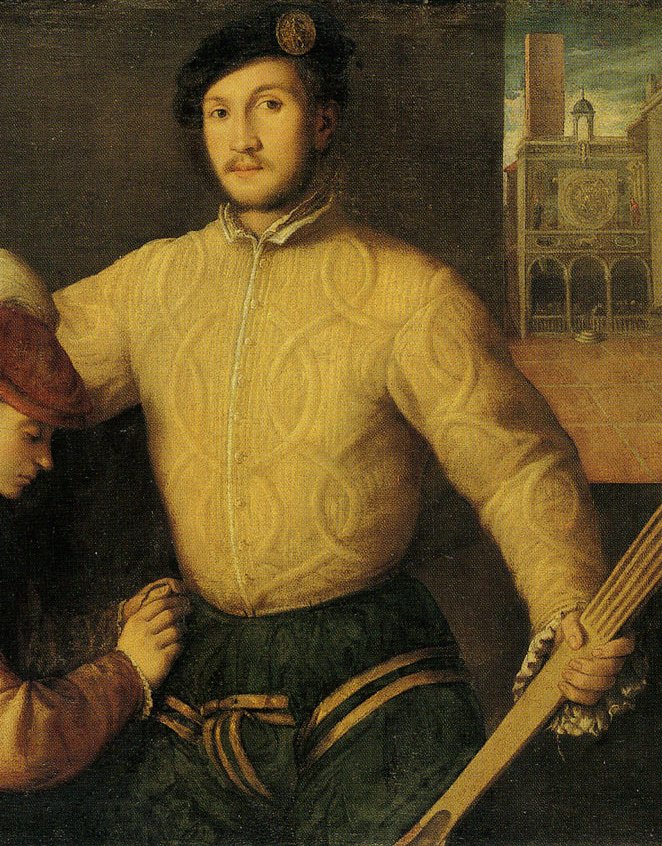
In Italy, working class men of are often depicted wearing such a giubbione with Venetian style breeches, called calzoni (Landini, 2011). Calzoni were also worn by wealthy men for sport, travelling and hunting, so his original breeches will work well.
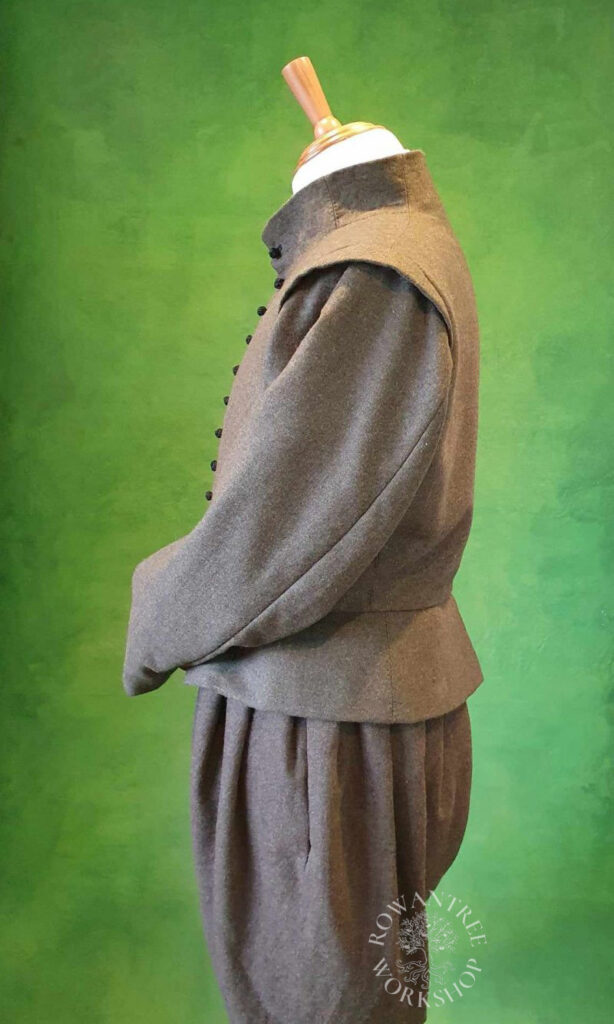
Nico was very happy with the fit of his charcoal doublet, but for archery, he wanted less structure, more room in the upper arm, lower looser collar, tighter lower sleeves with no fastenings, moderate skirts and a simpler cut – all in keeping with lower-middle class style.
The doublet would have a simple, one piece sleeve with small wings, a moderate number of buttons and no other decoration.
Construction
I made a mockup in cheap fabric for him to try on, including a full bow draw. It needed a few adjustments to the neckline, sleeves and skirts before I could make a final pattern.
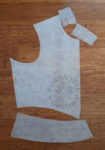
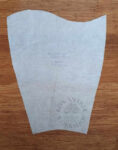
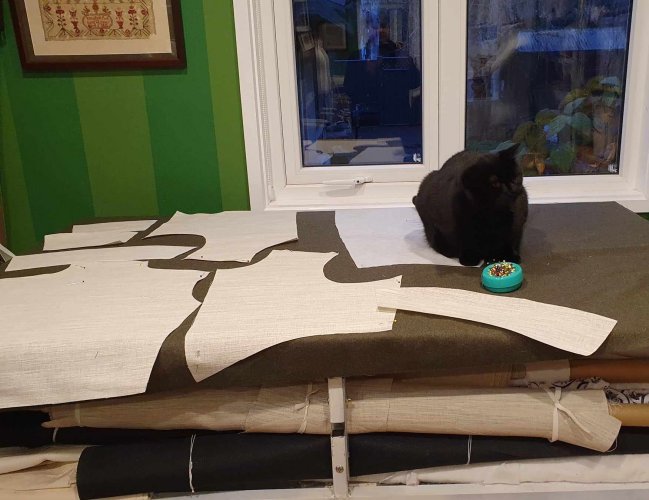
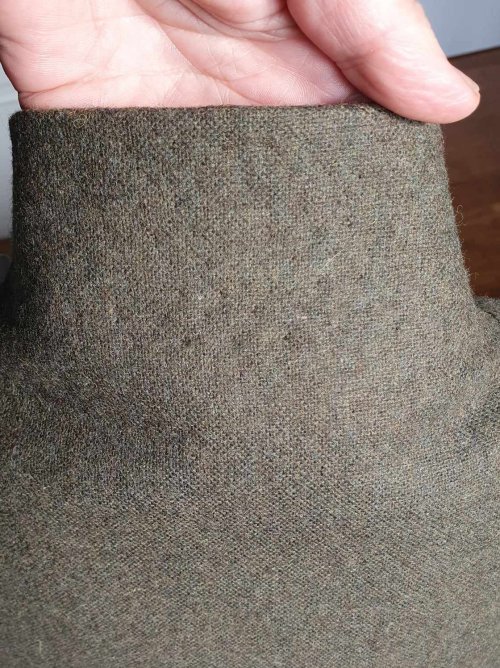
I cut the body in canvas, wool and unbleached linen lining, with the sleeves in wool and linen (no interlining, to reduce stiffness). I *just* managed to get it out of the 1 meter length of wool, including a strip along the width for a new waistband for the breeches.
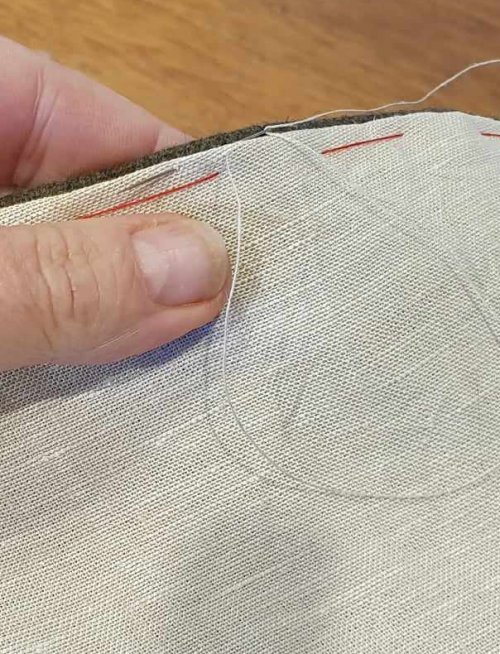
Although the construction uses many of the techniques I learned from Nagy’s Modern Maker book (Nagy, 2014), this is a less structured garment, I won’t add pad-stitched melton pieces to support the shoulders and collar, or an extra strip to support the buttonholes. The front edge of the wool will be simply folded over the canvas rather than bound in silk, so I sewed a narrow band of tape down the front of the canvas to reinforce the edge.
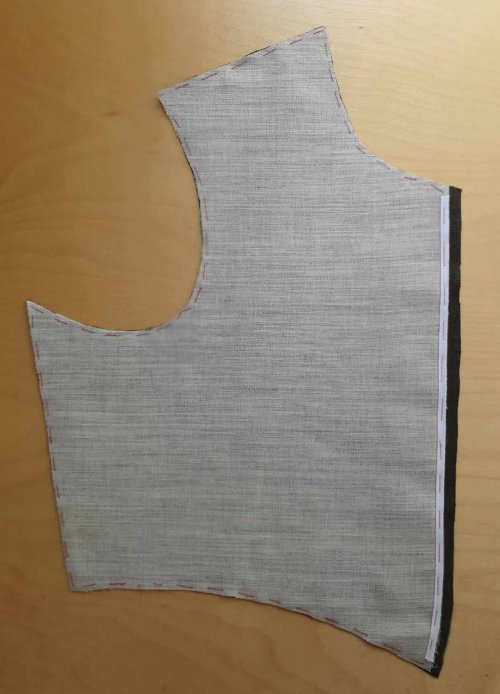
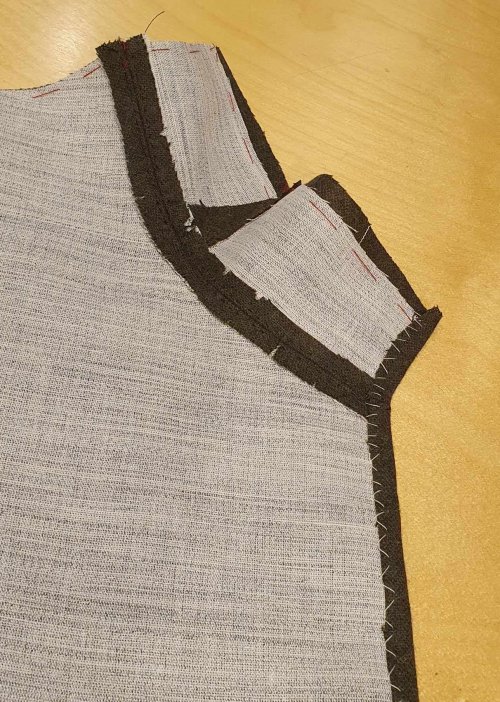
Once I had basted the wool to the canvas pieces, I started work on the collar. I basted and sewed the pieces together, pressed and pick-stitched the seam allowances to keep them flat. Then I sewed them to the front section in the same way.
I folded over the front edge of wool and catch-stitched to the canvas, but left the collar edge for now. Next, I sewed the side seams of the bodice – baste, sew, press, pickstitch.
On the the skirts.
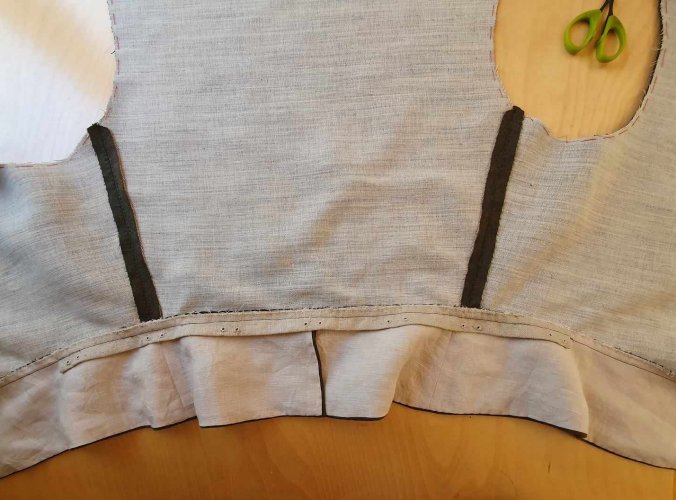
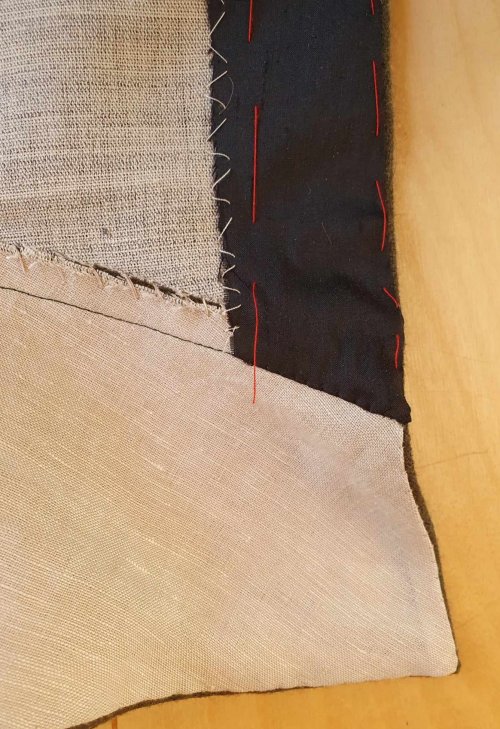
I basted, sewed, pressed and pick-stitched the joining seams, then turned the hem over the canvas and basted in place. I sewed this to the canvas with catch-stitch and then sewed up the lining and slip-stitched it in place around the base, basting to the top. Then I basted and sewed the skirts to the doublet.
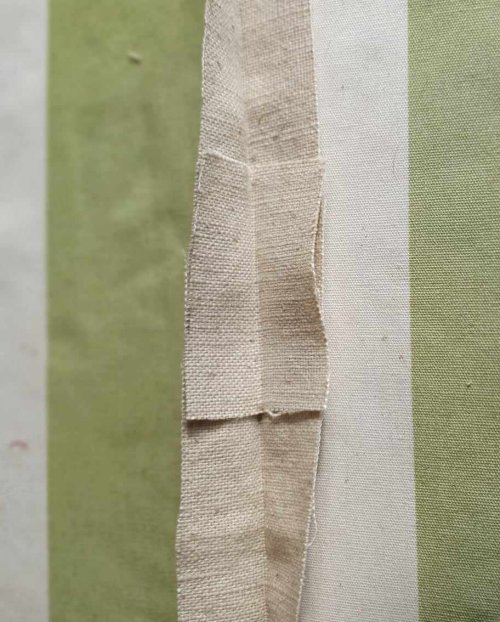
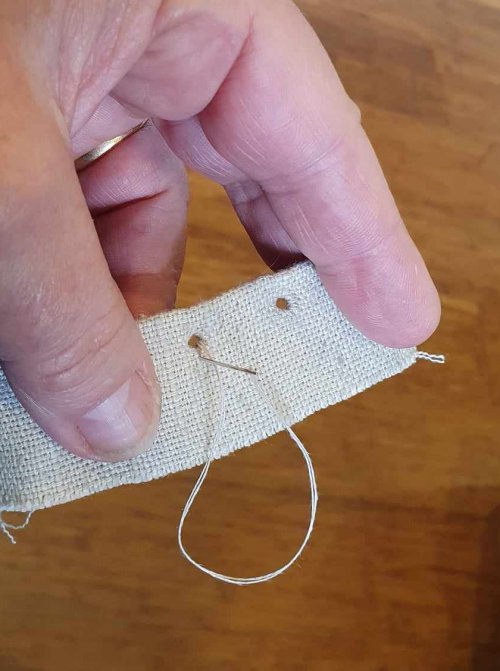
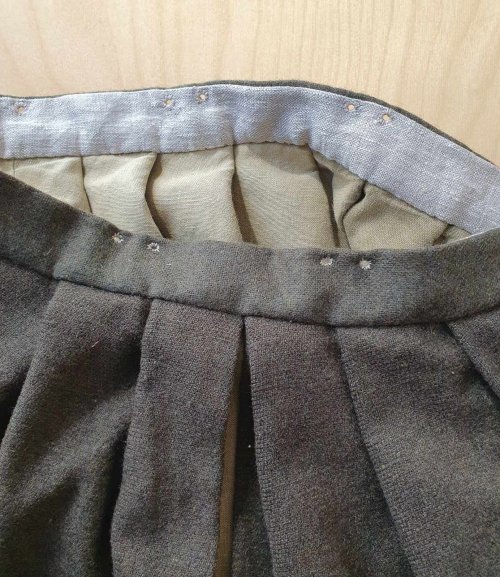
For the lacing strip, I used a 5cm strip of heavy-weight linen. I folded this in half and added an extra layer inside the centre back, which gets the most strain. Then I worked 7 pairs of lacing holes using waxed linen thread.
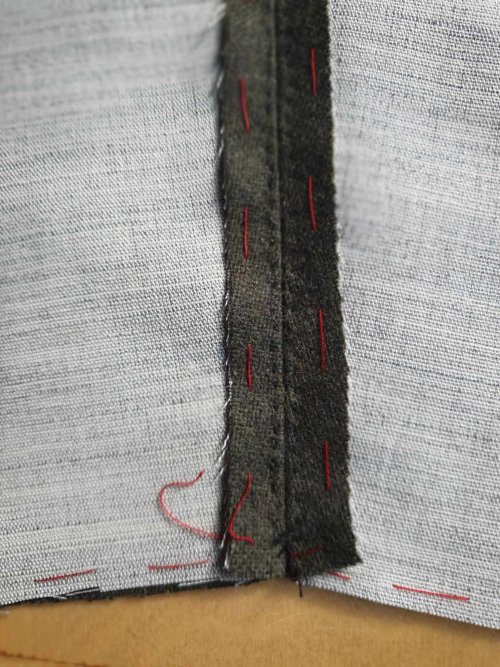
I basted and sewed the lacing strip onto the skirt seam, pressed the seam up to the body (from the outside, to make sure the seam was flat), then whipped all the seam allowances up to the canvas.
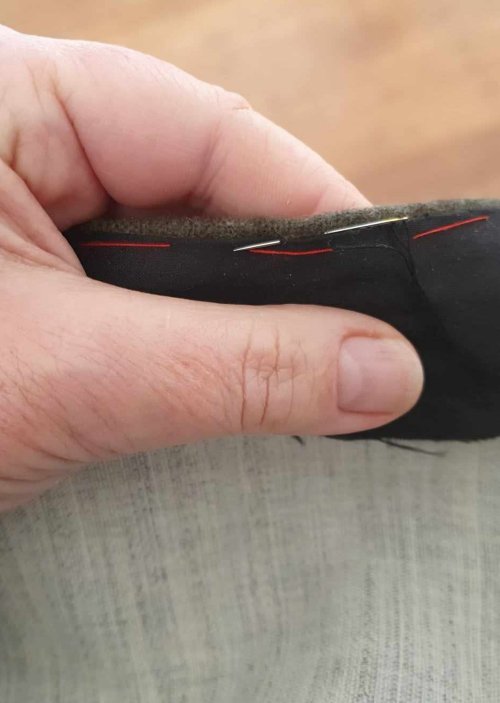
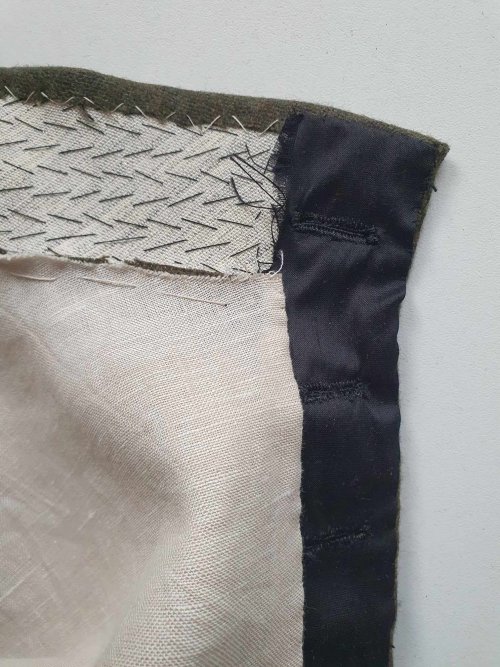
I added a strip of silk taffeta behind the future buttonholes to reinforce them (a feature seen on some extant doublets), felling the front edge and catch-stiching the inside edge to the canvas. I finished off the end at the skirt seam but left the collar end free for now.
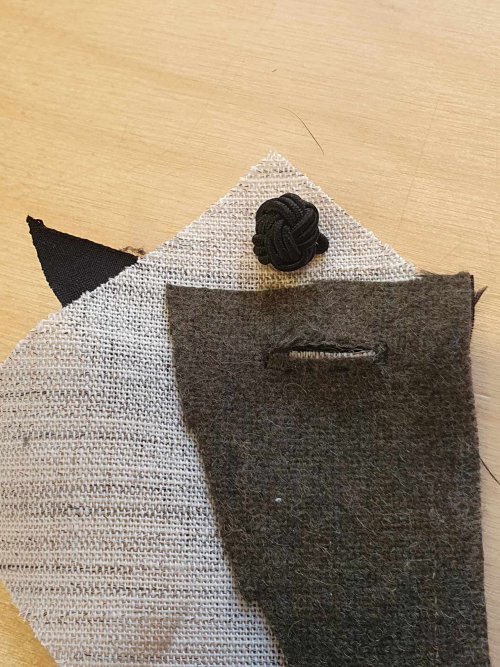
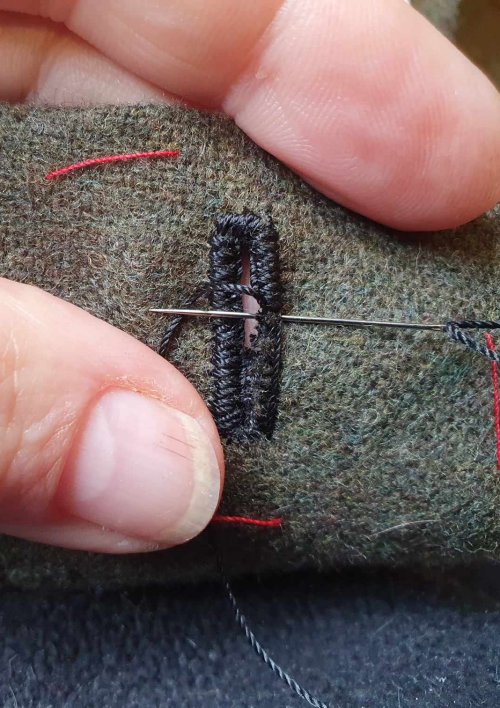
For the buttonholes, I started by making a mockup of the same layers, to check what sized hole I need for my knotted buttons (the last of a wonderful bulk buy from years ago).
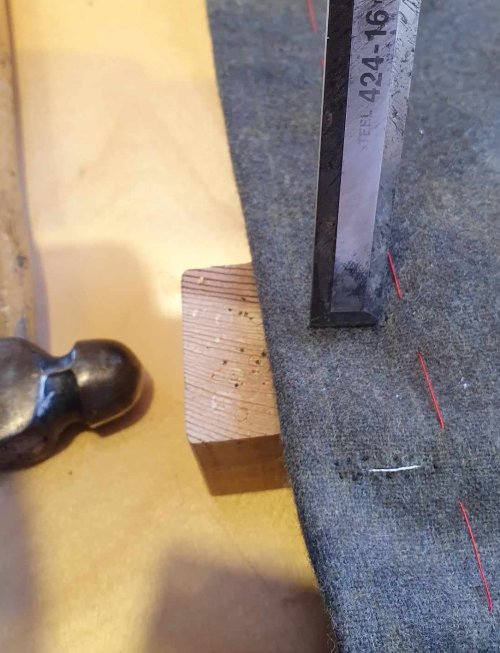
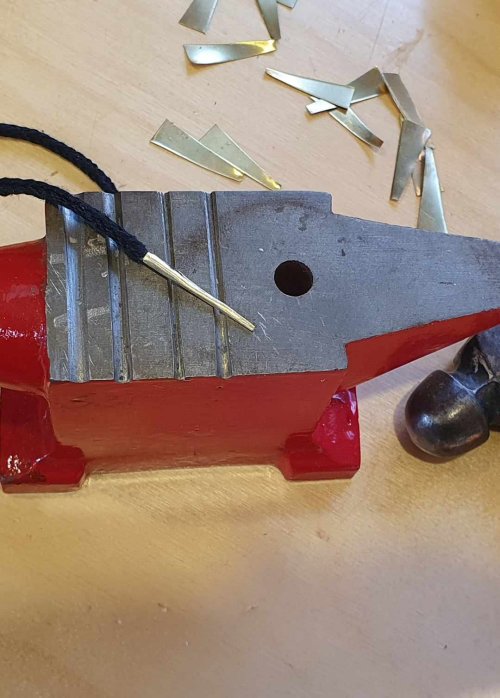
I marked out the even spacing for a dozen buttons, then sewed around each one with small stitches to hold the layers together and reinforce the edge. I cut the holes with a chisel on an end-grain wooden block – an easy way to get perfect, even sized holes.
I whipped the edges of the slits to secure them, then worked the buttonholes in silk buttonhole twist, using simple buttonhole stitch, with flat ends. They always take longer than I expect….

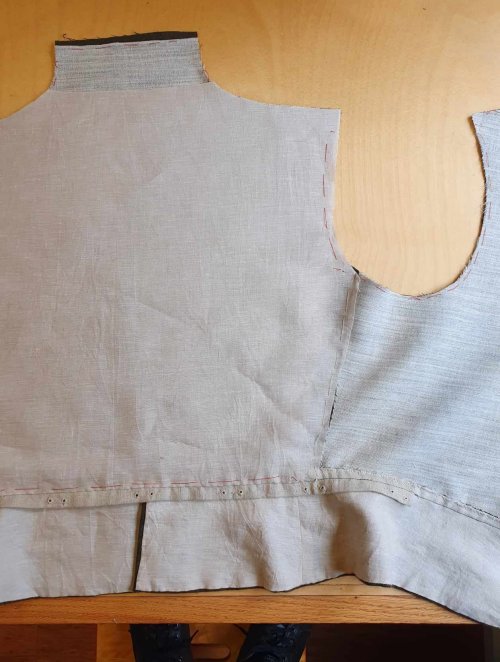
Lining the doublet is easier when flat. I basted in the back (allowing extra ease in the length), then the fronts, leaving the shoulders open. Then I felled the side seams and edges of the lining.

Now for the collar.
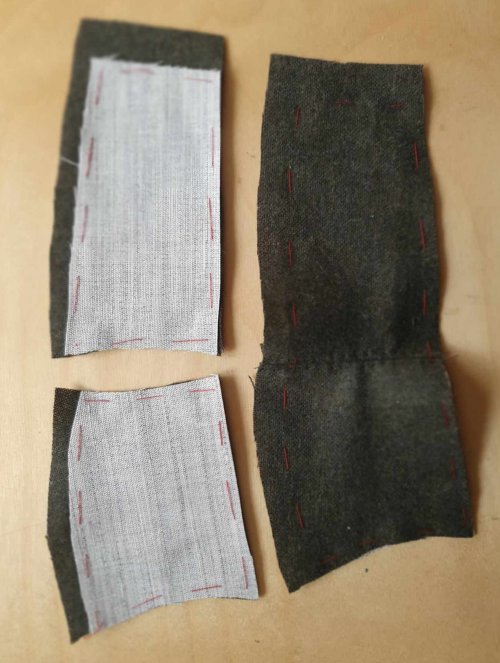
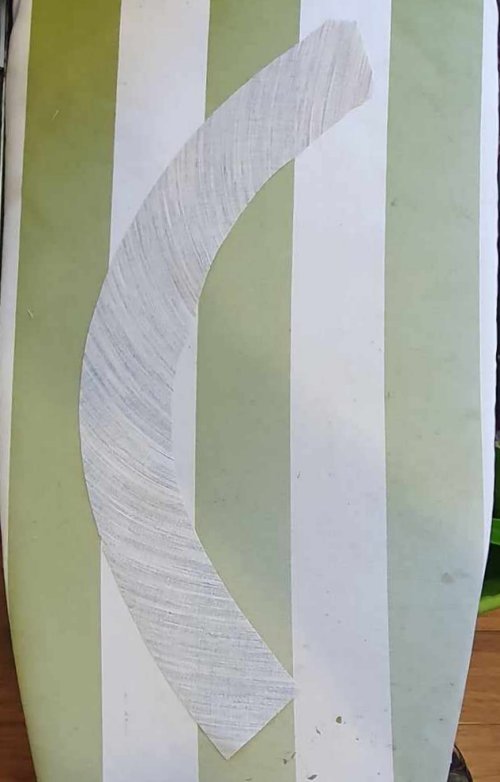
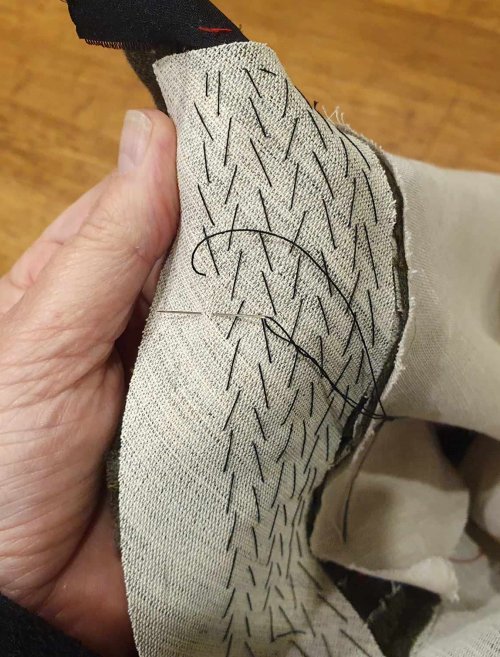
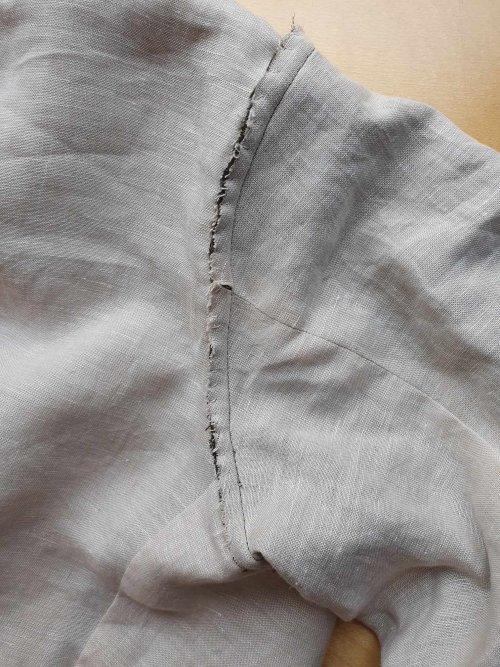
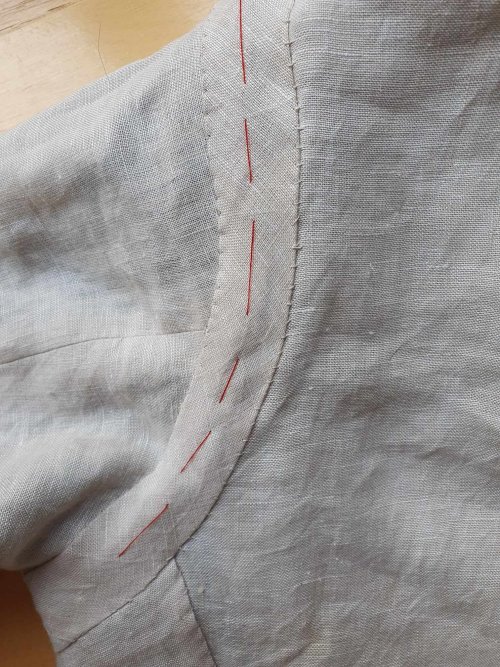
I sewed and pick-stitched the shoulder seams, which extend up to the collar. To support the collar, I cut a strip of bias-cut canvas, pressed it to a curve, then pad-stitched it over the collar, curving to shape it as I sewed. Since the stitches go through the wool, I’ve used black silk so they are less obvious.
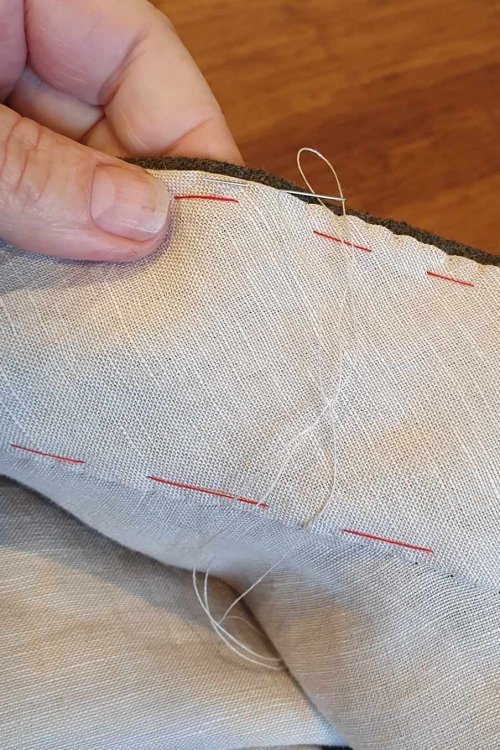
With the canvas in place, I folded over the wool edge and stay-stitched it to the canvas to give a neat edge, then sewed the silk buttonhole facing to the turned edge.
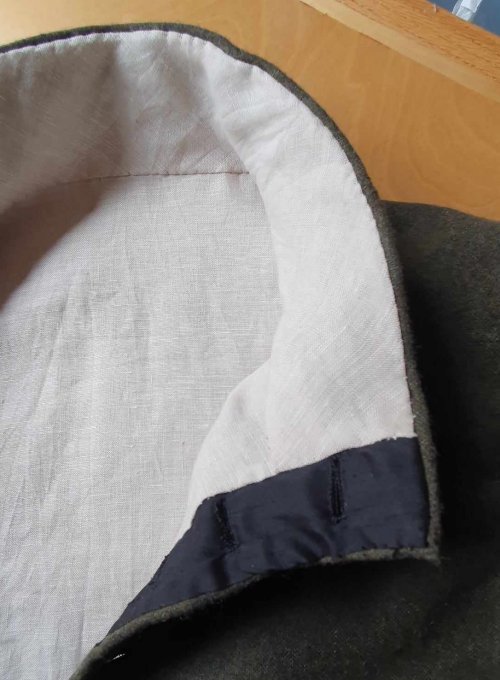
I sewed the lining at the shoulders, then lined the collar with a bias-cut strip of linen, pressed to a curve like the canvas. Since this is added last, it is easy to replace if it gets dirty or worn.
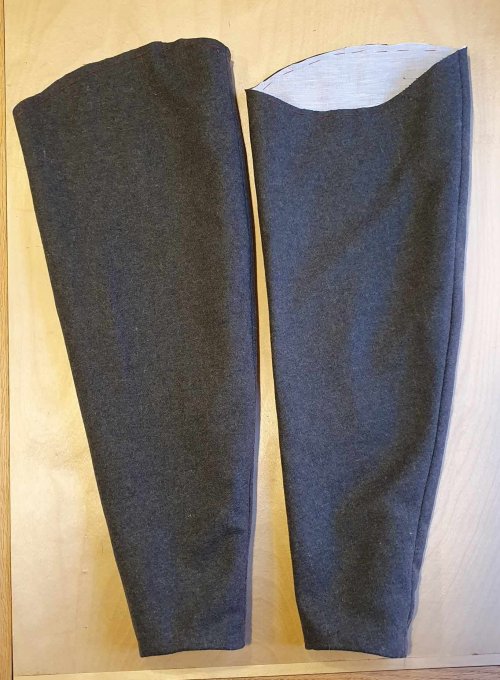
On to the sleeves.
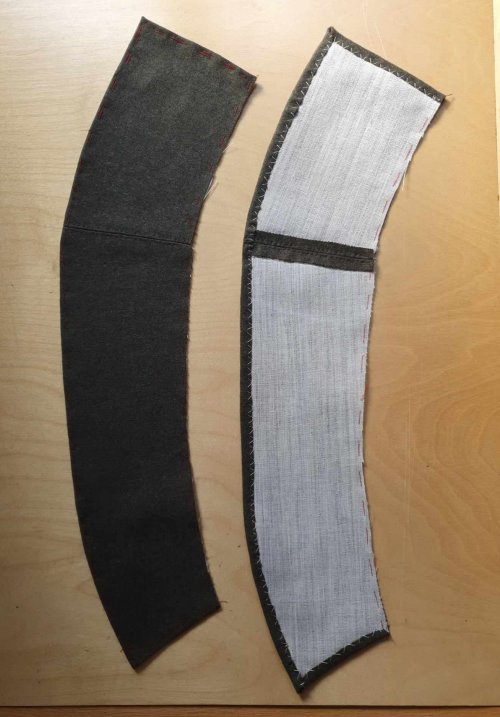
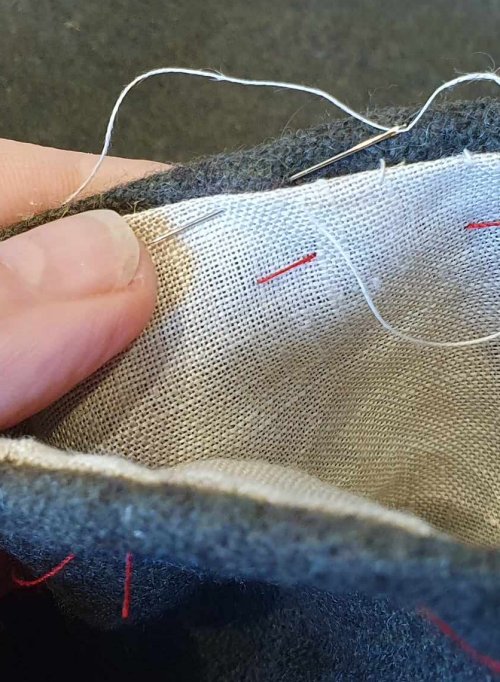
For maximum flex, they have a linen lining but no interlining. I sewed and pressed the wool, then turned up the cuff hem and carefully stay-stitched it into the back of the wool. I made up and inserted the lining, basted it to the sleeve head, then slip-stitched the lining to the cuff.
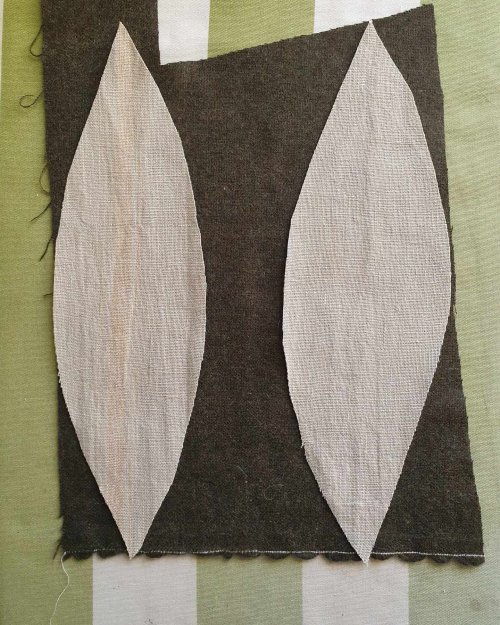
Before attaching the sleeves, I tried the doublet on my husband, who decided that he would like wings on the shoulders after all… So I cut a small pair which *just* fitted on the last remaining scrap of wool, lined with heavy linen and basted them to the sleeveheads.
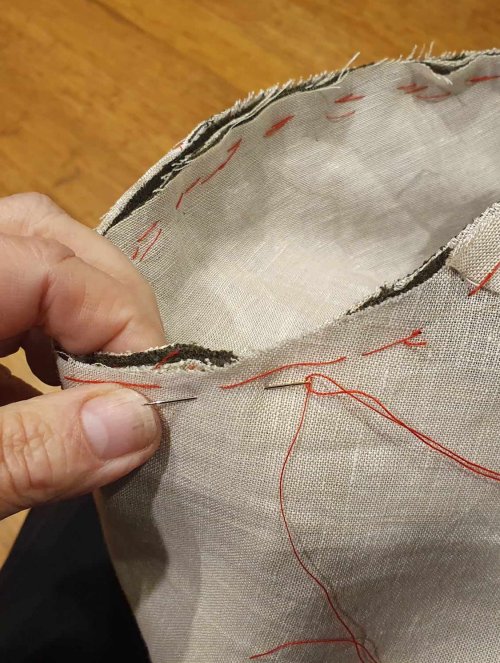
I inserted the completed sleeves into the armscyes, basted and sewed them in. To finish the armscye, I graded the seam allowances on the body side and sewed them to the body lining, then cut a bias strip of linen and sewed this over the seam to give a smooth finish.
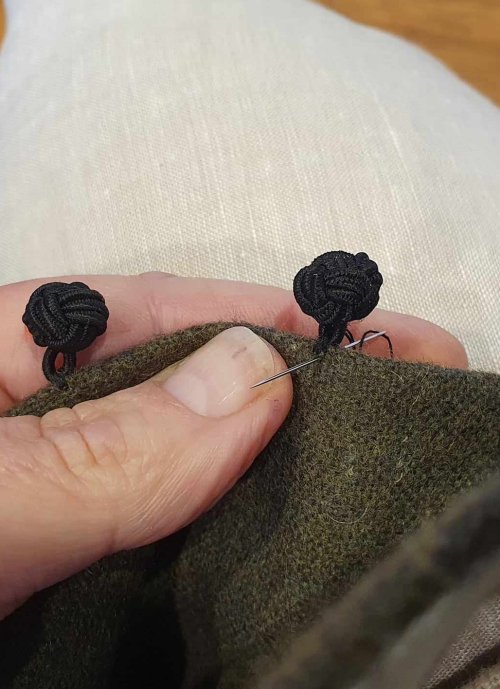
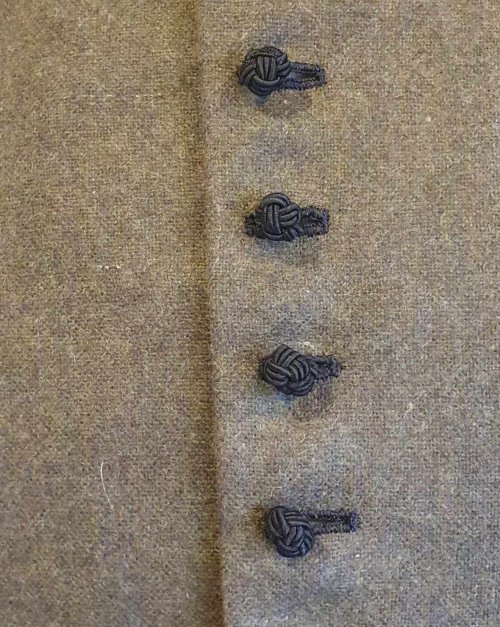
To complete the doublet, I sewed the knot buttons along the front edge, matching the buttonholes.
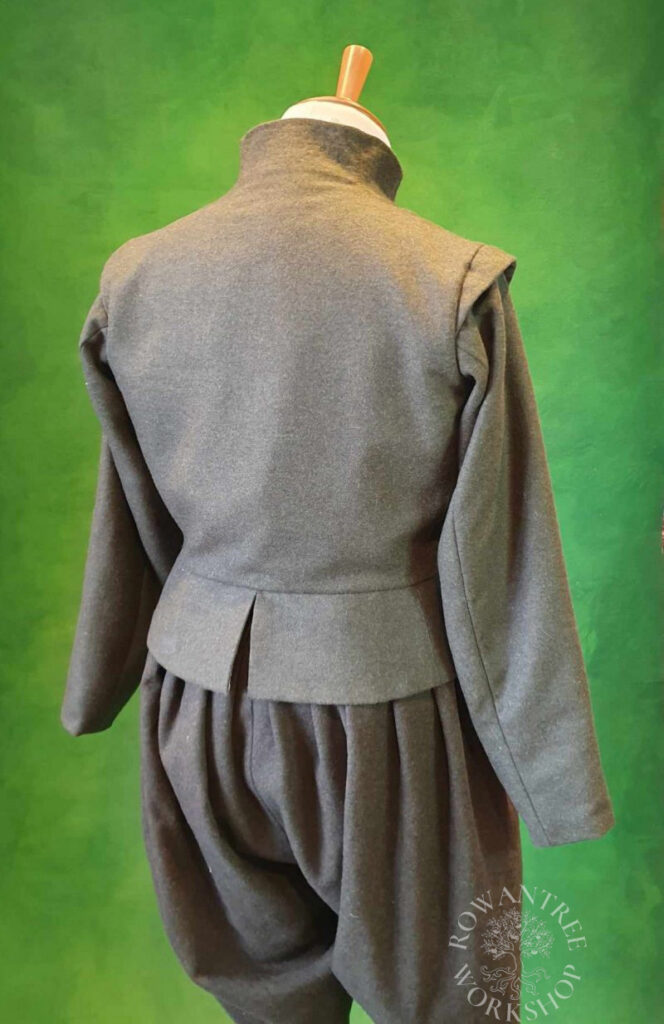
The doublet is done!
Now to upgrade the breeches…
The Venetian breeches were still in good shape, but had never been pointed to a doublet, so the waistband was small (to keep them up) and lacked eyelets. I replaced the waistband with a strip of the new wool, lined with linen and then sewed 7 pairs of eyelets along this, matching the lacing strip.
To complete the suit, I made 7 points in fingerloop braided silk, with brass aglets, to tie the breeches to the doublet.
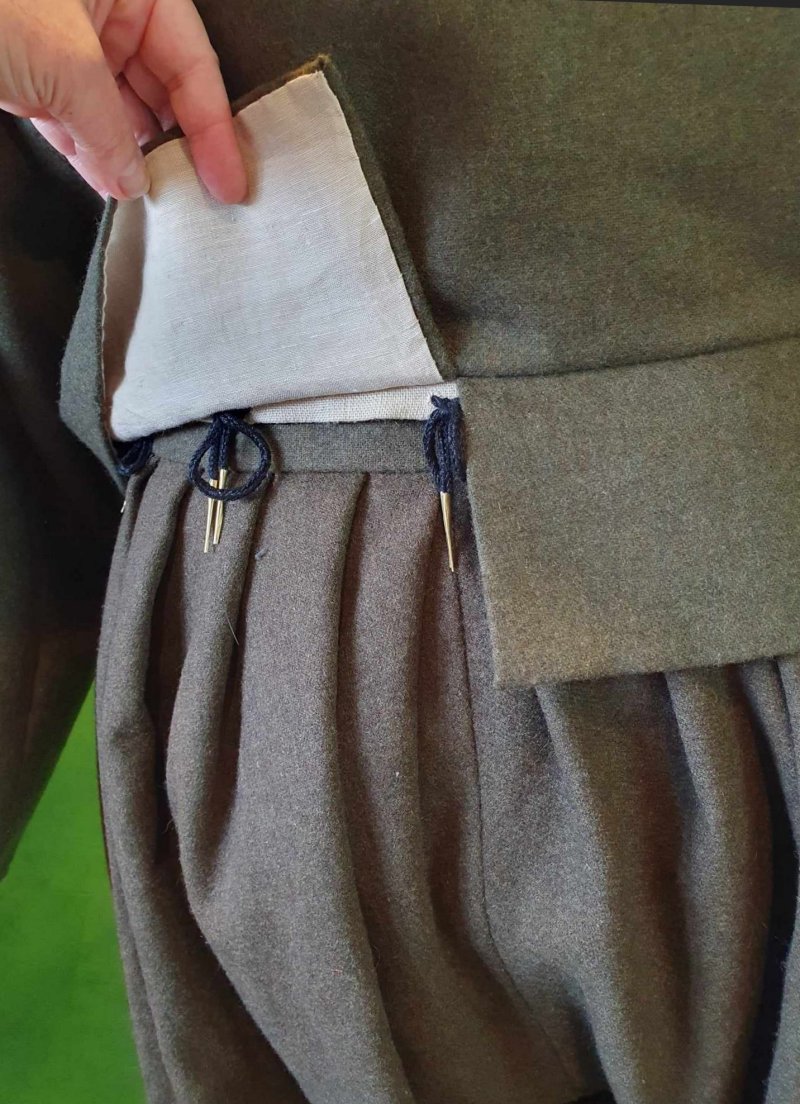
I laced the points through the eyelets in the breeches and tied them up to the lacing strip on the doublet.
This practical outfit is finally complete!

I look forward to seeing the updated outfit in use on the field.